Table of Contents
Advertisement
Available languages
Available languages
Non-
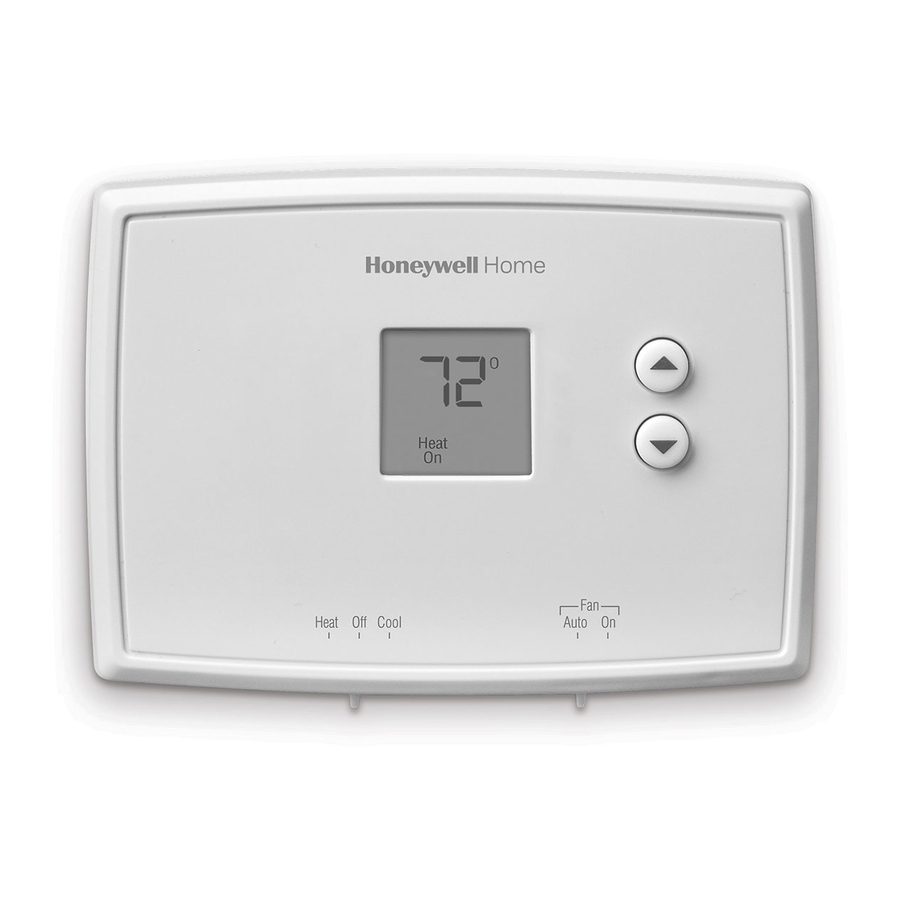
Programmable
Thermostat
Owner's Manual
Read before installing
For help please visit
honeywellhome.com
Identify System Type
This thermostat is compatible with the following systems:
Gas, oil or electric furnace
•
Central air conditioner
•
Hot water system with or without pump
•
Millivolt system
•
Central heating and cooling system
•
Heat pump without auxiliary/backup heat
•
RTH111
Series
RTH111B1042
Do you need assistance? We are here to help.
Call 1-800-468-1502 for wiring assistance before
returning the thermostat to the store.
This thermostat cannot be used on heat pumps with
backup heat or on multistage systems.
Fan
Heat Off Cool
Auto On
Advertisement
Chapters
Table of Contents

Subscribe to Our Youtube Channel
Related Manuals for Honeywell Home RTH111 Series


Summary of Contents for Honeywell Home RTH111 Series
- Page 1 RTH111 Non- Programmable Series Thermostat RTH111B1042 Owner’s Manual Read before installing For help please visit honeywellhome.com Heat Off Cool Auto On Identify System Type This thermostat is compatible with the following systems: Gas, oil or electric furnace • Central air conditioner •...
- Page 2 ATTENTION: MERCURY RECYCLING NOTICE This product does not contain mercury. However, this product may replace a product that contains mercury. Mercury and products containing mercury should not be discarded in household trash. For more information on how and where to N O M E R C U R Y properly recycle a thermostat containing S A N S M E R C U R E...
-
Page 3: Table Of Contents
Table of contents Installation Appendices Troubleshooting ......... 12 Installation ............3 Limited warranty ........13 Advanced Installation ........8 About your new thermostat Controls and Home screen quick reference ........... 10 Compressor protection......11 Replace batteries ........11 1 Turn Off Power to Heating/Cooling System Circuit breaker Heating/cooling system M31535... - Page 4 2 Remove Old Thermostat Remove old thermostat but leave wallplate with wires attached. If you have an older thermostat with a sealed mercury tube, turn to page Do not remove wallplate yet 2 for proper disposal instructions. Terminal designation MCR33823 3 Label Wires with Tags Label the wires using the supplied wire labels as you disconnect them.
- Page 5 5 Mount Wallplate Mount the new wallplate using the included screws and anchors. Used M32714 Drill 3/16-in. (4,76 mm ) holes for drywall Drill 3/32-in. (2,38 mm ) holes for plaster 6 Connect Wires Simply match wire labels. If labels do not match letters on the thermostat, check “Alternate Wiring” on page 6 and connect to terminal as shown (see notes, below).
- Page 6 Alternate Wiring If labels do not match letters on the thermostat, check the chart below and connect to terminal as shown here (see notes, below). M32734 If wires will be connected to both R and Rc terminals, remove metal jumper. Do not use C or X.
- Page 7 8 Set fan operation switch Move the switch to the proper setting: RTHXXXX Gas or Oil: For gas or oil heating systems, leave the fan operation switch in this factory- set position (for systems that control the fan in a call for heat). GAS OR OIL ELECTRIC OR HEAT PUMP Electric or Heat Pump: Change the switch...
-
Page 8: Advanced Installation
If your system type is... If your system type is: q Single Stage Heat and Cool q Heat Only or Cool Only Congratulations, you’re done! If you are not sure of your system type or if you have other questions, call us toll-free at 1-800-468-1502. This thermostat works on single stage 24 volt or 750 mV systems. -
Page 9: About Your New Thermostat
NOTE: If you do not press any button for 60 seconds while you are in the setup menu, the thermostat automatically saves any changes made and exits the menu. Description Function Press the s or t button to Setting select your heating system and 5 Gas or oil furnace: Use this setting if you have a standard gas or optimize its operation oil furnace that is less than 90% efficient. - Page 10 Thermostat controls Temperature adjustment Press the up or System Switch down buttons is used to control until you reach your heating or the desired cooling system. temperature. Heat: Heating • system control. NOTE: Make sure Off: All systems • the SYSTEM switch off.
- Page 11 Built-in compressor protection This feature helps prevent damage to the compressor in your air conditioning or heat pump system. Damage can occur if the compressor is restarted too soon after shutdown. Cool This feature forces the compressor to wait 5 minutes before restarting. M32769 During the wait time, the display will flash the message Cool On (or Heat...
-
Page 12: Compressor Protection
Troubleshooting If you have difficulty with your thermostat, please try the following suggestions. Most problems can be corrected quickly and easily. Display is Make sure fresh AAA alkaline batteries are correctly • blank installed. Heating Set system switch to Heat. Make sure the temperature is •... -
Page 13: Limited Warranty
1-year limited warranty Resideo warrants this product, excluding battery, to be free from defects in workmanship or materials, under normal use and service, for a period of one (1) year from the date of first purchase by the original purchaser. If at any time during the warranty period the product is determined to be defective due to workmanship or materials, Resideo shall repair or replace it (at Resideo’s option). - Page 14 33-00137EF—01 M.S. 09-19 | Printed in United States This product is manufactured by Resideo Technologies, Inc., Golden Valley, MN, 1-800-468-1502 ©2019 Resideo Technologies, Inc. The Honeywell Home trademark is used under 33-00137EF-01 license from Honeywell International Inc. All rights reserved.
- Page 15 RTH111 Thermostat non programmable Série RTH111B1042 Manuel du propriétaire Lire avant l’installation Pour obtenir de l’aide, veuillez visiter le site Heat Off Cool Auto On honeywellhome.com Identifier le type de système Ce thermostat est compatible avec les systèmes suivants : Appareil de chauffage au gaz, à...
- Page 16 ALERTE : AVIS DE RECYCLAGE DU MERCURE Ce produit ne contient pas de mercure. Toutefois, ce produit peut remplacer un produit contenant du mercure. Le mercure et les produits contenant du mercure ne doivent pas être jetés dans les ordures ménagères. N O M E R C U R Y Pour obtenir de plus amples renseignements S A N S M E R C U R E...
- Page 17 Table des matières Installation Annexes Dépannage ........... 12 Installation ............3 Garantie limitée .......... 13 Installation avancée ........8 À propos de votre nouveau thermostat Commandes et référence rapide de l’écran d’accueil .......... 10 Protection du compresseur ....11 Remplacement des piles ....... 11 1 Coupez l’alimentation du système de chauffage et de climatisation au niveau...
- Page 18 2 Retirez le vieux thermostat Retirez le vieux thermostat, mais laissez la plaque murale avec les fils fixés. Ne retirez pas encore la Si vous avez un thermostat plus ancien muni d’un tube de mercure scellé, allez à la plaque murale page 2 pour connaître les instructions d’élimination appropriées.
- Page 19 5 Montez la plaque murale Montez la nouvelle plaque murale à l’aide des vis et des chevilles fournies. Used M32714 Percez des trous de 4,76 mm (3/16 po) dans le gypse Percez des trous de 2,38 mm (3/32 po) dans le plâtre 6 Branchez les fils Il suffit de faire correspondre les étiquettes de fil.
- Page 20 Câblage alternatif Si les étiquettes ne correspondent pas aux lettres sur le thermostat, consultez le tableau ci-dessous et connectez-les à la borne comme indiqué ici (voir les notes ci-dessous). NE procédez PAS au branchement NON UTILISÉ MF32734 Si des fils sont raccordés aux bornes R er Rc , retirez le cavalier métallique. N’utilisez pas le C ou le X.
- Page 21 8 Réglez le commutateur de fonctionnement du RTHXXXX ventilateur Réglez les paramètres du commutateur : GAS OR OIL Gas or Oil (Au gaz ou à l’huile) : Pour les ELECTRIC OR HEAT PUMP systèmes de chauffage au gaz ou à l’huile, laissez l’interrupteur de fonctionnement du ventilateur en position réglée à...
-
Page 22: Installation
Si le type de votre système est... Si le type de votre système est : q Chauffage et climatisation à un étage q Chauffage seulement ou climatisation seulement Félicitations, vous avez terminé! Si vous ne connaissez pas avec certitude le type de votre système ou si vous avez d’autres questions, communiquez avec nous sans frais au 1-800-468-1502. -
Page 23: À Propos De Votre Nouveau Thermostat
REMARQUE : Si vous n’appuyez sur aucun bouton pendant 60 secondes lorsque vous êtes dans le menu de configuration, le thermostat enregistre automatiquement toutes les modifications apportées et quitte le menu. Description Appuyez sur le bouton s ou Fonction t pour Réglage sélectionner votre système de 5 Appareil de chauffage au gaz ou à... - Page 24 Commandes thermostatiques Ajustement de la Le commutateur du température système est utilisé pour contrôler votre Appuyez sur les système de chauffage boutons haut ou bas jusqu’à ce que ou de climatisation. vous atteigniez Heat (Chauffage): • la température Contrôle du système souhaitée.
-
Page 25: Remplacement Des Piles
Protection du compresseur intégrée Cette fonction permet d’éviter d’endommager le compresseur dans votre système de climatisation ou de thermopompe. Des dommages peuvent survenir si le compresseur est redémarré trop rapidement Cool après un arrêt. Cette fonction force le compresseur à attendre 5 minutes avant de redémarrer. -
Page 26: Dépannage
Dépannage Si vous rencontrez des difficultés avec votre thermostat, veuillez essayer les suggestions suivantes. La plupart des problèmes peuvent être corrigés rapidement et simplement. L’écran est vide Assurez-vous que des piles alcalines AAA neuves sont correctement insérées. • Le système de Réglez l’interrupteur du système à... -
Page 27: Garantie Limitée
Garantie limitée de 1 an Resideo garantit ce produit, à l’exception de la pile, contre toute défectuosité de matériel ou de fabrication dans des conditions normales d’utilisation et d’entretien, pendant une période de un (1) an à compter de la date d’achat initial par l’acheteur d’origine. - Page 28 33-00137EF—01 M.S. 09-19 | Imprimé aux États-Unis Ce produit est fabriqué par Resideo Technologies, Inc., Golden Valley, MN, 1-800-468-1502 © 2019 Resideo Technologies, Inc. La marque Honeywell Home est utilisée avec la 33-00137EF-01 permission de Honeywell International Inc. Tous droits réservés.
Need help?
Do you have a question about the RTH111 Series and is the answer not in the manual?
Questions and answers
How to reset air indoor temperature ?