Advertisement
Available languages
Available languages
Quick Links
IB506005EN
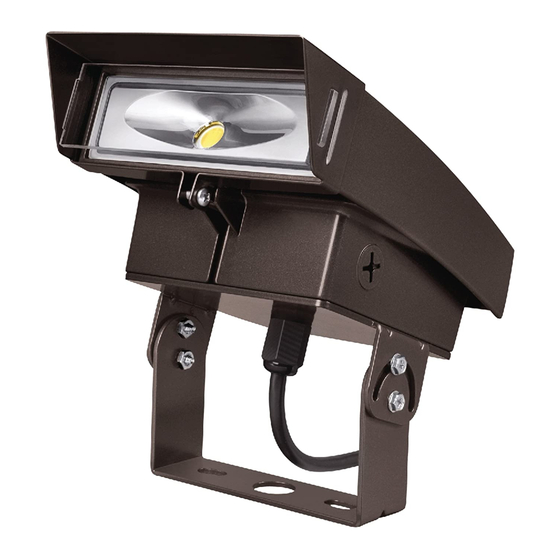
Installation Instructions - Crosstour LED Knuckle Kit
Instructions d'installation - Charnière Crosstour DEL
Instrucciones de instalación - Kit De Codo LED Crosstour
WARNING
Make certain power is OFF before starting installation
or attempting any maintenance. Risk of fire/electric
shock. If not qualified, consult an electrician.
WARNING
RISK OF ELECTRIC SHOCK—Disconnect power at fuse
or circuit breaker before installing or servicing.
WARNING
RISK OF BURN—Disconnect power and allow fixture
to cool before servicing.
WARNING
RISK OF PERSONAL INJURY—Fixture may become
damaged and/or unstable if not installed properly.
IMPORTANT: Read before installing fixture. Retain for future reference.
SAFETY: This fixture must be wired in accordance with the National Electrical Code and applicable local codes and
ordinances. Proper grounding is required to insure personal safety. Carefully observe grounding procedure under
installation section.
WARNING
DO NOT mount luminaire within 6" of a combustible
surface. DO NOT handle luminaire by the glass.
WARNING
Make certain power is OFF before starting installation
or attempting any maintenance.
N
ote:
These instructions do not claim to cover all
details or variations in the equipment, procedure,
or process described, nor to provide directions
for meeting every possible contingency during
installation, operation or maintenance. When
additional information is desired to satisfy a
problem not covered sufficiently for user's purpose,
please contact your nearest representative.
N
ote:
Specifications and dimensions subject to change
without notice.
Brand Logo
reversed out of
black
INS #
INS #
Advertisement

Subscribe to Our Youtube Channel
Related Manuals for Eaton Lumark Crosstour LED Knuckle Kit


Summary of Contents for Eaton Lumark Crosstour LED Knuckle Kit
- Page 1 Brand Logo reversed out of black IB506005EN INS # INS # Installation Instructions - Crosstour LED Knuckle Kit Instructions d’installation - Charnière Crosstour DEL Instrucciones de instalación - Kit De Codo LED Crosstour WARNING WARNING Make certain power is OFF before starting installation DO NOT mount luminaire within 6”...
-
Page 2: Installation
Use visual angle indicators to set desired angle. Tighten/torque pivot screw 50-60 in-lbs. Load (Black) Load (Red) Driver Neutral (White) Neutral (White) Supply Line Factory Wired Line (Black) (Black) LED to Driver Wire Nut Supplied by Others Figure 4. Figure 1. EATON IB506005EN Installation instructions... - Page 3 (Figure 7). Insert the 8-32 x 3/4” long, thread forming screw through the visor screw hole and tighten until visor is secure. Tighten/torque to 20-25 in-lbs. Back tabs inserted into Crosstour back fins. (Figure 8.). Figure 7. Figure 8. EATON IB506005EN Installation instructions...
- Page 4 N'installez PAS le couvre-joint sur la boîte de jonction avant d'installer le support coudé de la charnière au couvre-joint. Les fils pourraient être tordus et ainsi séparer les branchements, ce qui peut causer des risques d'électrocution lorsqu'ils sont alimentés. EATON IB506005EN Instructions d’installation...
- Page 5 Crosstour avec photocontrôle Fil neutre (Blanc) Charge (Noir) Pilote de Charge (Rouge) Neutre (Blanc) Neutre (Blanc) DEL vers commande Fil (Noir) câblé en usine Fil d'alimentation (Noir) Capuchon de connexion non fourni Figure 4. EATON IB506005EN Instructions d’installation...
- Page 6 Crosstour. po) dans le trou de vis de la visière et serrez jusqu'à ce qu'elle soit bien fixée. Vissez et serrez à 2,3 à 2,8 Nm Figure 7. (20 à 25 po-lb). (Figure 8.) Figure 8. EATON IB506005EN Instructions d’installation...
-
Page 7: Instalación
Esto puede provocar que los cables se tuerzan, por lo que las conexiones se pueden romper y se puede crear un riesgo de cortocircuito cuando reciba energía. EATON IB506005EN Instrucciones de instalación... - Page 8 Luminaria Crosstour con fotocontrol Neutro de suministro (Blanco) Carga (Negro) Controlador Carga (Rojo) Neutro (Blanco) Neutro (Blanco) Cableado de fábrica Línea (Negro) LED a controlador Línea de suministro (Negro) Tuerca para cables de otras marcas Figura 4. EATON IB506005EN Instrucciones de instalación...
- Page 9 Crosstour (Figura 7). Inserte el tornillo autorroscante 8-32 x 3/4” de largo en el orificio del Figura 7. tornillo del visor y ajústelo hasta que el visor esté firme. Ajuste/gire hasta 20-25 in-lb. (Figura 8.) Figura 8. EATON IB506005EN Instrucciones de instalación...
- Page 10 Warranties and Limitation of Liability Please refer to www.eaton.com/LightingWarrantyTerms for our terms and conditions. Garanties et limitation de responsabilité Veuillez consulter le site www.eaton.com/LightingWarrantyTerms pour obtenir les conditions générales. Garantías y Limitación de Responsabilidad Visite www.eaton.com/LightingWarrantyTerms para conocer nuestros términos y condiciones.
Need help?
Do you have a question about the Lumark Crosstour LED Knuckle Kit and is the answer not in the manual?
Questions and answers