Table of Contents
Advertisement
Quick Links
Advertisement
Table of Contents

Related Manuals for CHIEF PACHFK2


Summary of Contents for CHIEF PACHFK2
- Page 1 I N S T A L L A T I O N I N S T R U C T I O N S Instrucciones de instalación Istruzioni di installazione Installationsanleitung Installatie-instructies Instruções de Instalação Instructions d´installation IN-WALL ENCLOSURE FRAMING KIT PACHFK2...
- Page 2 5/8" the information contained in this document. (1.6cm). Chief® is a registered trademark of Milestone AV Technologies. WARNING: All rights reserved. Failure to provide adequate structural strength for this accessory can result in serious personal injury or damage to equipment! It is the installer’s responsibility to...
- Page 3 Installation Instructions PACHFK2 LEGEND Tighten Fastener Pencil Mark Apretar elemento de fijación Marcar con lápiz Befestigungsteil festziehen Stiftmarkierung Apertar fixador Marcar com lápis Serrare il fissaggio Segno a matita Bevestiging vastdraaien Potloodmerkteken Serrez les fixations Marquage au crayon Loosen Fastener Drill Hole Aflojar elemento de fijación...
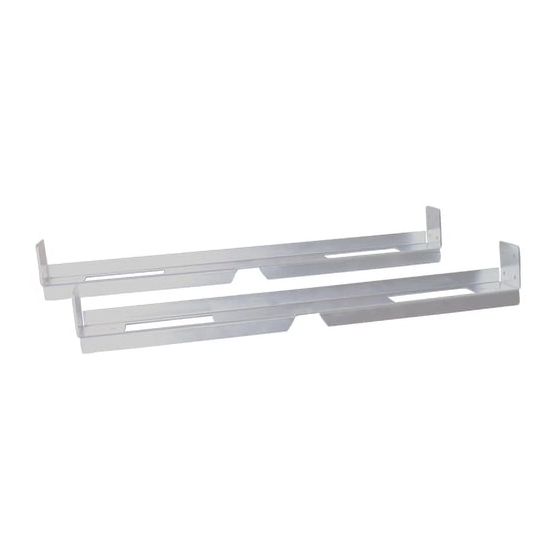
- Page 4 PACHFK2 Installation Instructions TOOLS REQUIRED FOR INSTALLATION 3/16" M4 Allen Head Bit (Included) (Included) PARTS B (4) C (16) 08 x 1-1/2" M7 x 40mm A (2) [Header/footer brackets] D (1) [M4 Allen Head Bit] F (8) 5/16-18 x 5/8"...
- Page 5 DEATH OR SERIOUS PERSONAL INJURY! This accessory should be installed by qualified personnel. IMPORTANT ! : The following installation procedure assumes that a Chief PAC502 In-Wall Enclosure has been purchased and is available for use during this procedure. Dimensions for creating an opening in the wall without having the PAC-502 as a template can be found below.
- Page 6 PACHFK2 Installation Instructions Orient header and footer brackets (A) within the cut-out drywall area. (See Figure 3) Front flange of bracket Drywall Figure 5 Make sure upper and lower brackets are level and there is a minimum of 20.375" between them at bracket centers and (A) x 2 at both ends of brackets.
- Page 7 Installation Instructions PACHFK2 Orient PAC-502 enclosure following the installation instructions provided with the PAC-502 and slide enclosure into opening between upper and lower brackets (A). (See Figure 7) (F) x 8 (E) x 8 Figure 7 Secure PAC-502 enclosure to brackets using eight 1/4" flat Figure 8 washers (E) and eight 5/16-18 x 5/8"...
- Page 8 F 877.894.6918 / 952.894.6918 Europe A Fellenoord 130 5611 ZB EINDHOVEN, The Netherlands P +31 (0)40 2668620 Chief Manufacturing, a products division F +31 (0)40 2668615 of Milestone AV Technologies Asia Pacific A Office No. 1 on 12/F, Shatin Galleria...
Need help?
Do you have a question about the PACHFK2 and is the answer not in the manual?
Questions and answers