Vent-Axia Sentinel Kinetic MVHR Series Installation Instructions Manual
Opposite orientation (lh condensate)
Hide thumbs
Also See for Sentinel Kinetic MVHR Series:
- User instructions (20 pages) ,
- Installation & commissioning manual (53 pages) ,
- Installation & commissioning manual (48 pages)
Advertisement
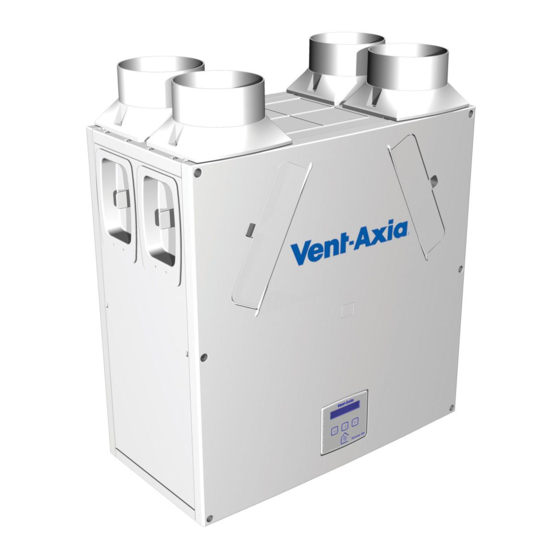
Sentinel
Kinetic MVHR Range
Installation of the unit in the Opposite
Orientation (LH Condensate)
Read in conjunction with Sentinel Kinetic MVHR Installation &
Commissioning
Stock Ref. N°
438222 Kinetic B Right
443319 Kinetic BH Right
408167 Kinetic FH Right
443028 Kinetic Plus B Right
408449 Kinetic High Flow Right
Copyright © 2009 Vent-Axia Limited. All rights reserved.
Advertisement
Table of Contents

Related Manuals for Vent-Axia Sentinel Kinetic MVHR Series


Summary of Contents for Vent-Axia Sentinel Kinetic MVHR Series
- Page 1 438222 Kinetic B Right 443319 Kinetic BH Right 408167 Kinetic FH Right 443028 Kinetic Plus B Right 408449 Kinetic High Flow Right Read in conjunction with Sentinel Kinetic MVHR Installation & Commissioning Copyright © 2009 Vent-Axia Limited. All rights reserved.
- Page 2 If the orientation of the condensate exit (and the atmosphere spigots) would be better suited on the left of the unit, the front Control Unit and the rear Cable Inlet Plate can be swapped over to allow the unit to be installed in the opposite orientation.
- Page 3 Remove the 2 screws and detach the Control Panel and disconnect the mains lead. (see Figure 3). Figure 3: Detaching the Control Panel (Front of Unit) Disconnect the ribbon cable (see Figure 4). Figure 4: Disconnecting the Ribbon cable (Front of Unit) Disconnect the 4-way connector (see Figure 5).
- Page 4 Re-connect the mains cable: L, N, E,LS. Re-attach the Electrical Cover. Re-attach the front and rear covers off the unit. Note: When the unit is converted from RH to LH the blue Vent-Axia logo will then be facing the wall.
- Page 6 Applicable only to products installed and used in the United Kingdom. For details of guarantee outside the United Kingdom contact your local supplier. Vent-Axia guarantees its products for two years from date of purchase against faulty material or workmanship. In the event of any part being found to be defective, the product will be repaired, or at the Company’s option replaced, without charge, provided that the product:-...
Need help?
Do you have a question about the Sentinel Kinetic MVHR Series and is the answer not in the manual?
Questions and answers