
Related Manuals for LUCCI FUTURA ECO


Summary of Contents for LUCCI FUTURA ECO
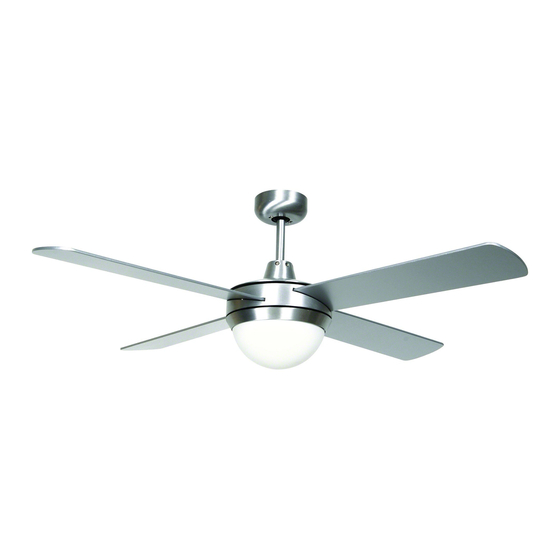
- Page 1 LUCCI FUTURA ECO DIMMABLE LED CEILING FAN INSTALLATION OPERATION MAINTENANCE WARRANTY INFORMATION CAUTION READ INSTRUCTIONS CAREFULLY FOR SAFE INSTALLATION AND FAN OPERATION. V2.1 Published on 11. 2016...
-
Page 2: Safety Precautions
Futura Eco Installation Instructions THANK YOU FOR PURCHASING Thank you for purchasing this quality Lucci product. To ensure correct function and safety, please read all instructions before using the product and keep all instructions for future reference SAFETY PRECAUTIONS In Europe: This appliance can be used by children aged from 8 years and above and persons with reduced... - Page 3 Futura Eco Installation Instructions A single-pole switch also must be placed in the same room as the fan as per local wiring regulations AS3000 Do not dispose of electrical appliances as unsorted municipal waste, use separate collection facilities. Contact your local government for information regarding the collection systems available. If electrical appliances are disposed of in landfills or dumps, hazardous substances can leak into the ground water and get into the food chain, damaging your health and well-being.
-
Page 4: Before Installation
Futura Eco Installation Instructions BEFORE INSTALLATION Unpack your ceiling fan carefully. Remove all parts and hardware. Examine all parts, you should have the following: Fig. 1 Hanger bracket x 1 Remote receiver x 1 LED driver x 1 Pre-assembled fan motor, down rod and canopy cover x 1... -
Page 5: Installing The Mounting Bracket
Futura Eco Installation Instructions INSTALLING THE MOUNTING BRACKET • The ceiling fan must be installed in a location so that the blades are spaced 300mm from the tip of the blade to the nearest objects or walls. • Secure the hanging bracket to the ceiling joist or structure that is capable of carrying a load of at least 40kg, with two long screws provided. -
Page 6: Installing The Fan
Futura Eco Installation Instructions INSTALLING THE FAN 1. Carefully lift the fan and place the down rod ball assembly into the spacing allocated in the mounting bracket and lock the ball into place. Insert the LED driver into the lower layer of the mounting bracket and then insert the remote receiver into the top layer of the mounting bracket. - Page 7 Futura Eco Installation Instructions Fig. 6 5. Insert the blades through the side slot of the motor and align with the 3 holes. If the holes do not align, the blade is upside down. The blade should fit securely and the screws should slot into the blade screw holes.
-
Page 8: Using Your Ceiling Fan
Futura Eco Installation Instructions USING YOUR CEILING FAN REMOTE CONTROL Your ceiling fan is controlled via the remote control. There are 4 buttons (HI, MED, LOW, OFF) to control the fan speed and one button to control light on/off and dimming function. Fig. 11 Before operating the remote, the following must be considered. -
Page 9: After Installation
Futura Eco Installation Instructions REVERSING SWITCH Your ceiling fan can operate in either summer or winter mode. SUMMER Mode: The reverse switch shall be in the “down” (SUMMER) position to make the fan rotate in an anticlockwise direction. The airflow will be directed downwards, for cooling in summer. -
Page 10: Care And Cleaning
Futura Eco Installation Instructions CARE & CLEANING Periodic cleaning of your ceiling fan is the only maintenance required. Use a soft brush or lint free cloth to avoid scratching the paint finish. Please turn off electricity power when you do so. - Page 11 Lucci Design cannot be held responsible for any repair other than those carried out by it or one of its Authorised Service Agents. Please keep this warranty information in a safe place. This information must be produced in the event of service being required.
- Page 12 Futura Eco Installation Instructions CEILING FAN WARRANTY INFORMATION LUCCI WARRANTY HOTLINE- 1800 602 243 Complete and retain this form for your personal records and warranty purposes. NAME………………………………………………………………………………… ADDRESS…………………………………………………………………………… ……………………………………………………POSTCODE…………………… MODEL NUMBER…………………………………………………………………… (PO# + DATECODE Sticker here) PO NUMBER or DATECODE ………………………………………………………...
Need help?
Do you have a question about the FUTURA ECO and is the answer not in the manual?
Questions and answers