Advertisement
Advertisement
Table of Contents

Related Manuals for Motorola PMTN4024


Summary of Contents for Motorola PMTN4024
- Page 1 Single-Unit Charger Accessories Professional Radio...
-
Page 3: Important Safety Instructions
WARNING 2. Use of accessories not recommended by Motorola may result in risk of fire, electric shock, or injury. 3. To reduce risk of damage to the electric plug and cord, pull by the plug rather than the cord when disconnecting the charger. -
Page 4: Operational Safety Guidelines
MOTOROLA AUTHORIZED BATTERIES The batteries listed in Table 1 are approved for use with the chargers listed in Table 2. Table 1 Motorola Authorized Batteries Kit (part) Battery Chemistry/Description Number HNN9008... -
Page 5: Power Sources And Motorola Authorized Transformers
PMNN4074 Lithium Ion, Non-Factory Mutual, IP67 POWER SOURCES AND MOTOROLA AUTHORIZED TRANSFORMERS These Class 2 battery chargers should be used with the direct plug-in, Motorola authorized transformers listed below: Table 2 Power Sources/Power Supplies Charger Kit Power Supply Charger Base... - Page 6 OPERATING INSTRUCTIONS Single-unit chargers will charge only the Motorola authorized batteries listed in Table 1. Other batteries may not charge. The battery charger’s pocket will accommodate either a radio with a battery attached or a battery alone. Prior to charging a battery with radio, turn the radio off.
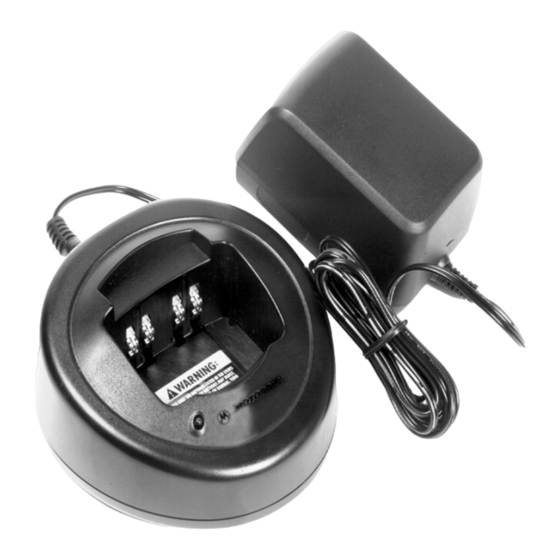
- Page 7 SOCKET (located here) RAISED RAIL CHARGING CONTACTS WARNING POCKET LABEL Figure 1 Battery Charger TROUBLESHOOTING When troubleshooting, always observe the color of the LED: Table 3 LED Indications of Battery/Charger Status LED Color Battery/Charger Status No LED indication Battery is inserted incorrectly. Single green blink Successful charger power-up Battery is unchargeable or not making...
- Page 8 Blinking Red LED Indicator? 1. Remove the battery from the charger, and: a. make sure that it is a Motorola authorized battery listed in Table 1. Other batteries may not charge. b. remove power from the battery charger and, using a clean dry cloth, clean the gold metal, charging contacts of the battery and charger.
- Page 10 © 2007, 2008 by Motorola, Inc. b and Motorola are registered trademarks of Motorola, Inc. All Rights Reserved. *6804110J80* 6804110J80-E...
Need help?
Do you have a question about the PMTN4024 and is the answer not in the manual?
Questions and answers