Gaggenau VG 264 220 CA Installation Instructions Manual
Hide thumbs
Also See for VG 264 220 CA:
- Use and care manual (20 pages) ,
- Use and care manual (56 pages) ,
- Installation instructions manual (52 pages)
Table of Contents
Advertisement
Quick Links
Download this manual
See also:
Use and Care Manual
Advertisement
Table of Contents

Related Manuals for Gaggenau VG 264 220 CA


Summary of Contents for Gaggenau VG 264 220 CA
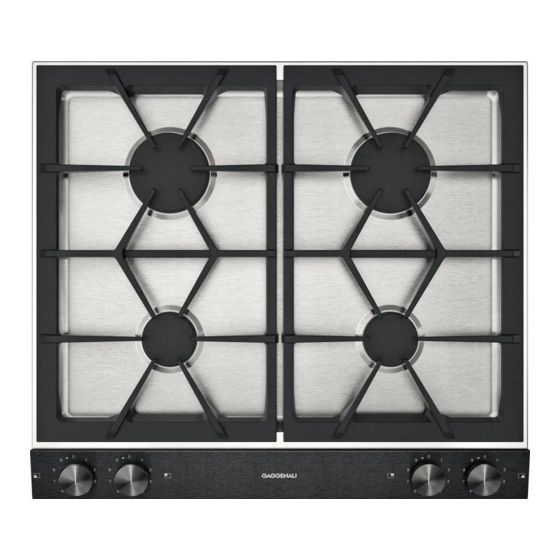
- Page 1 Installation instructions2 Notice de montage16 Instrucciones de instalación30 VG 264 220 CA Gas cooktop Table de cuisson gaz Encimera a gas...
-
Page 2: Table Of Contents
Conversion to another type of gas Customer Service The wiring diagram is available on the last page of this manual. Additional information on products, accessories, replacement parts and services can be found at www.gaggenau.com and in the online shop www.gaggenau.com/zz/store... -
Page 3: Important Safety Instructions
9 IMPORTANT SAFETY INSTRUCTIONS READ AND SAVE THESE INSTRUCTIONS IMPORTANT SAFETY INSTRUCTIONS R E A D A N D S A V E T H E S E I N S T R U C T I O N S G a s A p p l i a n c e S a f e t y... -
Page 4: Appliance Handling Safety
9 IMPORTANT SAFETY INSTRUCTIONS READ AND SAVE THESE INSTRUCTIONS IMPORTANT: THE APPLIANCE MUST Safety Codes and Standards BE INSTALLED BY A QUALIFIED This appliance complies with one or more INSTALLER. of the following Standards: INSTALLER: LEAVE THESE UL 858, The Standard for the Safety of ▯... -
Page 5: Electric Safety
9 IMPORTANT SAFETY INSTRUCTIONS READ AND SAVE THESE INSTRUCTIONS Electric Safety Gas Safety Install a gas shutoff valve near the WARNING appliance. It must be easily accessible in an emergency. Before you plug in an electrical cord or turn on power supply, make sure Leak testing must be conducted by the all controls are in the OFF position. -
Page 6: Propane Gas Installation
9 IMPORTANT SAFETY INSTRUCTIONS READ AND SAVE THESE INSTRUCTIONS Proposition 65 Warning: Installer - show the owner where the gas shut-off valve is located. This product may contain a chemical known to the State of California, which can cause cancer or reproductive harm. Related Equipment Safety Therefore, the packaging of your product The appliance should only be used if... - Page 7 9 IMPORTANT SAFETY INSTRUCTIONS READ AND SAVE THESE INSTRUCTIONS Ventilation Recommendations We strongly recommend the installation of a ventilation hood above this appliance. The hood must be installed according to instructions furnished with the hood. CAUTION The appliance should not be installed with a ventilation system that blows air downward toward the burners.
-
Page 8: Before You Begin
en-us Before you begin Cabinet Requirements Before you begin T ools and parts needed B e f o r e y o u b e g i n Phillips Head Screwdriver ▯ Pencil ▯ Drill with ¼" (6 mm) bit ▯... -
Page 9: Countertop Requirements
en-us Installation Procedure Countertop Requirements Installation Procedure WARNING P repare Installation Space I n s t a l l a t i o n P r o c e d u r e To reduce the risk of ignition of surrounding T he kitchen unit must be heat-resistant to at least 200°... -
Page 10: Connect Gas Supply
en-us Installation Procedure Insert appliance evenly into the cutout. Push it firmly The flexible gas line must not come into contact with into the cutout from above. moving parts of the fitted unit (e.g. drawers) or be laid in areas where it could become trapped or damaged. Note: The appliance must be firmly fixed in the cutout and must not be able to move around (e.g. -
Page 11: Check The Installation
en-us Installation Procedure Checking Burner Cap Placement Removing the appliance Check to make sure that there is no gap between the burner parts. You may gently try to move the burner parts from side to side to check if they are properly placed. Disconnect the appliance from the power and the gas supply. -
Page 12: Conversion To Another Type Of Gas
en-us Conversion to another type of gas Replacing the main control nozzles: Conversion to another type of gas Remove the pan support and all burner parts. Undo the fastening screws on the burners (two screws C o n v e r s i o n t o a n o t h e r t y p e o f g a s T he appliance must only be converted to a different type on each burner). - Page 13 en-us Conversion to another type of gas Undo the fastening screws on the control panel. Replace the nozzles. You can obtain a key from our Remove the control panel and disconnect the customer service (order number 00424699). Take care connection cable on the back of the control panel. not to break the nozzles when (un)screwing them.
- Page 14 en-us Conversion to another type of gas Adjusting the gas valves Put the hob in place and screw in the earthing screw on the rear burner. WARNING Risk of damage! Do not over-tighten the bypass screws. If necessary, adjust the bypass screws M using a Torx screwdriver (see table): up: The bypass screws must be flush with the top edge of the frame.
-
Page 15: Customer Service
en-us Customer Service Customer Service C u s t o m e r S e r v i c e I f your appliance needs repairs, our customer service is there for you. We work hard to help solve problems quickly and without unnecessary service calls, getting your appliance back up and running correctly in the least amount of time possible.
Need help?
Do you have a question about the VG 264 220 CA and is the answer not in the manual?
Questions and answers