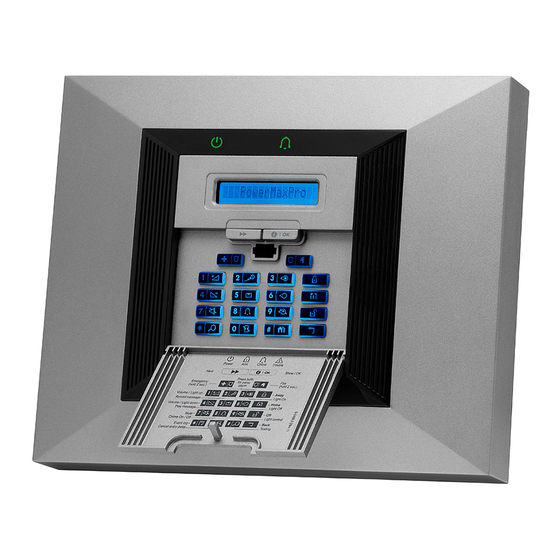
Visonic PowerMax Pro Installation Instructions
Interface module
Hide thumbs
Also See for PowerMax Pro:
- User manual (46 pages) ,
- Installer's manual (40 pages) ,
- User manual (40 pages)
Advertisement
PGM
PGM- - - - 5 5 5 5
PGM
PGM
PowerMax Pro / PowerMaxComplete / PowerMaxExpress /
PowerMaster-10 G2 / PowerMaster-30 G2 /
PowerMaster-33 G2 Interface Unit
1. DESCRIPTION
1. DESCRIPTION
1. DESCRIPTION
1. DESCRIPTION
PGM-5 (see Figure 1) is an output interface module designed to
provide alarm, trouble events and status signals to external devices
such as long range wireless monitoring transmitters, CCTV systems,
home-automation systems, LED annunciation panels, etc.
The PGM-5 provides 5 solid state relay contact outputs and is designed
to be used as a plug-in internal add-on module with PowerMax Pro,
PowerMaxComplete,
PowerMaxExpress,
PowerMaster-30 G2 and PowerMaster-33 G2 control panels.
Note: The PGM-5 will be active only if the PGM-5 option was enabled
in the factory default of the control panel. For PowerMaster control
panels v18 and above, it is required to enable or disable the PGM-5
via the Installer Mode. For detailed instructions, refer to the
PowerMaster Installer Guide.
Figure 1 – PGM-5 Printed Circuit
Outputs 1 to 4 provide pre-set signals while output 5 is programmable
using DIP switches SW-3 & SW-4 – see Tables 1 & 2.
Table 1 – Output Definitions
Output
OUT 1
Burglar & 24Hr audible alarm (Bell time duration).
Tamper & 24 Hr silent (2 sec. pulse)
OUT 2
Panic (2 sec. pulse)
OUT 3
Fire (Bell time duration).
OUT 4
Arm / Disarm (actual status of the panel)
OUT 5
See table 2
Table 2 – OUT 5 Signal Setting
SW-4
SW-3
OFF
OFF
General trouble (until restored)
ON
OFF
General Low battery (until restored)
OFF
ON
Gas or CO alarm (until restored)
ON
ON
AC failure reported (until restored)
The outputs can be set to either normally open (N.O) or normally
closed (N.C), according to the specific application, using DIP switches
SW-1 (for outputs 1, 2, 3 & 5) and SW-2 for output 4 (Arm/Disarm) –
see table 3.
D-302182 PGM-5 Installation Instructions
PowerMaster-10
Event Type
Event Type
Table 3 – N.O or N.C Outputs Normal State Setting
Outputs
Switch Setting
OUT
SW-1
1,2, 3 & 5
OUT 4
SW-2
G2,
Each output will change its state upon occurrence of an event or change
of status and will revert to its normal state upon restoral of the event or
change of status.
PowerMax Pro
Figure 2 – Typical Application
Figure 3 displays electrical wiring diagrams where the PGM-5 module
is connected to an alarm transmitter and to a LED Annunciation
Panel.
PGM-5
OUT 1
OUT 2
OUT 3
OUT 4
OUT 5
COM
PGM-5
OUT 1
OUT 2
OUT 3
OUT 4
OUT 5
COM
Figure 3 – Electrical Wiring of PGM-5 Module and Alarm
Transmitter/ LED Annunciation Panel
Installation
Instructions
Output Normal State
ON
N.C - Normally Close
OFF
N.O – Normally Open
ON
N.C. = Disarm
N.O. = Arm
OFF
N.C. = Arm
N.O. = Disarm
Alarm types:
1. Alarm
2. Panic
3. Fire
4. Arm/disarm
5. Low bat./Gas Co/
PGM-5
AC fail./Gen. trbl
ALARM TRANSMITTER
INPUT 1
INPUT 2
INPUT 3
INPUT 4
INPUT 5
(
or
COM
LED ANNUNCIATION
PANEL
LED
1 kΩ
Alarm
1 kΩ
Panic
1 kΩ
Fire
1 kΩ
Arm /Disarm
1 kΩ
Programmable
)
12V
0 V
1
Advertisement
Table of Contents

Subscribe to Our Youtube Channel
Summary of Contents for Visonic PowerMax Pro
- Page 1 1,2, 3 & 5 The PGM-5 provides 5 solid state relay contact outputs and is designed N.O – Normally Open to be used as a plug-in internal add-on module with PowerMax Pro, N.C. = Disarm N.O. = Arm OUT 4...
- Page 2 MOUNTING AND WIRING MOUNTING AND WIRING In the PowerMax Pro, PowerMaxComplete, PowerMaster-30 G2 and PowerMaster-33 G2 control panels, press the PGM-5 module into the marked location (see Figures 4a, 4b and 4e) until a click is heard. In the PowerMaxExpress and PowerMaster-10 G2 control panels, use the two screws to fasten the PGM-5 module into the marked location, as illustrated in Figure 4c and 4d.
- Page 3 POWERMAXEXPRESS Connect one side of the flat cable into the PGM-5 connector and the other side into the PowerMaxExpress BBA connector PowerMaxExpress BBA Connector Front unit Flat cable Screws for fastening PGM-5 Back unit module PGM-5 Wiring* Figure 4c – PGM-5 Mounting and Wiring in PowerMaxExpress Control Panel * It is strongly recommended to route the cable as shown to prevent interference which may occur if routed too close to the control panel's antennas.
- Page 4 WARRANTY WARRANTY Visonic Limited (the “Manufacturer") warrants this product only (the "Product") to the original purchaser only However, if the Manufacturer is held liable, whether directly or indirectly, for any loss or damage arising (the “Purchaser”) against defective workmanship and materials under normal use of the Product for a under this limited warranty, THE MANUFACTURER'S MAXIMUM LIABILITY (IF ANY) SHALL NOT IN period of twelve (12) months from the date of shipment by the Manufacturer.


Need help?
Do you have a question about the PowerMax Pro and is the answer not in the manual?
Questions and answers