
Related Manuals for Swagelok RS Series


Summary of Contents for Swagelok RS Series
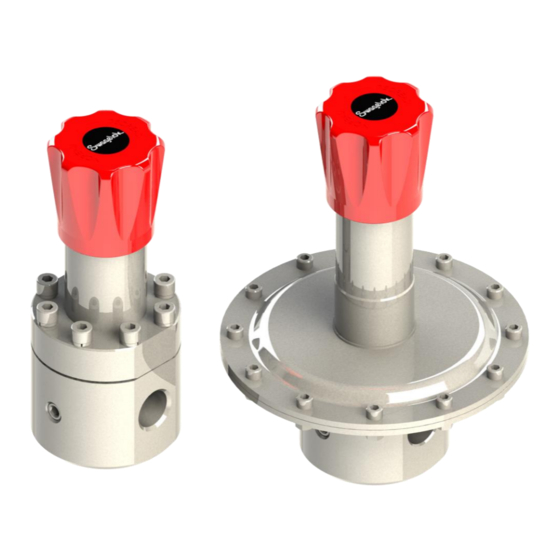
- Page 1 (LP)RS(H)4/6/8 Pressure-Reducing Regulator User Manual Read the complete manual before installing and using the regulator.
- Page 2 Safe Product Selection When selecting a product, the total system design must be considered to ensure safe, trouble-free performance. Function, material compatibility, adequate ratings, proper installation, operation, and maintenance are the responsibilities of the system designer and user. WARNING • Users must be trained and equipped for the handling, use, and servicing of pressure products and systems.
-
Page 3: Table Of Contents
Reassembly ..............................18 RS Series: Standard Diaphragm Sensing ..................... 18 RS Series: Standard Piston Sensing ......................18 RS Series: Diaphragm Sensing, Self-venting Option ..................18 RS Series: Piston Sensing, Self-venting Option ................... 19 LPRS Series ..............................19 Testing ................................20 Seat Leak Test .............................. -
Page 4: Introduction
It is not intended to be used as a safety relief valve. Oxygen Service For more information about hazards and risks of oxygen enriched systems see the Swagelok Oxygen System Safety technical report (MS-06-13). Cleaning and packaging to ensure compliance with product cleanliness requirements stated in ASTM G93 Level C is available. -
Page 5: Installation
The regulator is suitable for gases or liquids. Ensure compatibility between the regulator’s materials of construction and the system media. Swagelok recommends the use of a non-venting regulator when the process media is hazardous or toxic. Installation Verify that the regulator, its connections, and any accessories are undamaged. -
Page 6: Operation
Operation Required Tools for Operation No tools are required for changing the set pressure on a standard regulator. A 12 mm open-ended wrench and a 4 mm hex drive are required for anti-tamper regulators. Points of Attention Before Operation CAUTION The product can be hot or cold, depending on the environmental temperature and the process media temperature. -
Page 7: Maintenance
To reduce maintenance related system downtime to a minimum, either during commissioning or normal operation, Swagelok recommends having maintenance kits readily available on site. The need for maintenance kits is particularly important during the commissioning phase of a system installation due to residual assembly debris remaining in the system. -
Page 8: Points Of Attention Before Removal From The System
Points of Attention Before Removal from the System Swagelok recommends removing the regulator from the system for servicing and maintenance. Follow all local system safety and maintenance procedures when removing the regulator. WARNING Before removing a regulator from the system, to avoid personal injury, you must: •... -
Page 9: Assembly Reference Data
Assembly Reference Data Torque Recommended Lubrication Item Component Name Type(s) lbf·ft (N·m) (included in kit per Table 1) Body plug C1, C2 37 (50) Lubricate threads Body plug backup ring B1, B2, C1, C2 Body plug O-ring B1, B2, C1, C2 Poppet spring C1, C5 ①... - Page 10 For more information on RHPS series maintenance kits, refer to the Pressure Regulators, RHPS Series catalog, MS-02-430. RS(H) Series, Standard, Exploded View Fig 1...
- Page 11 RS Series, Diaphragm Sensing, Section View Fig 2...
- Page 12 RSH Series, Piston Sensing, Anti-tamper, Section View Fig 3...
- Page 13 RSH Series, Alternative Configuration Example; Control Range 6 Fig 4 RSH Series, Alternative Configuration Example; Control Range 9 Fig 5...
- Page 14 RS(H) Series, Self-venting Diaphragm, Section view Fig 6 RS(H) Series, Self-venting Piston, Section view Fig 7...
- Page 15 LPRS series: Exploded view Fig 8...
- Page 16 LPRS series: Cross-section view Fig 9...
-
Page 17: Disassembly
Maintenance kit components will be supplied preassembled where practicable to aid reassembly. Swagelok recommends replacing all O-rings removed during disassembly. Swagelok recommends that dynamic O-rings should be lightly lubricated per Table 2. NOTICE All threaded components must be lightly lubricated per Table 2 before reassembly to avoid... -
Page 18: Reassembly
14. Lightly lubricate the knob assembly stem (26) then insert it into the spring housing (23). RS Series: Standard Piston Sensing 1. Follow steps 1 through 7 of the RS series standard diaphragm sensing reassembly procedure. 2. Insert the piston plate O-ring (15), piston O-ring (17) and, if present, piston backup ring (18) and piston guide ring (19) into the piston plate (16). -
Page 19: Rs Series: Piston Sensing, Self-Venting Option
RS Series: Piston Sensing, Self-venting Option 1. Follow steps 1 through 7 of the RS series standard diaphragm sensing reassembly procedure. 2. Fit the self-vent seat O-ring (33) over the self-vent seat (32) then insert the seat into the self-vent piston (14). -
Page 20: Testing
Testing Swagelok recommends that the regulator be tested for seat and shell leakage to atmosphere. A well performing regulator will not show any indication of leaking. If any evidence of a leak is identified this must be rectified. Any damaged components must be replaced. -
Page 21: Troubleshooting
Troubleshooting Symptom Cause Remedy The outlet pressure creeps up, A damaged poppet and/or Replace the poppet and/or seat. without adjusting the spring. seat. Leakage around the body plug. A damaged O-ring. Replace the O-ring. A damaged diaphragm or O- Replace the diaphragm or O-ring. Leakage between the body and ring. - Page 24 Warranty Information Swagelok products are backed by The Swagelok Limited Lifetime Warranty. For a copy, visit swagelok.com or contact your authorized Swagelok representative. Swagelok, Snoop - TM Swagelok Company Krytox – TM The Chemours Company © 2018 Swagelok Company July 2018, RevB...
Need help?
Do you have a question about the RS Series and is the answer not in the manual?
Questions and answers