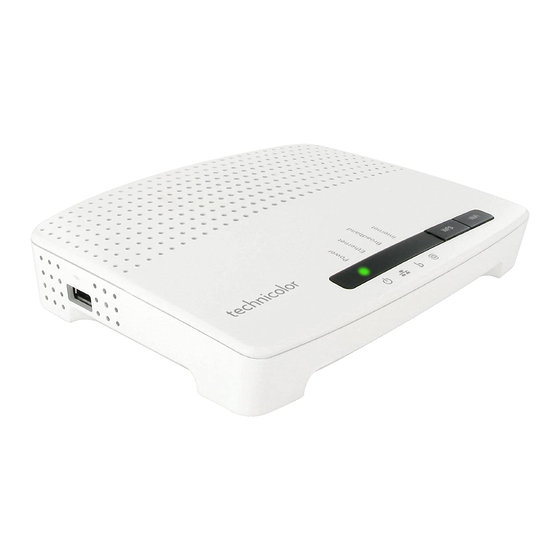
Technicolor TG582n Configuring Network Settings
Hide thumbs
Also See for TG582n:
- Cli reference manual (864 pages) ,
- Setup and user manual (94 pages) ,
- Quick setup manual (20 pages)
Advertisement
Table of Contents
- 1 Table of Contents
- 2 Ensuring Telnet Is Installed on Your Computer
- 3 Assigning a Static IP Address on Your Computer
- 4 Mapping out the IP Address Changes You Wish to Make to Your Tg582N Modem
- 5 Altering the DHCP Pool
- 6 Changing the Gateway Address
- 7 USB File and Printer Sharing
- 8 Troubleshooting
- Download this manual
Advertisement
Table of Contents

Summary of Contents for Technicolor TG582n
- Page 1 CHANGE NETWORK SETTINGS Technicolor TG582n...
-
Page 2: Table Of Contents
2. Assigning a static IP address on your computer a. Windows XP b. Windows Vista/7 3. Mapping out the IP address changes you wish to make to your TG582n modem 4. Accessing the Network page in the modem GUI 5. Altering the DHCP Pool a. -
Page 3: Ensuring Telnet Is Installed On Your Computer
Ensuring Telnet is installed on your computer Telnet is required for a small portion of this procedure. On Windows XP computers Telnet is automatically installed during the operating system installation while on Windows Vista/7 this feature is not installed by default. To identify whether Telnet is installed on your computer: Open a Command Prompt on your computer. -
Page 4: Assigning A Static Ip Address On Your Computer
Assigning a static IP address on your computer In order to change DHCP pool settings it is a requirement that no connected computers or devices are currently being assigned a dynamic IP address from the modems DHCP pool otherwise errors will occur during this process. -
Page 5: Mapping Out The Ip Address Changes You Wish To Make To Your Tg582N Modem
192.168.1.64 – 192.168.1.253 192.168.1.254 The TG582n also has a secondary gateway address of 10.0.0.138 and you should not create your new addressing within this range. Note: Changing the DHCP pool will break the USB file & printer sharing feature of the modem. Steps to... -
Page 6: Altering The Dhcp Pool
Altering the DHCP Pool 1. Remove the tick beside 'Use DHCP Server' 2. Click the [Apply] button to disable the current DHCP pool. You will be reviewed to the ‘Overview’ page 3. You will now need to process a Telnet command. Keep your internet browser page open as you will come back to it to process further changes Using Telnet to drop DHCP connected devices a. -
Page 7: Changing The Gateway Address
e. Subnet - The subnet mask being set for the new modem IP 7. Click the [Apply] button when complete The changes will be applied and you will be redirected back to the ‘Overview’ page where your new pool is now visible. 8. -
Page 8: Usb File And Printer Sharing
To re-enable file and printer sharing via the USB port on the TG582n after making a pool change you will need to perform a series of Telnet commands. If you have no intention of attaching portable storage devices or printers via the modem USB port you may safely ignore the following steps. -
Page 9: Troubleshooting
Troubleshooting When following these instructions fully you should have no problems changing the modems gateway/DHCP pool addresses to your desired IP range. If you are receiving ‘page cannot be displayed’ errors after making the changes it may be that there are differences in settings between the DHCP pool and the gateway IP address. - Page 10 e. In the ‘IP Addresses’ sub-section check that your new gateway IP address is listed (along with 10.0.0.138) and that it matches the gateway address you set up in the DHCP pool. If the IP address is still the default 192.168.1.254 or is not the same as that entered in your DHCP pool repeat Step 7.


Need help?
Do you have a question about the TG582n and is the answer not in the manual?
Questions and answers