Preventice Solutions BodyGuardian MINI Patient Instruction Manual
Hide thumbs
Also See for BodyGuardian MINI:
- Patient instruction manual (28 pages) ,
- Patient instruction manual (21 pages)
Table of Contents
Advertisement
Advertisement
Table of Contents

Subscribe to Our Youtube Channel
Related Manuals for Preventice Solutions BodyGuardian MINI


Summary of Contents for Preventice Solutions BodyGuardian MINI
- Page 1 Patient Instruction Manual...
- Page 2 CONTACT INFORMATION Return your monitor on: ------------ / ------------ / ------------ Did you receive your monitor at home? If you are receiving the monitor at home and require assistance, call Preventice Services at: 888.500.3522 Patient services Billing assistance 888.500.3522 (press 1, 1) 888.747.4701 24 hours a day, 7 days a week 8:00 a.m.
- Page 3 INSURANCE INFORMATION On behalf of your physician, you are being provided with a heart monitor from Preventice Services. This test will be billed in two parts: 1. Your medical professional will bill your insurance for the in-office hook-up and the final reading of the test results. 2.
- Page 4 INTRODUCTION Welcome to Your physician has prescribed you the BodyGuardian Mini heart monitor and monitoring center service provided by Preventice Services to detect irregular heart rhythms. You must wear the monitor for the length of time your doctor has prescribed.
- Page 5 INTRODUCTION Equipment Strips or an Your equipment will include either lead set (with electrodes). You will not receive both. Follow the instructions for the equipment you receive. Saline wipes BodyGuardian Mini monitor Strip monitor ECG lead wires standard ECG electrodes charging cord Holter diary...
- Page 6 ECG lead set? Strips to wear your This section (pages 6-11) includes instructions for using ECG lead set, see page 12. BodyGuardian Mini monitor. If you received an Strip ECG lead set Decide which chest placement you will use before Prepare your skin you prepare your skin.
- Page 7 GETTING STARTED for patients using STRIPS Attach the monitor to the Strip 1. Slide the monitor into the black molding on the Strip until the micro-USB connector on the Strip is inserted completely into the monitor. Tips • This is most easily accomplished on a flat surface, like a table.
- Page 8 GETTING STARTED for patients using STRIPS Attach to your chest 1. Hold the monitor and Strip assembly by the monitor, then peel away the Strip’s adhesive backing. The backing is removed in two separate pieces by peeling back the tabs. 2.
- Page 9 GETTING STARTED for patients using STRIPS Once the Strip makes contact with your skin, you cannot adjust its position. Preferred placement (vertical) Ensure the arrow at the top of the Place the top of the Strip just below the jugular notch, which is the Strip on your chest is pointing up.
- Page 10 GETTING STARTED for patients using STRIPS Once the Strip makes contact with your skin, you cannot adjust its position. Alternate placement (horizontal) Place the right side of the Strip near the center of the chest over the sternum. Ensure the arrow on the Strip over your left chest, near your left arm, is pointing up.
- Page 11 2. Revisit the previous steps in this manual to ensure that: • The monitor is securely attached to the Strip (page 7). • BodyGuardian Mini is properly placed and securely adhered to your chest (pages 9-10). 3. Power on the monitor by pressing and releasing the center button on the monitor once.
- Page 12 Strips or an ECG lead set? ECG lead set This section (pages 12-15) includes instructions for using an Strips, see page 6. to wear your BodyGuardian Mini monitor. If you received Strip ECG lead set Prepare your skin patient right...
- Page 13 GETTING STARTED for patients using an ECG LEAD SET Attach the monitor and electrodes 1. Slide the BodyGuardian Mini monitor onto the center connector of the lead wires. connector Ensure the connector is inserted completely into the monitor. 2. Snap one ECG electrode into the red lead, one into the green lead, and one into the center monitor connector.
- Page 14 GETTING STARTED for patients using an ECG LEAD SET Attach to your chest patient right patient left Remove the adhesive backing from each of the three electrodes, then attach them to the following locations: Monitor Attach to your right side of your chest, below your collarbone.
- Page 15 • The monitor and leads are securely attached to the ECG electrodes (page 13). • BodyGuardian Mini is properly placed and securely adhered to your chest (page 14). 3. Power on the monitor by pressing and releasing the center button on the monitor once.
- Page 16 DAILY USAGE Recording your symptoms If you begin to feel symptoms related to the reason your monitor was prescribed, such as dizziness, chest pain, or shortness of breath, you can manually record these events. 1. On the monitor, press and release the center button once.
- Page 17 As soon as the monitor is fully charged, use a new Strip to re-apply BodyGuardian Mini to your chest. See pages 6-11 for instructions. If you are using an ECG lead set If you are using an ECG lead set: 1.
- Page 18 Revisit the previous steps in this manual to ensure that: • The monitor is securely attached to the Strip (page 7) or ECG lead set (page 13). • BodyGuardian Mini is properly placed and securely adhered to your chest (pages 9-10, 14). • If the monitor continues to beep: Remove the Strip or ECG electrodes, use a new Strip or ECG electrodes, and repeat the setup steps beginning on page 6 (Strip) or page 12 (ECG electrodes).
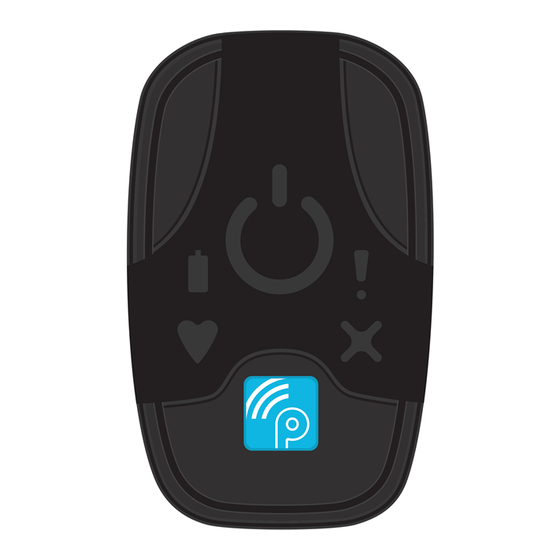
- Page 19 DAILY USAGE Monitor indicators * The monitor lights are faint. They can best be detected in a dark or dimly lit room. Sounds Lights* What it means Caused by none every 5 sec Monitoring successfully. none Symptom marked. Press-and-release button push. Monitor cannot detect good contact with skin to begin every 1 sec Poor skin contact.
- Page 20 TIP: For easiest removal, start by peeling back the edge of the Strip furthest from the monitor. 2. Remove the monitor from the Strip, then charge the monitor (see page 17). 3. Re-attach BodyGuardian Mini to your chest (see pages 6-11). Replacing the ECG electrodes Change the ECG electrodes every three days OR when they no longer adhere to the skin.
- Page 21 Charge the monitor when removing BodyGuardian Mini from your chest If you ever need to remove BodyGuardian Mini (to change the Strip or electrodes - or for an MRI, for example), charge the monitor after removing it from your chest. See page 17 for instructions on charging.
- Page 22 RETURNING EQUIPMENT Return your equipment immediately after your service ends Turn off the monitor by pressing and holding the center button for 3 seconds, until you hear 3 monotone beeps. If you are returning your equipment to your health care provider: 1.
- Page 23 PATIENT SURVEY We appreciate your feedback. Please return this survey inside the box once your study is completed. This survey can also be completed online at: www.preventicesolutions.com/patients/patient-survey.html Patient name City State Doctor's office / hospital Contact me via: Phone My hook-up took place at: Home Physician's office Email...
- Page 24 Comments I hereby authorize Preventice Solutions, Inc. to use, reuse, publish or republish my name in light of any communication I made and photographic likeness in all forms and all media for advertising, marketing, and any other lawful purposes. I release and discharge Preventice Solutions, Inc. from any and all claims and demands that may arise out of or in connection with the use of photographs, name or likeness, including without limitation any and all claims for libel or violation of any right of publicity or privacy.
Need help?
Do you have a question about the BodyGuardian MINI and is the answer not in the manual?
Questions and answers
If I do not have a replacement adhesive strip, and need to charge my monitor, do I remove the monitor , charge it and then reattach it to my current strip on my chest?
No, you cannot reattach the monitor to the same adhesive strip after charging. You must remove the monitor from your chest, charge it, and then use new electrodes to reapply the BodyGuardian Mini.
This answer is automatically generated