Subscribe to Our Youtube Channel
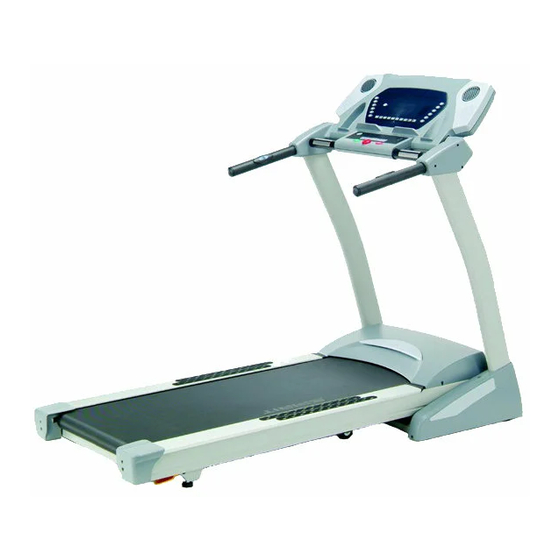
Summary of Contents for Spirit XT 600
- Page 1 OWNER’S MANUAL PLEASE CAREFULLY READ THIS ENTIRE MANUAL BEFORE OPERATING YOUR NEW TREADMILL!
- Page 2 Service Checklist - Diagnosis Guide…………………………………………………………. 23 Manufacturer’s Limited Warranty………………………………………………………………24 ATTENTION- THIS TREADMILL IS INTENDED FOR RESIDENTIAL USE ONLY AND IS WARRWNTED FOR THAT APPLICATION. ANY OTHER APPLICATION VOIDS THIS WARRANTY IN ITS ENTIRETY. XT200. / XT 600 / XT 800...
-
Page 3: Product Registration
Through your dealer, Spirit will do all we can to make your ownership experience as pleasant as possible for many years to come. The local dealership where you purchased this treadmill is your administrator for all Spirit warranty and service needs. -
Page 4: Important Safety Instructions
Important Safety Instructions WARNING - Read all instructions before using this appliance. DANGER - To reduce the risk of electric shock disconnect your Spirit treadmill from the electrical outlet prior to cleaning and/or service work. WARNING - To reduce the risk of burns, fire, electric shock, or injury to persons, install the treadmill on a flat level surface with access to a 120-volt, 20-amp grounded outlet. -
Page 5: Important Electrical Information
Whenever the adapter is used, it must be held in place by a metal screw. Grounded Outlet Adapter Metal Screw XT200. / XT 600 / XT 800 Tab of Grounding Screw... -
Page 6: Safety Tether Cord
NEVER mount or dismount the treadmill while the belt is moving. Spirit treadmills ● start with at a very low speed and it is unnecessary to straddle the belt during start up. - Page 7 XT200. / XT 600 / XT 800...
- Page 8 Assembly Instructions (XT200 / XT600) XT200. / XT 600 / XT 800...
- Page 9 6pcs of 5/16”x 5/8” Button Head Socket Screw in the remaining holes on the sides and front of the L & R tubes. Do not tighten these screws until assembly is complete. XT200. / XT 600 / XT 800...
- Page 10 2. The mounting screws for the Upright covers are screwed into the base of the treadmill. You must remove these first. Install the 6pcs of 3.5mm x 25mm Phillips head Screw into the upright covers. XT200. / XT 600 / XT 800...
- Page 11 Assembly Instructions (XT800) XT200. / XT 600 / XT 800...
- Page 12 6pcs of 5/16”x 15mm Button Head Socket Screw in the remaining holes on the sides and front of the L & R tubes. Do not tighten these screws until assembly is complete. XT200. / XT 600 / XT 800...
- Page 13 6. Install the outside pieces of the console end caps with 6pcs of 3.5mm x 25mm Button Head Socket Screw. (Be careful, don’t cut the wires.) 7. Attach the accessory tray onto the cross bar. XT200. / XT 600 / XT 800...
-
Page 14: To Unfold The Treadmill
After folding simply roll the treadmill away. ■ ■ ■ ■ XT800 Carefully lift the treadmill at the rear roller area, grasping the two side end caps, and roll the treadmill away. XT200. / XT 600 / XT 800... - Page 15 XT200. / XT 600 / XT 800...


Need help?
Do you have a question about the XT 600 and is the answer not in the manual?
Questions and answers