Page 1
uft Wasser W r etauscher 
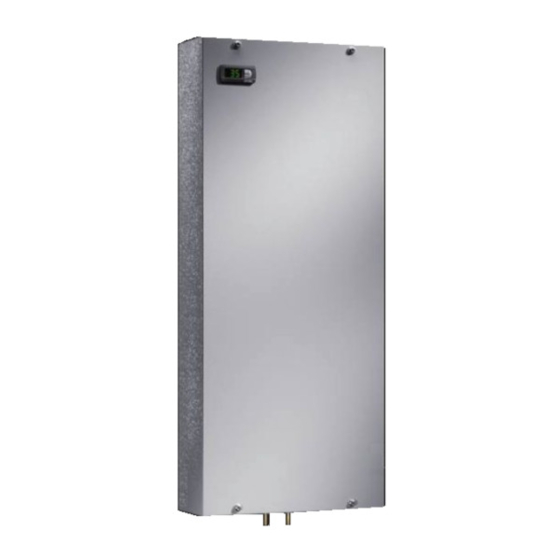
Air water heat excha gers cha geurs ther iques air eau ucht water war tewisse aars uft vatte v r ev x are Sca biat ri di ca re aria acqua I terca biad res de ca r aire agua 水冷式熱交換器...
The bullet point indicates an action to be performed. Danger! Immediate danger to life and limb! Caution! Potential threat to the product and the environment. Note: Useful information and special features. Rittal air/water heat exchanger assembly instructions...
3.1.2 Control Rittal air/water heat exchangers are fitted with a Fig. 1: Device description controller for setting the functions of the heat ex- changer.
Condensate hoses are available as accessories installation or use. All risk is borne solely by the user. (refer also to Accessories in the Rittal Catalogue). Proper usage also includes the observation of all valid documents and compliance with the inspection 3.1.6 Leak detection...
This may lead to an air short-circuit and therefore prevent adequate climate con- trol, or may even cause the air/water heat exchanger’s internal safety devices to cease cooling operation. Fig. 4: Targeted air routing inside the enclosure Rittal air/water heat exchanger assembly instructions...
Rubber external), use the assembly parts supplied Fig. 7: Push the device over the spacers and screw-fasten in the pack. Note: For models 3373.XXX, 3374.XXX and 3375.XXX, steps 4 and 5 are additionally required. Rittal air/water heat exchanger assembly instructions...
Page 8
Using the stoppers, seal the 4 openings in the cover. Fig. 13: Seal the openings in the cover Note: The enclosure must be sealed on all sides, especially in the vicinity of the cable entry openings and the enclosure base. Rittal air/water heat exchanger assembly instructions...
– must be laid without kinks. – must not have a reduced cross-section if extended. The condensate hose is available as an accessory (refer also to Accessories in the Rittal Catalogue). Fig. 15: Connecting the cooling water inlet and return...
4 Assembly and connection 4.6 Notes on electrical installation 4.6.4 Potential equalisation Rittal recommends connecting a conductor with When performing the electrical installation, it is impor- a nominal cross-section of at least 6 mm to the tant to observe all valid national and regional regula-...
Page 12
= 30 V max. min. max. max. = 200 V max. Tab. 4: Contact data K1, K2 = 10 V min. Tab. 3: Contact data Kx Note: For technical data, refer to the rating plate. Rittal air/water heat exchanger assembly instructions...
(see fig. 2, page 4) will run continuously and Tab. 5: Warning messages on the display permanently circulate the internal enclosure air. The magnetic valve controls the cooling water flow as specified by the temperature setpoint. Rittal air/water heat exchanger assembly instructions...
To reset the stored internal temperatures keep the resetting the values. H4 “set” key pressed for 5 seconds. Navigate to level ▼ r8 with the H2 (▲ K ) or H3 ( ) keys. Press the Rittal air/water heat exchanger assembly instructions...
6.1.10 Programming overview of Basic controller Setp i t = 1 sec. = 1 sec. Para eters = 5 sec. = 5 sec. Fig. 20: Programming overview of Basic controller Rittal air/water heat exchanger assembly instructions...
2 seconds. In regular operation, the display shows both the temperature (in degrees Celsius or Fahrenheit – users may switch between the two) and any error messages. Rittal air/water heat exchanger assembly instructions...
While in programming mode, if you do not press any 6.2.4 Eco-mode buttons for approx. 30 sec., the display will first flash, All Rittal TopTherm heat exchangers with e-Comfort then the controller will switch back to normal display controller from firmware 3.2 have the energy-saving mode.
If necessary, the differential may be altered here within the range of 3 – 15 K. Eco-mode operation 0 Eco-mode OFF: 0 / Eco-mode ON: 1 Tab. 8: Editable parameters Rittal air/water heat exchanger assembly instructions...
System message is evaluated by relay 1 System message is evaluated by relay 2 System message is neither sent to the system message relay, nor does it appear in the display (setting can only be made using RiDiag soft- ware) Rittal air/water heat exchanger assembly instructions...
Reset: Switch power supply off, then switch display and the controller board on again after approx. 2 sec. Display message Cable defective; connection loose Replace the boards Tab. 10: Troubleshooting with the e-Comfort controller Rittal air/water heat exchanger assembly instructions...
Fig. 27: Disconnect the mains plug (X1) stand upright. (Comfort version shown in figure) Disposal can be performed at the Rittal plant. Please contact us for advice. Emptying (for units with Basic controller only): During storage and transportation below freezing...
Operating temperature range °C +1…+70 Setting range °C +20…+55 Noise level dB (A) Protection category to IEC 60 529 – IP 55 Dimensions (W x H x D) 280 x 550 x 120 Weight Rittal air/water heat exchanger assembly instructions...
Page 25
Operating temperature range °C +1…+70 Setting range °C +20…+55 Noise level dB (A) Protection category to IEC 60 529 – IP 55 Dimensions (W x H x D) 400 x 950 x 145 Weight Rittal air/water heat exchanger assembly instructions...
Page 26
Operating temperature range °C +1…+70 Setting range °C +20…+55 Noise level dB (A) Protection category to IEC 60 529 – IP 55 Dimensions (W x H x D) 400 x 1400 x 220 Weight Rittal air/water heat exchanger assembly instructions...
Controller board – Unit model Display – Fabrication number Temperature probe – Date of manufacture Float-actuated switch (only for 33XX.5XX) This information may be found Cover on the rating plate. Heat exchanger Rittal air/water heat exchanger assembly instructions...
11 Further technical information 11.1 Hydrological data To avoid system damage and to ensure safe operation, Rittal GmbH & Co. KG recommends the use of system water or an additive whose composition does not differ from that presented in the following summary:...