Yealink T42G Quick Start-Up
Hide thumbs
Also See for T42G:
- User manual (29 pages) ,
- Quick start manual (12 pages) ,
- Configuring (10 pages)
Table of Contents
Advertisement
Quick Links
minder
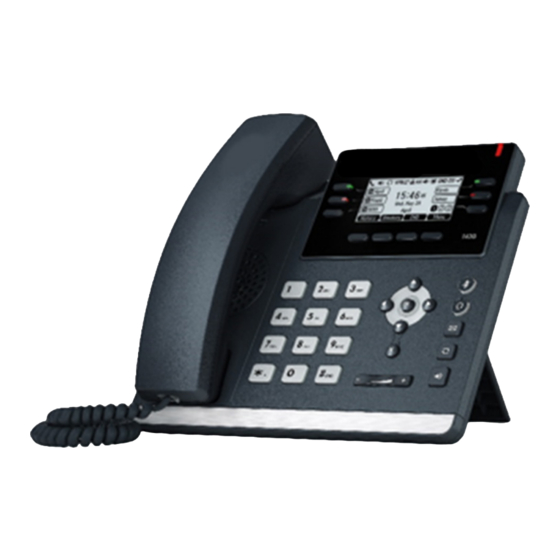
IP PHONE T42G/S
What is included in your T42G/S Package:
www.mindercloud.com.au
Virtual PABX
How to assemble your IP PHONE T42G/S:
1. Attached the stand, as shown below.
2. Connect your handset and optional
headset, as shown below.
NOTE: Headsets are purchased seperately.
To Startup your IP PHONE T42G/S:
After the IP Phone is connected to the network and supplied
with power, it automatically begins the initialisation process.
After Startup, your IP Phone is ready to use (pre-configured).
: Your Quick Startup
3. Connect your network and power, as
shown below.
NOTE: You have 2 Power Options - AC and PoE.
If PoE is provided, you do not need to connect the
Power Adapter.
Advertisement
Table of Contents

Related Manuals for Yealink T42G


Summary of Contents for Yealink T42G
- Page 1 Virtual PABX : Your Quick Startup IP PHONE T42G/S How to assemble your IP PHONE T42G/S: 1. Attached the stand, as shown below. 3. Connect your network and power, as shown below. 2. Connect your handset and optional headset, as shown below.
- Page 2 HANDSET SETTINGS: BASIC CALL FEATURES: Add a Contact Placing Calls Call Resume > Press the Directory soft key when the phone is Using the Handset: > If there is only a call on hold, press the Resume soft idle, and then select the desired group. Pickup the handset, enter the number and press the Send key.
Need help?
Do you have a question about the T42G and is the answer not in the manual?
Questions and answers