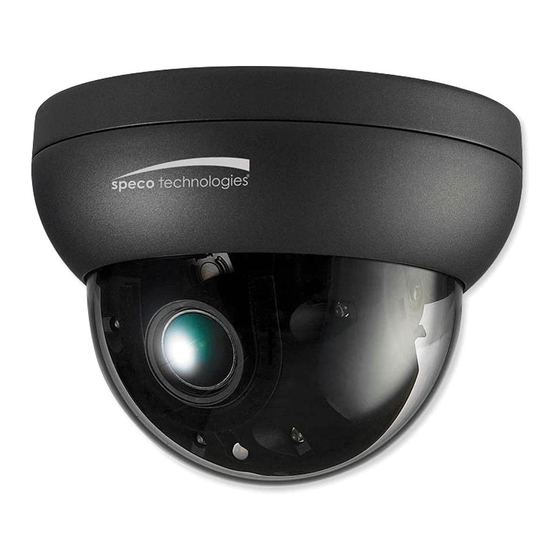
Summary of Contents for Speco Flexible Intensifier O8FD4M
- Page 1 Flexible Intensifier® Technology Bullet IP Camera QUICK INSTALLATION GUIDE O8FD4M Please read this guide carefully before installation and operation of the product.
- Page 2 Thank you for purchasing this product. This guide is designed to be a reference tool for the product. Please read it carefully before operating the product and retain it for future reference. Should you require any technical assistance, please contact Speco Technologies Technical Support. CAUTION...
-
Page 3: Limitation Of Liability
PRECAUTIONS Please read the manual carefully before the installation in order to set up the camera correctly and to obtain the best picture quality. Installation and services should only be carried out by an authorized personnel according to local safety regulations. -
Page 4: Product Overview
1. PRODUCT OVERVIEW Key Features 8.5 Mega pixel 1/2.5" progressive scan CMOS image sensor for excellent image quality Vandal resistant IP67 compliant 3-Axis mechanism Triple stream for simultaneous operations Supports up to 4K ultra-HD image resolution (3840 x 2160) ... -
Page 5: Name And Function Of Each Part
Audio Input / Output Microphone input / 1x Line-In, Line-Output / 1x Line-Out Password protection Security User access log Network HTTPS encryption Supported Protocol HTTP, HTTPS, DNS, RTSP, RTP, TCP, UDP, ICMP, DHCP Intelligent Video Motion detection (4 Separate blocks) Alarm Trigger Motion detection, External Input (NO / NC Type) System... -
Page 6: Name And Function
Junction Box Tapping Screws (Ø 4 x 30) x 4 Plastic Anchor x 4 Silicone Template x 1 Junction Box x 1 Screw PH (M4 x 12) x 3 L-Wrench x 1 2.2 Name and Function ITEM DESCRIPTION Power Connector DC12V Network and POE POE (Power Over Ethernet) and LAN cable... -
Page 7: Installation Overview
Analog Video Output 3. INSTALLATION 3.1 Installation overview Ceiling Ceiling Tile Drilling Template Plastic Anchor x 3 Camera Ass'y Tapping Screw (4 x 30) x 3 L-Wrench Top Cover Ass'y ① Paste a Drilling Template on the ceiling or wall and drill screw points which will be dome for installation. ②... -
Page 8: 3-Axis Adjustment
Ceiling_Junction Box Ceiling Tile Drilling Template (Silicone) Plastic Anchor x 4 Junction box Tapping Screw (4 x 30) x 4 Camera Ass'y PH (M4 x 12) x 3 L-Wrench Top cover Ass'y 3.2 3-Axis Adjustment Tool-free 3-Axis mounting mechanism Perfect Tri-axis! Tilt 65°... - Page 9 3.3 INSTALLATION EXAMPLE 3.3.1 Installation Example LAN Switch Router Internet Remote Access Local Access E-Mail / FTP 3.3.2 Connecting to the Network Open up IP Scanner. IP Scanner can search for the device on the local network. Please note that only devices that are on the same subnet can be discovered. The device is set to DHCP mode by default.
- Page 10 1) Open the browser and enter the camera’s IP address in the address bar or double click the device in IP Scanner. Enter the IP address here 2) Enter the user name and password when prompted. 3) Default user name is admin and password is 1234. 4) If prompted for installation of the Active-X plug-in, allow the installation.
-
Page 11: Dimensions (Mm)
4. DIMENSIONS (mm) Ceiling Ceiling_Junction Box...


Need help?
Do you have a question about the Flexible Intensifier O8FD4M and is the answer not in the manual?
Questions and answers