Sign In
Upload
Download
Table of Contents
Contents
Add to my manuals
Delete from my manuals
Share
URL of this page:
HTML Link:
Bookmark this page
Add
Manual will be automatically added to "My Manuals"
Print this page
×
Bookmark added
×
Added to my manuals
Manuals
Brands
Speco Manuals
Security Camera
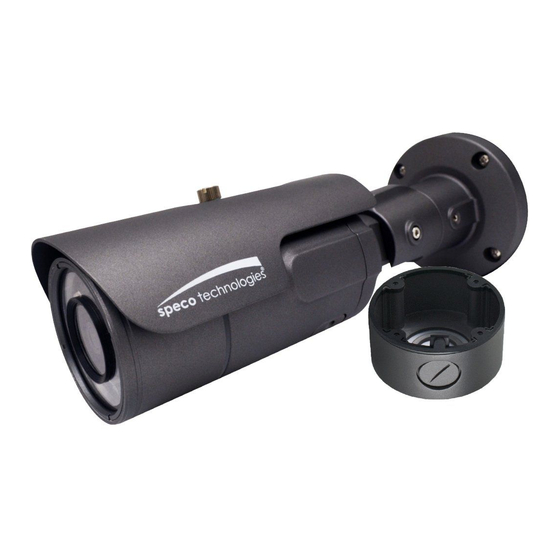
O8FB7M
User manual
Speco O8FB7M User Manual
Hide thumbs
1
2
3
Table Of Contents
4
5
6
7
8
9
10
11
12
13
14
15
16
17
18
19
20
21
22
23
24
25
26
page
of
26
Go
/
26
Contents
Table of Contents
Bookmarks
Table of Contents
Table of Contents
1 Introduction
2 Web Access and Login
Lan
3 Live View
4 Camera Configuration
System
System Restart
Factory Default
Export / Import
Date / Time
System Log
SD Card
System Information
Basic Setup
Video Setup
Audio Setup
Image Setup
Display
Network Setup
IP Address Setup
Dns
DDNS Client
Ntp
Ftp
Smtp
Rtsp
Snmp
Port Setting
IP Filter
Upnp
Event Setup
Motion Detection
Tampering Alarm
Alarm in Mode
Notification
SD Recording
User Admin
Password Change
User Account
Appendix
Appendix 1 Troubleshooting
Advertisement
Quick Links
1
Web Access and Login
2
Factory Default
3
System
4
Ip Address Setup
5
Network Setup
6
Rtsp
7
Appendix 1 Troubleshooting
Download this manual
IP Camera User Manual
O8FB7M /O8FD4M
O6FB7M /O6FD4M
Please read this manual carefully before operating the unit and keep it for further reference.
Table of
Contents
Previous
Page
Next
Page
1
2
3
4
5
Advertisement
Table of Contents
Need help?
Do you have a question about the O8FB7M and is the answer not in the manual?
Ask a question
Questions and answers
Related Manuals for Speco O8FB7M
Security Camera Speco Flexible Intensifier O8FD4M Quick Installation Manual
Technology bullet ip camera (12 pages)
Security Camera Speco O6FB7M Quick Installation Manual
Flexible intensifier technology bullet ip camera (11 pages)
Security Camera Speco O8FBMS1 Quick Start Manual
(9 pages)
Security Camera Speco O8FD1 User Manual
8mp ip camera (59 pages)
Security Camera Speco O8FT1W User Manual
8mp ip camera (59 pages)
Security Camera Speco O8FD1M Quick Start Manual
(9 pages)
Security Camera Speco O8FB1 Quick Start Manual
(9 pages)
Security Camera Speco O8FB1M Quick Start Manual
(9 pages)
Security Camera Speco O8FD1 Quick Start Manual
(9 pages)
Security Camera Speco O8FT1 Quick Start Manual
(9 pages)
Security Camera Speco O8FT1M Quick Start Manual
(9 pages)
Security Camera Speco O8FT1W Quick Start Manual
(9 pages)
Security Camera Speco O8VB1 Quick Start Manual
(9 pages)
Security Camera Speco O8T8M Quick Start Manual
(9 pages)
Security Camera Speco O8VT3 Quick Start Manual
(9 pages)
Security Camera Speco O8VB3 User Manual
8mp ip camera (44 pages)
This manual is also suitable for:
O8fd4m
O6fb7m
O6fd4m
Table of Contents
Print
Rename the bookmark
Delete bookmark?
Delete from my manuals?
Login
Sign In
OR
Sign in with Facebook
Sign in with Google
Upload manual
Upload from disk
Upload from URL


Need help?
Do you have a question about the O8FB7M and is the answer not in the manual?
Questions and answers