
Related Manuals for NatComm DS6


Summary of Contents for NatComm DS6
- Page 1 USER GUIDE For Technical Assistance Please Ph: 07 5596 5128 or Email : info@natcomm.com.au...
-
Page 2: Product Description
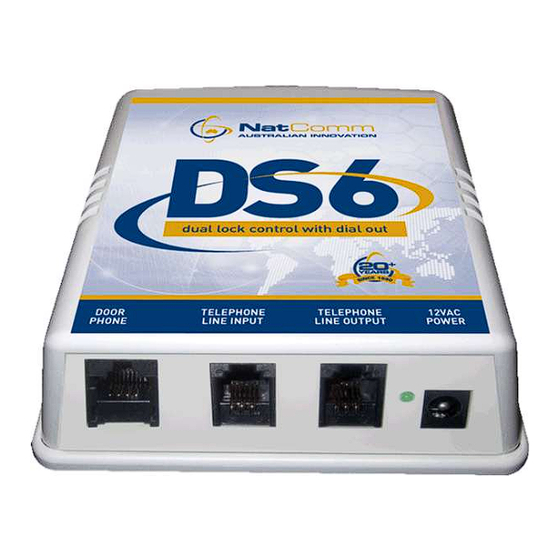
DS6 is designed for use with PBX systems (Analogue, ISDN, IP or Cloud) that are unable to ‘Hot Dial’ from the extension that DS6 is connected to. DS6 is designed to DIAL any pre-programmed phone number or extension number when triggered by its attached Door Phone. - Page 3 DS7 - As per DS2 - works with telephone instead of Door Phone. DS8 - As per DS6 - works with telephone instead of Door Phone. DS9 - As per DS3 - works with telephone instead of Door Phone ...
-
Page 4: Door Phone Range
Available in Vertical (displayed) or Horizontal orientation. Marine Grade Stainless Steel Face plate. Blue and White LED Night illumination. Supplied with Wall Mount Box to assist installation. Optional Surface Mounting Kit is available. (130mm Wide, 264mm High, 30mm Depth Page 4 Natcomm... -
Page 5: Door Phone Covers
Door Phones, so that your Door Phone can be mounted onto a wall surface, rather than into it. Two separate surface mounting kits are available, to cater for the different sized DP2- DP5 Door Phones: Model SMK2 for DP2 Door Phones Model SMK3 for DP3, DP4, DP5 Door Phones Natcomm Page 5... -
Page 6: Operation
3 activate LOCK RELAY 2 (leave it ON) 4 de-activate LOCK RELAY 2 (leave it OFF) Once the CALLED PARTY has hung up, DS6 will detect the ‘hang up tones’ and then terminate connection to the Door Phone. Note - Due to the possibility that your PBX system may not output hang up tones, or “AUSTRALIAN Cadence”... -
Page 7: Lock Control
LOCK CONTROL Your DS6 is provided with TWO internally fitted relays which can be used to control TWO LOCKS or ONE LOCK and ONE OTHER DEVICE such as a Video Camera, Recorder or Light. Relay Specification - Dry Relay Contacts rated at 12V/1Amp. -
Page 8: Lock Installation
Lock 1 NOTE- Do not use the supplied DS6 Controller 12V plug pack to also provide 12V power for the lock, as this may cause damage to DS6. You must use a separate 12V source, with a maximum rating of 12V/1A. -
Page 9: Installation Diagram
INSTALLATION DIAGRAM Natcomm Page 9... -
Page 10: Installation Details
For your convenience, an interface unit with screw terminals is supplied and should be connected to the DS6 unit using the short RJ to RJ cable that is provided with it. Use of the interface unit is not required unless you plan to use the internal relay for Lock Control. -
Page 11: Connecting The Door Phone
4 Pin Phoenix Plug is supplied with all Door Phones which allows 4 wires from the Door Phone to connect to the DS6 Controller. A solid core cable should be used to interconnect the devices. Cat5 cable is ideal and will allow the units to be up to 300m apart without any loss of performance. -
Page 12: Troubleshooting
You should remove DS6 from the Analogue extension and connect an Analogue • telephone or test phone in its place. You should only fit DS6 back on the Analogue extension once you have proven that you can Dial the Desired Number from your Analogue telephone or test phone. -
Page 13: Balance Pot Adjustment
DO NOT use a telephone in close proximity to the door phone, as feedback interference will affect the Balance Pot settings. The Balance POT does not increase volume. Moving it when unnecessary may cause deterioration in audio quality. Natcomm Page 13... - Page 14 IMPORTANT NOTE Note - After each power up DS6 will prepare to enter programming mode for 30 seconds. During this time, dial tone is not available. You can cancel out of this mode (before the 30 second limit) and achieve dial tone by Hook Flashing, Hanging Up OR pressing any DTMF Touch Tone digit other than #.
-
Page 15: Programming Procedure
To enter the LOCK 1 OPEN TIME press #6xx xx = time limit in seconds that LOCK 1 will remain open after pressing **. It can be set from 01-99 (seconds) (for example, press #630 for 30 seconds) Natcomm Page 15... -
Page 16: Dial Out Delay
If x = 4 - delay is 4.0 seconds If x = 9 - delay is 6.5 seconds RESET TO FACTORY DEFAULT SETTINGS To RESET to Factory Defaults, press 13579 TO EXIT PROGRAMMING MODE - HANG UP. ALL ENTRIES ARE SAVED IN PERMANENT MEMORY. Page 16 Natcomm... - Page 17 If you experience a problem, TURN OFF any SWITCH MODE POWER SUPPLIES located near DS6 (and its power supply) and test if the problem is resolved. If the DS6 Power Supply is connected to an Uninterruptable Power Supply, remove it and test if the problem is resolved.
- Page 18 If your lock operates, then the problem is located in the wires of the connection box, the RJ to RJ lead connecting to the DS6 unit or the relay within the DS6 unit itself. If possible, please bypass the connection box and the RJ to RJ lead connecting to the DS6 unit by feeding the two power supply wires of the electric lock into an RJ45 plug in positions 2 &...
-
Page 19: Troubleshooting Audio
Door Phone from its normal position and move it closer to the DS6 unit so that you can connect it using a temporary new CAT5 cable. Please ensure this temporary test cable is no less than 3 meters away from your DS6 unit in order to prevent it generating feedback. -
Page 20: Specifications
Damage caused to this device or attached equipment by lightning strikes or over voltage surge is not covered under this warranty. THE CASE IS SEALED AT THE FACTORY OPENING THE CASE WILL VOID THE WARRANTY Page 20 Natcomm...
Need help?
Do you have a question about the DS6 and is the answer not in the manual?
Questions and answers