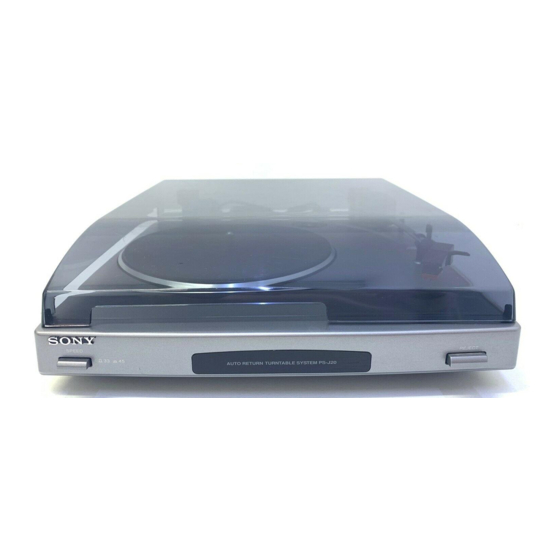
Table of Contents

Summary of Contents for Sony PS-J20
- Page 1 4-228-796-12(1) Stereo Turntable System Operating Instructions PS-J20 © 2000 by Sony Corporation...
- Page 2 Never use the plug without the fuse cover. If you should lose the fuse cover, please contact your nearest Sony service station. Precautions On safety • Before operating the unit, check that...
-
Page 3: Table Of Contents
Welcome! Thank you for purchasing the Sony Stereo Turntable System. Before operating the unit, please read this manual thoroughly and retain it for future reference. Convention The following icon is used in this manual: Indicates hints and tips for making the task easier. -
Page 4: Assembling The Turntable
Getting Started Assembling the Turntable Place the rubber mat on the platter. To make sure it operates properly, rotate the platter clockwise once or twice with your hand. Notes on installation • Place the turntable on a level surface. • Avoid placing the unit near electrical appliances (such as a television, hair dryer, or fluorescent lamp) which may cause hum or noise. -
Page 5: Hooking Up The Turntable
Hooking up the Turntable The phono cables and earth lead come attached to the rear of the cabinet. Connect the cable with the red plug to the right PHONO IN R input jack on the amplifier and connect the cable with the white plug to the left PHONO IN L input jack. -
Page 6: Operations
Operations Playing a Record Place a record on the platter. Note Place only one record on the platter at a time. If two or more records are stacked on the platter, the stylus will not make proper contact with the grooves and the quality of reproduction will be impaired. -
Page 7: Additional Information
To preserve maximum sound quality and avoid damage to your records, we recommend replacing the stylus within this time limit. Additional replacement styli (CN-234) are available from your Sony dealer. To replace the stylus Turn off the amplifier. While holding the cartridge, detach the stylus assembly as illustrated. -
Page 8: Troubleshooting
• The speaker cords are securely connected. Should any problem persist after you have made these checks, consult your nearest Sony dealer. The tone arm skips, skates or does not advance. b The turntable is not level. Place the turntable on a level surface. -
Page 9: Parts And Controls
Parts and Controls Voltage selector (inside) (except USA and Europe models) Spindle Rubber mat Platter SPEED button Cartridge REJECT button Additional Information Dust cover 45 r/min adaptor Hinge Cueing lever Tone arm Arm stand Finger lift... - Page 12 Sony Corporation Printed in Malaysia...


Need help?
Do you have a question about the PS-J20 and is the answer not in the manual?
Questions and answers