Table of Contents
Advertisement
Quick Links
EN
WALL FAN
OPERATING INSTRUCTIONS
Read the instructions carefully before operating the appliance or carrying out maintenance operations.
Observe all the safety instructions; failure to observe the instructions may lead to accidents and/or damage.
Keep these instructions in a safe place for future reference.
V 12/16
10
Advertisement
Table of Contents

Related Manuals for Argo Lotus


Summary of Contents for Argo Lotus
- Page 1 WALL FAN OPERATING INSTRUCTIONS Read the instructions carefully before operating the appliance or carrying out maintenance operations. Observe all the safety instructions; failure to observe the instructions may lead to accidents and/or damage. Keep these instructions in a safe place for future reference. V 12/16...
-
Page 2: General Safety Information
GENERAL SAFETY INFORMATION Use this fan only as outlined in this manual. Any other use not recommended by the manufacturer may cause fire, electric shock or injury to people. Ensure that the mains power complies with the voltage specified on the fan ’s data plate (220-240V~/50Hz). - Page 3 Do not use abrasive detergents for cleaning this appliance. Clean the appliance with the aid of a damp (not wet) cloth rinsed in hot soapy water. Always remove the plug from the mains socket before cleaning. To disconnect the fan, push the switch to OFF and remove the plug from the socket.
-
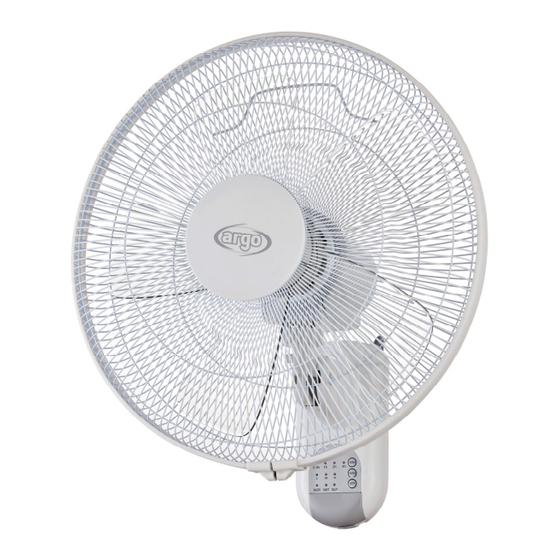
Page 4: Description Of Parts
DESCRIPTION OF PARTS 1. Guard cap 2. Front guard 3. Screw 4. Blade nut 5. Blade 6. Guard nut 7. Rear guard 8. Motor shaft 9. Motor 10. Adjustable up/down joint 11. Mounting holes 12. Control box 13. Safety screw & nut 14. -
Page 5: Assembly Instruction
ASSEMBLY INSTRUCTION Open the box and remove the parts of the appliance. Attach the guard cap to the front guard with three screws. Place the rear guard on the motor shaft in the proper position and use the guard nut to fasten the rear guard. Put the blade through the motor shaft and then use the blade nut to fasten the blade securely. -
Page 6: Wall Installation
WALL INSTALLATION The following instruction safe for brick walls. For general assistance or for other types of walls, please contact your local hardware store for guidance. 1. Drill three holes in the wall, using the holes on the wall bracket as a guide. 2. -
Page 7: Remote Control
REMOTE CONTROL MODE BUTTON Press the MODE button to select the ventilation mode among: NORMAL, NATURAL e SLEEP. TIMER BUTTON When the appliance is operating, the operating time can be set by pressing the TIMER button: by 30 minutes step, up to 7,5 hours. -
Page 8: Maintenance And Storage
INFORMATION FOR CORRECT DISPOSAL OF THE BATTERIES IN ACCORDANCE WITH EUROPEAN DIRECTIVE 2006/66/EC Please replace the battery when its electrical charge has been exhausted: at the end of its useful life, it must not be disposed of together with unsorted waste. It must be must be delivered to appropriate separated waste disposal plants or to dealers that provide a similar service.
Need help?
Do you have a question about the Lotus and is the answer not in the manual?
Questions and answers