Table of Contents
Advertisement
Quick Links
EN
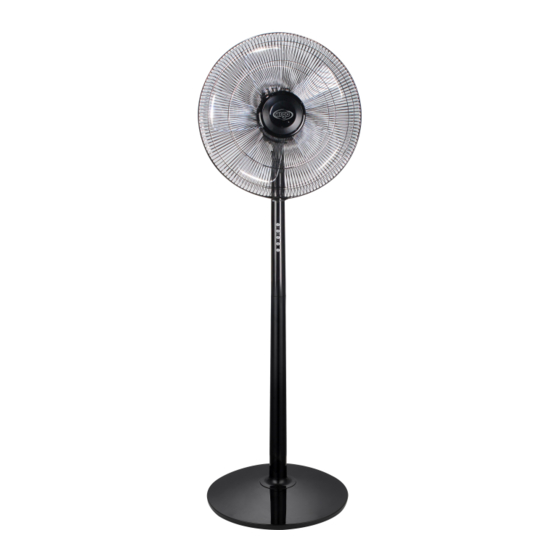
FLOOR FAN
STANDY EVO BLACK
STANDY EVO WHITE
OPERATING INSTRUCTIONS
Read the instructions carefully before operating the appliance or carrying out maintenance operations.
Observe all the safety instructions; failure to observe the instructions may lead to accidents and/or damage.
Keep these instructions in a safe place for future reference.
V 01/21
12
Advertisement
Table of Contents

Related Manuals for Argo STANDY EVO


Summary of Contents for Argo STANDY EVO
- Page 1 FLOOR FAN STANDY EVO BLACK STANDY EVO WHITE OPERATING INSTRUCTIONS Read the instructions carefully before operating the appliance or carrying out maintenance operations. Observe all the safety instructions; failure to observe the instructions may lead to accidents and/or damage. Keep these instructions in a safe place for future reference.
-
Page 2: General Safety Information
GENERAL SAFETY INFORMATION Use this fan only as outlined in this manual. Any other use not recommended by the manufacturer may cause fire, electric shock or injury to people. Ensure that the mains power complies with the voltage specified on the fan ’s data plate (220-240V~/50Hz). - Page 3 The most common cause of overheating is the build-up of dust in the appliance. Remove dust deposits by unplugging the appliance and cleaning the air outlets and grilles with the aid of a vacuum cleaner. Do not use abrasive detergents for cleaning this appliance. Clean the appliance with the aid of a damp (not wet) cloth rinsed in hot soapy water.
-
Page 4: Description Of Parts
Do not place the fan on soft surfaces, like a bed, where openings may become blocked. Always place the fan on a stable, flat, level surface when operating, to avoid the chance of the overturning. Locate the power cord so the fan or other objects are not resting on ... - Page 5 Fan assembly components: 1. Front grill 2. Grill ring 3. Rear grill 4. Blade cap 5. Blade 6. Plastic mounting nut FAN ASSEMBLY INSTRUCTIONS The device does not require installation. For its use it is necessary to assemble the parts, as per the instructions below. Open the package and take out the parts of the appliance.
- Page 6 Finally, before place the front fan grill into right position of the guard ring with guard self-clip, please make sure the Limit groove of guard Ring is on the upward side and the guard self-clip is on the downward side. The screw at the bottom of the guard ring must be fixed after the assembly of front fan.
-
Page 7: How To Use The Appliance
HOW TO USE THE APPLIANCE Connect the power cable to an appropriate power socket (220-240V ~). Place the fan upright on a flat, stable surface. Do not use this fan in an area with high humidity, rich in dust or water. Press ON / OFF on the control panel or remote control. - Page 8 SWING BUTTON To activate or deactivate the swing function, press the button on the control panel or the SWING button on the remote control. It is possible to adjust the angle of inclination of the fan assembly. Turn off the fan, slightly loosen the adjustable screw by turning it counter-clockwise.
-
Page 9: Remote Control
REMOTE CONTROL The functions on the remote control correspond to the functions on the control panel. HOW TO INSERT / REMOVE THE REMOTE CONTROL BATTERIES (refer to the drawing below). Open the battery door on the back of the remote control and remove the door. Insert the batteries in the remote control (not supplied), taking care to check the correct positioning of the polarity. -
Page 10: Maintenance And Storage
MAINTENANCE AND STORAGE ALWAYS UNPLUG THE APPLIANCE BEFORE CLEANING OR MAINTENANCE. IMPORTANT: DO NOT SUBMERGE THE FAN IN WATER. Cleaning the outside surface of the appliance Turn the switch off and unplug before carrying out any maintenance work or moving the appliance. Use a soft cloth to remove any dust from the fan.
Need help?
Do you have a question about the STANDY EVO and is the answer not in the manual?
Questions and answers