SOMFY ROLLIXO io Installation Manual
Hide thumbs
Also See for ROLLIXO io:
- Installation manual (52 pages) ,
- Installation manual (12 pages) ,
- User manual (32 pages)

Related Manuals for SOMFY ROLLIXO io


Summary of Contents for SOMFY ROLLIXO io
- Page 1 ROLLIXO io Manuel d’installation Installationsanleitung Installation manual 5108208A...
-
Page 2: Table Of Contents
Clearing individual buttons on the Keytis io or Keygo io remote controls Clearing all remote controls Clearing safety edge transmitters..........................21 Locking the programming buttons ..........................21 Diagnostics ...................................21 Receiver Resistive safety edge transmitter (ESE) Optical safety edge transmitter (OSE) Technical data ................................23 Copyright © 2012 Somfy SAS. All rights reserved... -
Page 3: General Information
The instructions referred to in the product's installation guide and instructions for use are designed to prevent damage to property and personal injury along with compliance with the above standards. Somfy declares that this product complies with the essential requirements and other relevant provisions of Directive 1999/5/EC. A Declaration of Conformity is available at www.somfy.com/ce (ROLLIXO io). -
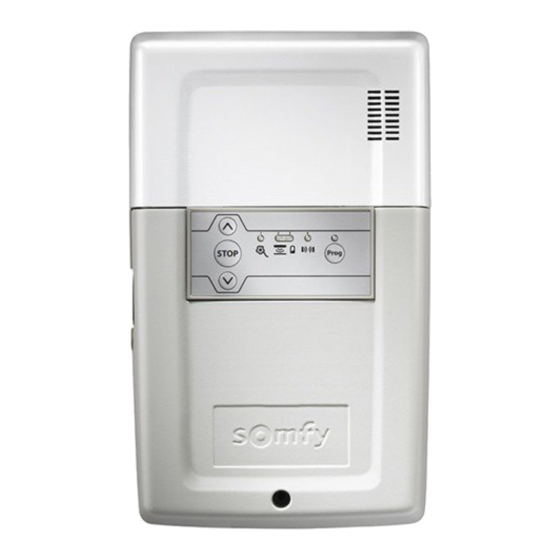
Page 4: Description Of The Rollixo Receiver
Battery indicator light Information on the status of the battery and the safety edge transmitter Cell indicator light Information on the status of the cells Space requirements Standard installation diagram Motor Fall protection Receiver Safety edge transmitter Safety edge Copyright © 2012 Somfy SAS. All rights reserved... -
Page 5: Installation
[1]. Remove the integrated light bulb. [2]. Unscrew and remove the receiver cover. [3]. Hold the receiver against the wall (lighting facing upwards) and line up with drilled holes. [4]. Mount the receiver onto the wall. Copyright © 2012 Somfy SAS. All rights reserved... -
Page 6: Fall Protection Motor Wiring
Fall protection wiring If no fall protection is connected, it is essential to create the bridge between terminals 5 and 6 of the receiver (with the shunt supplied, see page 3, point 12). Copyright © 2012 Somfy SAS. All rights reserved... -
Page 7: Connecting The Receiver To The Mains Power Supply
If indicator light 2 comes on permanently, the safety edge has not been detected by the receiver (radio safety edge transmitter not yet memorised or the wired safety edge is still not connected). Copyright © 2012 Somfy SAS. All rights reserved... -
Page 8: Checking The Direction Of Rotation Of The Motor And Adjusting The Motor End Limits
Adjust the top position with buttons and . [5]. Press the motor's upper end limit push-button. [6]. Press button to position the garage door in the lower position. Adjust the bottom position with buttons and . Copyright © 2012 Somfy SAS. All rights reserved... - Page 9 [7]. Press the motor's low end limit push-button. [8]. Press simultaneously on the buttons or press the button until the motor's up and down movement occurs to enter motor adjustment mode. Indicator light 1 goes out. Copyright © 2012 Somfy SAS. All rights reserved...
-
Page 10: Installing And Commissioning A Radio Optical Safety Edge
To function correctly, this solution requires the installation of a set of magnets on the runner TOP magnet Safety edge transmitter mounting plate BOTTOM magnet [1]. Press button to position the garage door in the upper position. Copyright © 2012 Somfy SAS. All rights reserved... -
Page 11: Installing The Safety Edge And Its Transmitter
The door must be in the intermediate position before the magnet recognition procedure can be started. Do not press the safety edge during the magnet recognition procedure. Carry out two whole cycles (opening then closing) using buttons and . Copyright © 2012 Somfy SAS. All rights reserved... -
Page 12: Checking Operation Of The Receiver
The alarm is triggered for 2 minutes if the door is fully closed and raised manually. No movement of the door is possible when the alarm is sounding. When the alarm sounds, press a button on a remote control memorised in the receiver to stop it. The alarm can only be stopped with a memorised remote control. Copyright © 2012 Somfy SAS. All rights reserved... -
Page 13: Connecting Additional Devices
Cell self-test Activated Deactivated Choice of cell type Photoelectric Electric eye Orange light 2s warning Activated Deactivated Choice of wired safety edge type Resistive Optical Alarm operation Activated Deactivated Do not use Copyright © 2012 Somfy SAS. All rights reserved... -
Page 14: Description Of The Various Additional Devices
- the automatic control device is being controlled remotely (user unable to see it), - automatic closure is activated. Ref. 9013647 Ref. 1841195 Cell Dipswitch 1 Dipswitch 2 Without auto-test ON With auto-test Copyright © 2012 Somfy SAS. All rights reserved... - Page 15 Dipswitch 4 receiver position If a wired safety edge replaces a radio safety edge, the radio safety edge transmitter must be cleared (see page 20) to ensure the wired safety edge is taken into account. Copyright © 2012 Somfy SAS. All rights reserved...
- Page 16 The alarm can only be stopped with a memorised remote control. Alarm operation test Press buttons on the receiver simultaneously. Optional: lower magnet A lower magnet may be installed if the alarm sounds erratically (see page 9). Copyright © 2012 Somfy SAS. All rights reserved...
-
Page 17: Advanced Parameter Setting
To modify the automatic closure time delay, one or other of the automatic closure options must be activated. [1]. Run the timer by pressing and holding down the T button for 2 seconds. Indicator light [2]. time delay is obtained. Indicator light Copyright © 2012 Somfy SAS. All rights reserved... -
Page 18: Memorising The Remote Controls
[2]. Press the button to be copied on the remote control already memorised until the indicator light on top of the button on the receiver comes on permanently. [3]. [4]. The indicator light above button Remote control memorised Remote control to be memorised Copyright © 2012 Somfy SAS. All rights reserved... -
Page 19: Memorising The Keytis Io Remote Controls
[1]. Press the "PROG" button on the memorised remote control until the green indicator light comes on (2 s). [2]. PROG" button on the new remote control. Remote control memorised Remote control to be memorised Copyright © 2012 Somfy SAS. All rights reserved... -
Page 20: Memorising 3-Button Remote Controls (Telis Io, Telis Composio Io, Etc.)
To memorise a 3-button io bidirectional remote control (Telis io, Impresario Chronis io, etc.), ensure that the remote control has memorised the system key (see page 18). Remote control memorised Remote control to be memorised Copyright © 2012 Somfy SAS. All rights reserved... -
Page 21: Memorising Safety Edge Transmitters
(for approximately 7 seconds) until the indicator light above it goes out. Release button All memorised remote controls and the system key will be cleared. Press and hold down for 7 seconds Copyright © 2012 Somfy SAS. All rights reserved... -
Page 22: Clearing Safety Edge Transmitters
(spare fuse supplied, see page 3, point 13). If the motor still integrated lighting off does not work, replace it. Waiting for motor Set the motor end limits (see pages 7 and 8). adjustment Copyright © 2012 Somfy SAS. All rights reserved... -
Page 23: Resistive Safety Edge Transmitter (Ese)
* Closing by pressing and holding down with a monodirectional remote control (Keygo io type) only. Resistive safety edge transmitter (ESE) Press the button on the back of the transmitter once. The transmitter indicator light will come on. Copyright © 2012 Somfy SAS. All rights reserved... -
Page 24: Optical Safety Edge Transmitter (Ose)
Up-Stop-Down buttons in the control panel Automatic closing mode Downgraded operation mode control Automatically activated when lowering if a fault is detected on a safety device Maintenance assistance Real time status with 5 indicator lights Copyright © 2012 Somfy SAS. All rights reserved... - Page 25 +66 (0) 2714 3170 +60 (0) 3 228 74743 France : Somfy France Turkey : Somfy Turkey Mexico : Somfy Mexico SA de CV +33 (0) 820 374 374 +90 (0) 216 651 30 15 +52(0) 55 5576 3421 Germany : Somfy GmbH...
Need help?
Do you have a question about the ROLLIXO io and is the answer not in the manual?
Questions and answers