Table of Contents
Advertisement
Available languages
Available languages
Quick Links
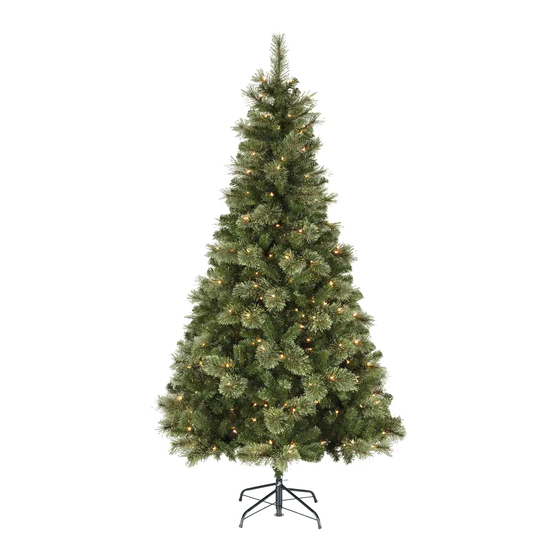
HELENA LIGHTED TREE
.
-
- |
model no 151 5054 2 Toll-free number 1 866 827 4985
IMPORTANT:
Please read this manual carefully before assembly and save it for reference.
Thank you for purchasing this lighted tree. This tree assembles in minutes and is decorated with
super bright light sets.
This 7' (2.1 m) tree is pre-strung with 300 lights.
CARTON INCLUDES:
• 3 pre-lighted tree sections (A - Top Section, B - Middle Section, C - Bottom Section)
• 1 sturdy metal tree stand
• 1 screw for tree stand
• 6 extra 2.5 V replacement bulbs
• 3 spare 3 A fuses for light string
FOR INDOOR/SEASONAL USE ONLY
ASSEMBLY:
Note: Before you start to assemble your tree, please choose a location near an electrical wall outlet.
Place the tree base on a level surface.
Please remove protective covers from the base of the pole for each tree section before assembling.
1. Carefully insert bottom section (C) of tree into stand. Make sure pole is firmly inserted into stand and
screw is tightened. Insert middle section (B) of tree into bottom section (C). Insert the top section (A) into the
middle section (B) (Fig. 1, 2, 3).
2. Insert the plug of the top section (A) into the end connector of the middle section (B), the plug of the middle
section (B) into the end connector of the bottom section (C) (Fig. 4, 5).
: -
INSTRUCTION MANUAL
A
Fig. 3
B
C
Fig. 2
Tree stand
Fig. 1
-
-
Fig. 4
Fig. 5
Fig. 7
Instruction Manual
For indoor use only
Retain carton for storage purposes
Fig. 6
side
side
view
view
Advertisement
Table of Contents

Summary of Contents for NOMA Helena
- Page 1 Instruction Manual For indoor use only Retain carton for storage purposes HELENA LIGHTED TREE model no 151 5054 2 Toll-free number 1 866 827 4985 IMPORTANT: Please read this manual carefully before assembly and save it for reference. INSTRUCTION MANUAL Thank you for purchasing this lighted tree.
- Page 2 3. Allow branches to fall into place or gently pull branches up and out. When adjusting branches be sure that all wires are free of branch hinges (Fig. 6). 4. Shape the branches. Starting with tips closest to the pole, shape one tip to the right, one to the left and one at the centre of the main stem.
- Page 3 100°F (38°C). Limited 1-year Warranty This Noma product carries a one (1) year warranty against defects in workmanship and materials. Noma Canada agrees to replace a defective product, within the stated warranty period, when returned to the place of purchase with proof of purchase.
- Page 4 GUIDE D'UTILISATION Merci d'avoir acheté cet arbre illuminé Helena L'assemblage de cet arbre prend quelques minutes et il est décoré avec des jeux de lumières super brillantes. Cet arbre de 7 pi (2,1 m) contient 300 lumières.
- Page 5 3. Laissez les branches tomber en place ou tirez-les délicatement vers le haut et vers l'extérieur. Veillez à ce que les fils ne se coincent pas dans les charnières des branches lors de l'ajustement de celles-ci (Fig. 6). 4. Donnez forme aux branches. En commençant par les pointes les plus proches de la tige, façonnez une pointe à la droite, une à...
- Page 6 100 °F (38 °C). Garantie limitée d'un an Ce produit Noma est garanti un (1) an contre les défauts de fabrication et matériaux. Noma Canada accepte de remplacer le produit défectueux, pendant la période de garantie indiquée, sur retour du produit à...


Need help?
Do you have a question about the Helena and is the answer not in the manual?
Questions and answers