Table of Contents
Advertisement
Quick Links
Advertisement
Table of Contents

Subscribe to Our Youtube Channel
Related Manuals for Sangean RCR-29


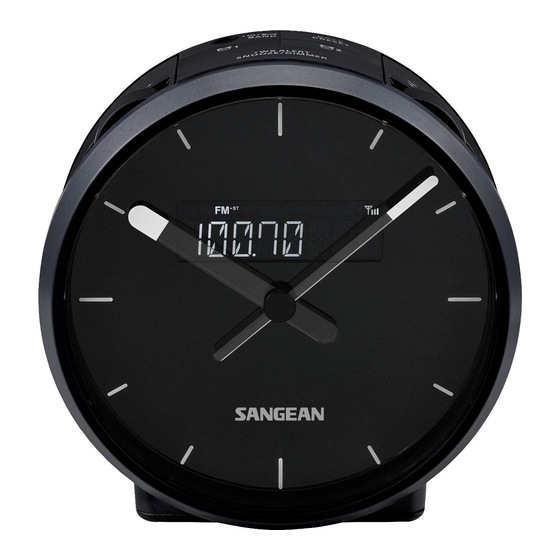
Summary of Contents for Sangean RCR-29
- Page 1 RCR-29 Version 1...
-
Page 2: Important Safety Instructions
Important safety instructions VERY IMPORTANT PLEASE READ Sangean suggest that you keep your AC Adapter at least 12 inches away from the radio while listening to the AM Band. Your Sangean Radio is powered by an AC adapter which is a “switching” or “switch-mode” type. - Page 3 Cautions Do not allow this radio to be exposed to water, steam or sand. Do not leave your radio where excessive heat could cause damage such as in a parked car where the heat from the sun can build up even though the outside temperature may not seem too high. ●...
- Page 4 Controls Front view Back view LCD display FM / WX wire antenna Loudspeaker Headphone socket USB charging socket Auxiliary input socket DC input socket...
- Page 5 Controls Top view Power / Sleep / Band button WX alert / Snooze / Dimmer button Back / Preset button Alarm 1 button Menu / Scan / Select button / Tuning control knob Volume control Alarm 2 button...
- Page 6 Display LCD display F G H J K L RDS station Buzzer Alarm 1 AM band indicator Radio Alarm 1 PM indicator Buzzer Alarm 2 FM band indicator Radio Alarm 2 Stereo tuning indicator Sleep / Snooze indicator WX band indicator Station signal strength indicator Weather alert indicator Time and radio frequency...
-
Page 7: Using The Clock Radio For The First Time
Using the clock radio for the first time Place your clock radio on a flat surface. Carefully fully extend the wire antenna located on the rear of your clock radio. Place the wire antenna so that it is as straight as possible extending either above or below the clock radio. Insert the AC adaptor plug into the DC socket located on the rear of your clock radio. -
Page 8: Operating Your Radio - Search Tuning
Operating your radio – Search tuning AM / FM Press and hold the Power button until you hear a beep to switch on your radio. Press the Band button as needed until the AM or FM band is selected. To scan up in frequency, first rotate the Tuning control knob in a clockwise direction and then press the Tuning control button. - Page 9 Presetting stations – AM / FM / WX The radio has 9 memory presets each for AM & FM, and 5 memory presets for the weather band. They are used in the same way for each frequency band. Press and hold the Power button until you hear a beep to switch on your radio. Press the Band button to select the desired frequency band.
-
Page 10: Weather Alert System
Weather alert system Setting the weather alert The weather alert function on the radio can alert you to special weather related emergencies. During an emergency or weather related hazard, NOAA issues an emergency tone that will set off an audible and visual alarm on the radio. - Page 11 Settings in menu Settings are available in the menu. Menu settings can be done with the radio on or off. Press and hold the Menu button until you hear a beep to enter the menu setting. Rotate the Tuning control knob to cycle through CLOCK SET → JAN 1 MO (date format) → FM AUTO (FM auto (stereo) / mono setting) →...
- Page 12 Settings in menu FM AUTO (FM auto (stereo) / mono setting) If the FM radio station being listened to has a weak signal some hiss may be audible. It is possible to reduce this hiss by forcing the radio to play the station in mono rather than stereo. Only when the radio is on, you are able to find FM auto (stereo) / mono mode in the settings menu.
- Page 13 Settings in menu USB OUT (Charging with USB socket) IMPORTANT ● The charger may not supply power to some USB devices. ● When not using or after charging, remove the USB cable. ● Do not connect power source to USB port. Otherwise there is a risk of fire. The USB port is only intended for charging lower voltage devices.
- Page 14 Settings in menu FM 100kHz (Setting FM tuning step) When the display appears and flashes “FM xkHz”, press the Select button to enter the FM step setting. Rotate the Tuning control knob to select 50kHz / 100kHz for FM radio. Then press the Select button to confirm the setting.
-
Page 15: Setting The Alarm Clock
Setting the alarm clock There are two alarms which can each be set to wake you to AM / FM radio, or buzzer alarm. The alarms may be set while the unit is off or while playing. Ensure that the time is set correctly before setting the alarms. -
Page 16: When The Alarm Sounds
When the alarm sounds When the buzzer alarm activates, the alarm will start softly and gradually increase in level (Humane Waking System). It will sound for 1 minute and silence for 1 minute in repetition for 60 minutes unless cancelled. The radio will sound non-stop at the selected time for up to 60 minutes for radio alarm setting. -
Page 17: Dimmer Control
Dimmer control The brightness of the display may be adjusted. Press the Dimmer button repeatedly to adjust the brightness level of the LCD display. You’ll be able to see the effect of the change. Stop when the desired backlight level is reached. Auxiliary input socket A 3.5mm stereo Auxiliary Input socket is provided on the rear of your radio to permit an audio signal to be fed into the unit from an external audio device such as iPod, MP3 or CD player. -
Page 18: Specifications
Production year Product code Sangean reserves the right to amend the specifications without notice. If at any time in the future you should need to dispose of this product please note that: Waste electrical products should not be disposed of with household waste. Please recycle where facilities exist.
Need help?
Do you have a question about the RCR-29 and is the answer not in the manual?
Questions and answers