Table of Contents
Advertisement
Quick Links
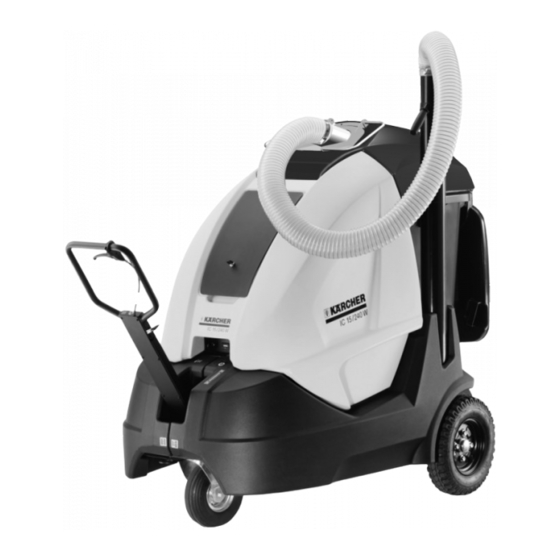
IC 15/240 W
Deutsch
English
Français
Italiano
Nederlands
Español
Português
Dansk
Norsk
Svenska
Suomi
Ελληνικά
Türkçe
Русский
Magyar
Čeština
Slovenščina
Polski
Româneşte
Slovenčina
Hrvatski
Srpski
Български
Eesti
Latviešu
Lietuviškai
Українська
59637440 10/13
3
14
25
36
47
58
69
80
91
101
112
123
135
146
158
170
181
192
203
214
225
236
247
259
270
282
293
Advertisement
Table of Contents

Related Manuals for Kärcher IC 15/240 W


Summary of Contents for Kärcher IC 15/240 W
- Page 1 IC 15/240 W Deutsch English Français Italiano Nederlands Español Português Dansk Norsk Svenska Suomi Ελληνικά Türkçe Русский Magyar Čeština Slovenščina Polski Româneşte Slovenčina Hrvatski Srpski Български Eesti Latviešu Lietuviškai Українська 59637440 10/13...
-
Page 2: Table Of Contents
Please read and comply with The appliance may only be used by per- – Symbols on the machine these original instructions prior sons who have been instructed in han- to the initial operation of your appliance and dling the appliance or have proven store them for later use or subsequent own- qualification and expertise in operating ers. -
Page 3: Environmental Protection
Environmental protection Proper use Use this small waste vacuum cleaner only as directed in these operating instructions. The packaging material can be The machine with working equipment recycled. Please do not throw must be checked to ensure that it is in the packaging material into proper working order and is operating household waste;... -
Page 4: Operating And Functional Elements
Operating and Functional Elements 1 Drawbar 28 Fuse of electric starter, 15 A (on the Insert the waste container into the appli- 2 Storage compartment rear) ance. 3 Kerb access help (option) * 29 Handle for device hood Open the waste container lid. 4 Cover 30 Choke ... -
Page 5: Start Up
1 Freewheel lever 1 Sleeve Start up Press the red freewheel lever down- 2 Garbage bag, 240 litres wards, then move it to the left and lock Place the cover down on the floor with General notes it in. the holder loops. - Page 6 Kerb access help (option) * Switch on beacon light (only with Removing the garbage sack (only Note: With model 1.183-904.0, the kerb ac- accessory beacon light kit) with the garbage sack accessory kit) cess help is part of the scope of the deliv- Note: With model 1.183-904.0, the beacon Note: Wait till the dust has settled down be- ery.
-
Page 7: Shutdown
Storage Cleaning Danger Caution Risk of injury and damage! Note the weight Risk of damage! Do not clean the appliance of the appliance in case of storage. with a water hose or high-pressure water jet (danger of short circuits or other dam- Shutdown age). - Page 8 Maintenance to be carried out every 300 Fill battery with battery acid Do not throw the battery into the operating hours regular waste Danger Note: In order to safeguard warranty Risk of explosion. Ensure proper ventila- claims, all service and maintenance work tion.
- Page 9 Charge battery using lowest possible Raise machine using vehicle jack. Keep a collection basin for old oil ready. level of charging current. Note: Use a suitable commercially availa- Unscrew the oil drain screw and collect ble vehicle jack. used oil.
-
Page 10: Troubleshooting
4 Handle for filter cleaning Checking drive belt Pull out the spring plug. Danger Pull out the filter cleaner. The engine requires approx. 3-4 seconds Turn out the 4 screws and remove the to come to a standstill once it has been holder. -
Page 11: Technical Specifications
Technical specifications Machine data Length x width x height 1840x940x1600 Unladen weight Permissible overall weight Drive speed (max.) km/h Climbing capability (max.) Volume of the waste container Protective class IP X3 Engine Type Honda GX 160 Cylinder capacity Max. output at 3600 1/min kW/HP 4/5,5 Maximum torque at 2500 rpm... -
Page 12: Ec Declaration Of Conformity . En
EC Declaration of Conformity Warranty We hereby declare that the machine de- The warranty terms published by the rele- scribed below complies with the relevant vant sales company are applicable in each basic safety and health requirements of the country. We will repair potential failures of EU Directives, both in its basic design and your appliance within the warranty period construction as well as in the version put...
Need help?
Do you have a question about the IC 15/240 W and is the answer not in the manual?
Questions and answers