Advertisement
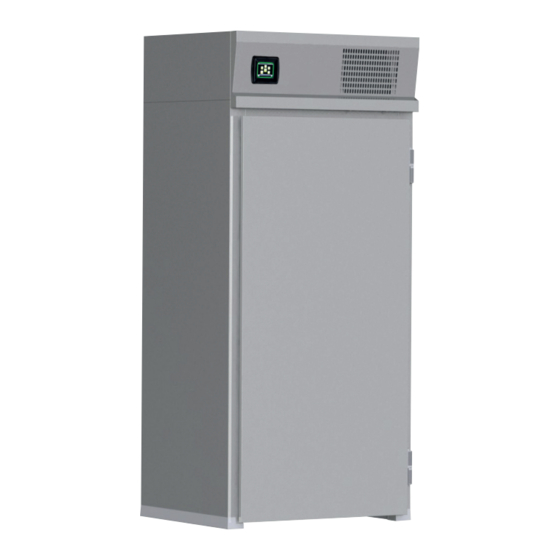
FADPRT2
English
ISO 9001
ISO 14001
Call: +44 (0)843 216 8800
Fax: +44 (0)843 216 4700
www.fosterrefrigerator.co.uk
By Appointment to
Her Majesty Queen Elizabeth II
Suppliers of Commercial Refrigerati on
Foster Refrigerator, King's
A Division of ITW Ltd
Foster Refrigerator
Oldmedow Road
King's Lynn
Norfolk, PE30 4JU
United Kingdom
Email: support@foster-uk.com
Lynny
nn
Advertisement
Table of Contents

Summary of Contents for Foster FADPRT2
- Page 1 By Appointment to FADPRT2 Her Majesty Queen Elizabeth II Suppliers of Commercial Refrigerati on Foster Refrigerator, King’s Lynny English A Division of ITW Ltd Foster Refrigerator Oldmedow Road King’s Lynn Norfolk, PE30 4JU United Kingdom ISO 9001 ISO 14001 Call: +44 (0)843 216 8800 Fax: +44 (0)843 216 4700 Email: support@foster-uk.com...
-
Page 2: Electrical Safety
Electrical Safety Foster Refrigerator recommends that the equipment is electrically connected via a Residual Current Device, such as a Residual Current Circuit Breaker (RCCB) type socket, or through a Residual Current Circuit Breaker with Overload Protecti on (RCBO) supplied circuit. -
Page 3: Installation Instructions
English Installati on Instructi ons Installati on of these units should be carried out by a competent person and appropriate codes of practi ce adhered to, thus ensuring safe installati on. Removal Of The Panels From The Pallet The cabinets are of modular constructi on with the wall panels and ancillary items delivered with retaining shrink-wrap. - Page 4 English Ceiling panel with the refrigerati on system / heater assembly Cabinet Dimensions 1042 1206...
- Page 5 English ‘U’ Channel Fitti ng The ‘U’ channel is supplied cut to the correct lengths, use the cardboard template provided to positi on the channel on the fl oor. The external dimensions of the room are - 1206mm Wide X - 1042mm Deep It is important that the ‘U’...
- Page 6 English Assembly Of Wall Panel Note: there is no door header panel, as this is integral with the ceiling panel. Fit the side panel into the channel and apply a bead of masti c (see fi gs) to create a vapour seal. Place the rear panel in the channel, these can now be locked together (see fi...
- Page 7 English Fig 4 Fig 5 Fig 6 With the ceiling panel secured in place seal the internal joints with silicone sealer. Insert the butt ons into the lock holes. Fitti ng The Rear Air Duct Prior to fi tti ng the rear air duct check that the Air Return Duct is correctly located into the Coil Driptray Flange, see fi...
-
Page 8: Important Note
English Fitti ng The Door Hold the door at a 90° angle to the cabinet and lower the door on to the hinges, see (fi g 10) for the correct hinge alignment in the closed positi on. Check that it hangs squarely to the cabinet. Fig 8 Fig 9 Fig 10... -
Page 9: Display Overview
English Operati ng Instructi ons Date Display Overview Stand-by Butt on Time Setti ngs Butt on Info Butt on Operati onal Program butt ons Storage, Manual & Automati c In order to provide a highly visible, readily understandable format for the operator, the display screen uses a ‘surround signal’;... - Page 10 English Changing Clock & Calendar...
- Page 11 English Starti ng a Manual Prove Program 1 to 900 mins Display during program 2 minutes 3 Secs...
- Page 12 English Cancelling a a Manual Prove Program in Progress 5 secs How to change the Temperature Setti ng for the Manual Prove Program & Start the cycle 10 to 40⁰c...
- Page 13 English Selecti ng an Automati c Prove Program < 90 mins Cycle Descripti on Finish Time of Program & Date Temperature Info Butt on Progress Bar Stop Butt on...
- Page 14 English 2 minutes 3 Secs Cancelling an Automati c Prove Program...
- Page 15 English How to change the setti ngs for a Automati c Prove Program Storage 0 to 25⁰c...
- Page 16 English Prove ti me 1 to 900 mins Prove Temperature 10 to 40⁰c...
- Page 17 English Hold 0 to 25⁰c...
- Page 18 English Page left Blank Intenti onally...
- Page 19 English Page left Blank Intenti onally...
- Page 20 UK Head Offi ce Foster Refrigerator Oldmedow Road Kings Lynn Norfolk PE30 4JU a Division of ITW (UK) Ltd Tel: +44 (0)843 216 8833 Fax: +44 (0)843 216 4707 Email: support@foster-uk.com Website: www.fosterrefrigerator.co.uk...


Need help?
Do you have a question about the FADPRT2 and is the answer not in the manual?
Questions and answers