Billion BiPAC 7300N Quick Start Manual
802.11n draft adsl2+ firewall router
Hide thumbs
Also See for BiPAC 7300N:
- User manual (131 pages) ,
- Quick install manual (12 pages) ,
- Specifications (2 pages)

Related Manuals for Billion BiPAC 7300N


Summary of Contents for Billion BiPAC 7300N
- Page 1 BiPAC 5200N/7300N 802.11n draft ADSL2+ Firewall Router Quick Start Guide...
- Page 3 PLEASE READ THE QUICK START GUIDE AND FOLLOW THE STEPS CAREFULLY. THIS QUICK START GUIDE WILL HELP YOU INSTALL THE DEVICE PROPERLY AND AVOID IMPROPER USAGE. IF YOU NEED MORE INFORMATION ON THIS SOFTWARE CONFIGURATION, PLEASE REFER TO THE USER’S MANUAL ON THE CD-ROM.
-
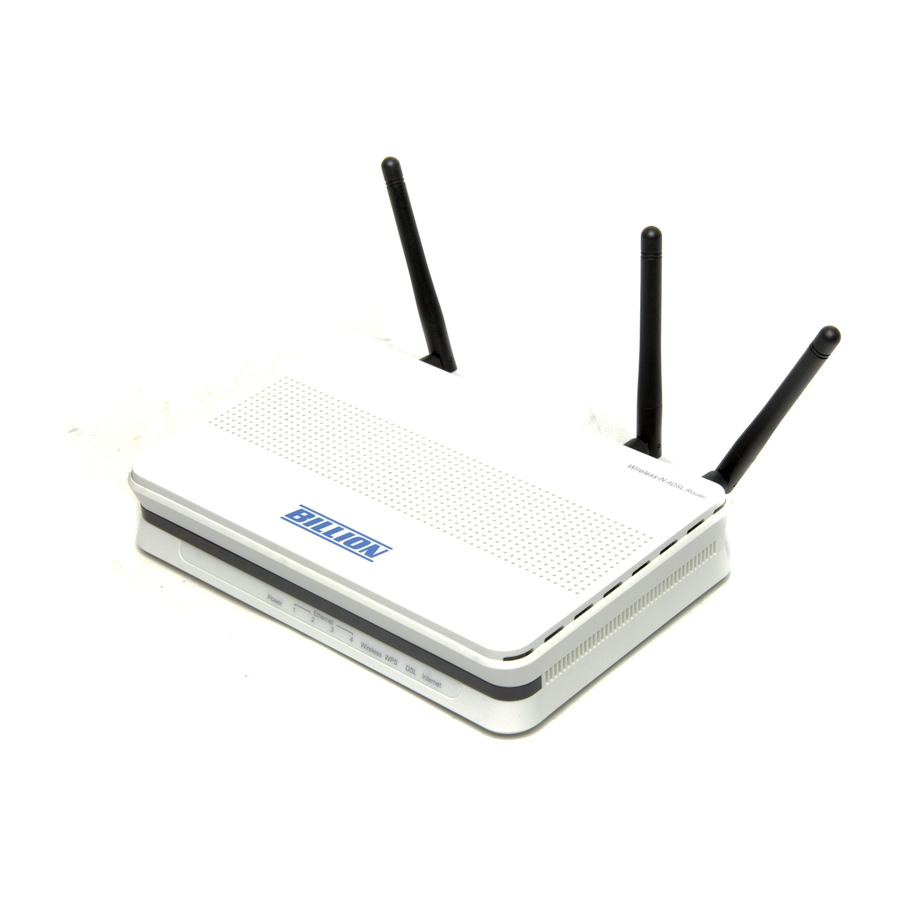
Page 4: Hardware Overview
Quick Start Guide Hardware Overview BiPAC 5200N/7300N The Front LEDs When the power is plugged in, it will lit Red and when the system is ready, it will lit Green. Lit when connected to an Ethernet device. The Rear Ports Connect your computer to a LAN port, using the included Ethernet cable. - Page 5 Billion BiPAC 5200/7300N Series ADSL2+ Firewall Router Hardware Connection BiPAC 5200N/7300N...
- Page 6 Quick Start Guide Hardware Installation Power Connection Plug the supplied power adapter to the wall jack and the other side to the router. Please note that the plug type may differ according to different countries. 2. LAN Connection Connect the supplied RJ-45 Ethernet cable to one of the Ethernet ports, and the other side to the PC’s Ethernet interface.
- Page 7 Billion BiPAC 5200/7300N Series ADSL2+ Firewall Router 4. Splitter/ Micro-filter Connection Splitter / Micro-filter are important for ADSL installation. High-frequency signals are directed to the ADSL modem, and low-frequency signals are directed to the telephone or other analog voice-channel device to prevent inter-modulation distortion and also to get good speed and stable ADSL sync rate.
- Page 8 EWAN (7300N Only) Besides using ADSL to get connected to the Internet, BiPAC 7300N offers its Ethernet port 1 as a WAN port to be used to connect to Cable Modems, VDSL, fiber and PON optic lines. This alternative, yet faster method to connect to the internet will provide users more flexibility to get online.
Need help?
Do you have a question about the BiPAC 7300N and is the answer not in the manual?
Questions and answers