Table of Contents
Advertisement
Quick Links
www.kguardsecurity.com ● www.facebook.com/KguardGlobal ● www.youtube.com/KGUARDSECURITY
EN
Technical Support
E-mail: Support@kguardsecurity.com
Skype: KguardSupport
For more information, please refer to the User Manual on CD in the pack or visit www.kguardsecurity.com
AR451_851_1651QG-EN-A01
Full HD Hybrid Digital Video Recorder
Quick Installation Guide
Guide d'installation rapide
Guida rapida d'installazione
Guía de instalación rápida
Guia de instalação rápida
Краткое руководство по установке
Snabbinstallationsguide
ﺩﻟﻳﻝ ﺗﺛﺑﻳﺕ ﺳﺭﻳﻊ
Aurora II series
Advertisement
Table of Contents

Subscribe to Our Youtube Channel
Related Manuals for KGuard Security Aurora II Series


Summary of Contents for KGuard Security Aurora II Series
-
Page 1: Quick Installation Guide
Aurora II series Full HD Hybrid Digital Video Recorder Quick Installation Guide www.kguardsecurity.com ● www.facebook.com/KguardGlobal ● www.youtube.com/KGUARDSECURITY Guide d'installation rapide Guida rapida d'installazione Guía de instalación rápida Guia de instalação rápida Краткое руководство по установке Snabbinstallationsguide ﺩﻟﻳﻝ ﺗﺛﺑﻳﺕ ﺳﺭﻳﻊ Technical Support E-mail: Support@kguardsecurity.com... -
Page 2: Installation Matérielle
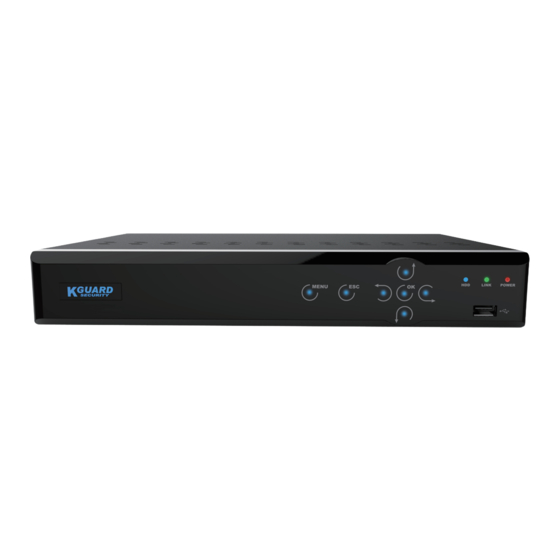
Installation matérielle Installer un disque dur dans le DVR. Remote ONVIF Cameras HDMI / VGA : Raccorder à un moniteur/téléviseur. Internet Canaux analogiques : Connexion à des caméras KGUARD 1080p/720p ou à des caméras de vidéosurveillance standard. Local Veuillez consulter (A) Ajout d'une caméra de sécurité ANALOGIQUE pour plus d'informations. ONVIF Cameras LAN : Connexion à... -
Page 3: Instalación Del Hardware
Instalación del hardware Установка оборудования Instale una unidad de disco duro en su DVR. Установите в видеорегистратор жесткий диск. HDMI / VGA: Conectar un monitor o televisor. HDMI / VGA: подключите монитор или телевизор. Canales analógicos: Conectar cámaras 1080p/720p de KGUARD o cámaras de CCTV estándar. Аналоговые... - Page 4 ﺗﺛﺑﻳﺕ ﺟﻬﺎﺯ .1- ﺗﺛﺑﻳﺕ ﻣﺷﻐﻝ ﺃﻗﺭﺍﺹ ﺻﻠﺏ ﻓﻲ ﻣﺳﺟﻝ ﻓﻳﺩﻳﻭ ﺭﻗﻣﻲ .: ﺗﻭﺻﻳﻝ ﺑﺷﺎﺷﺔ/ﺗﻠﻔﺯﻳﻭﻥHDMI / VGA -2 .0801، ﺃﻭ ﻛﺎﻣﻳﺭﺍﺕ ﺩﺍﺋﺭﺓ ﺗﻠﻔﺯﻳﻭﻧﻳﺔ ﻣﻐﻠﻘﺔ ﻗﻳﺎﺳﻳﺔp/720p KGUARD 3- ﺍﻟﻘﻧﻭﺍﺕ ﺍﻟﺗﻧﺎﻅﺭﻳﺔ: ﺍﻟﺗﻭﺻﻳﻝ ﺑﻛﺎﻣﻳﺭﺍﺕ .ﻳﺭﺟﻰ ﻣﺭﺍﺟﻌﺔ )ﺃ( ﺇﺿﺎﻓﺔ ﻛﺎﻣﻳﺭﺍ ﺃﻣﻥ ﺗﻧﺎﻅﺭﻳﺔ ﻟﻠﻣﺯﻳﺩ ﻣﻥ ﺍﻟﻣﻌﻠﻭﻣﺎﺕ .: ﺍﻟﺗﻭﺻﻳﻝ...
-
Page 5: Procedura Guidata
Procedura guidata Мастер 1. Selezionare il disco rigido da formattare e quindi fare clic su Formatta HDD. 1. Выберите жесткий диск, который требуется отформатировать, и нажмите кнопку «Форматировать жесткий Se si avvia il DVR per la prima volta, è necessario formattare l'HDD. Solo successivamente il DVR è in grado di диск». - Page 6 4. The recording schedule lets you to set up a schedule daily and hourly by Normal (continuous) recording, Motion 4. La pianificazione di registrazione consente di impostare una pianificazione giornaliera e oraria tramite registra- and Alarm recording. zione Normale (continua), registrazione di Movimento e Allarme. •...
- Page 7 4. O agendamento de gravações permite configurar um agendamento diário e por hora para gravação Normal 4. Inspelningsschemat låter dig ställa in ett schema efter dag och timme via Normal (kontinuerlig) inspelning, (contínua), Movimento e Alarme. Rörelse och Alarm. • Gravação Normal: Quando a caixa da hora estiver assinalada a verde, o canal efetuará uma gravação contínua •...
- Page 8 (B) Adding ONVIF IP Cameras - Local (B) Adding ONVIF IP Cameras - Remote (DVR and IP cameras are connected to the same Router) (Adding Remote ONVIF Cameras over the Internet) 1. Go to DVR's IP Channels menu (DVR's Main Menu > Parameter > Display > IP Channels), click Add All to 1.
- Page 9 Download KViewPro APP & Start Remote View on Smartphone/Tablet Download dell'app KViewPro e avvio della visualizzazione da remoto su smartphone/tablet 1. Eseguire la scansione del codice QR. Nome utente predefinito: admin 2. Toccare KViewPro e avviare il download dell'app. Password predefinita: 123456 3.
Need help?
Do you have a question about the Aurora II Series and is the answer not in the manual?
Questions and answers