Webasto MultiControl Installation Instructions Manual
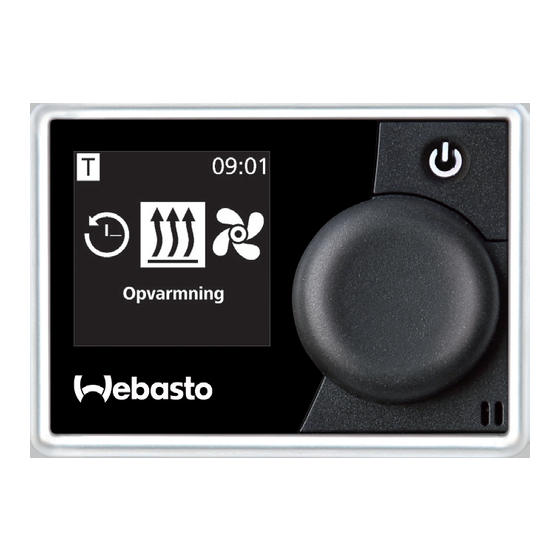
Control element
Hide thumbs
Also See for MultiControl:
- Quick start manual ,
- Operating instructions manual (56 pages) ,
- Installation instructions manual (20 pages)

Related Manuals for Webasto MultiControl


Summary of Contents for Webasto MultiControl
- Page 1 Installation Instructions Control element MultiControl | SmartControl | UniBox SmartControl MultiControl English...
-
Page 2: Table Of Contents
Installing the control element Technical data Optional: Installing the UniBox Initial start-up Electrical Connections Information on initial operation Connector designation MultiControl | Starting up SmartControl Selecting the heater at a later date Connector designation, UniBox MultiControl | SmartControl | UniBox... -
Page 3: About This Document
StVZO. Country-specific registration regulations must be complied with. Highlight Explanation The variants MultiControl MAR/RV TT and MAR/RV ATE do not Requirements for the following necessary action comply with the legal requirements of UN/ECE Regulation No. 21 Necessary action (interior fittings). These may therefore not be fitted in the head impact zone (on the dashboard). -
Page 4: Safety Precautions
■ repairs not carried out by a Webasto service The control element MultiControl | SmartControl is used to workshop operate the Webasto water or air heaters for cabin and engine ■ use of non-genuine parts preheating. ■ Conversion of the heater without permission from... -
Page 5: Installing The Control Element
Locate bushing for control element wiring harness. Install bracket using the enclosed screws. Pass the control element wiring harness through from the front. Clip the control element into the bracket. Fig. 02: Installing the control element using adhesive pads Installation location MultiControl | SmartControl | UniBox... -
Page 6: Optional: Installing The Unibox
Fit the unit in the area of the vehicle that is not visible to the customer. Install bracket using the enclosed screws. Determine the layout for the enclosed UniBox wiring harness. Clip the UniBox into the bracket. MultiControl | SmartControl | UniBox... -
Page 7: Initial Start-Up
Press the control knob. Select the "Reset" menu element. Fig. 08: Day of the week Rotate the control knob, select weekday. Settings Reset Fig. 12: "Reset" menu element Press the control knob. Fig. 09: Setting the time MultiControl | SmartControl | UniBox... -
Page 8: Multicontrol | Smartcontrol | Unibox
When restarting the control element (the start screen is displayed for 1.5 seconds), press the control knob and quick start button simultaneously for 3 seconds. Fig. 14: "Heater" menu element Select the desired heater. Press the control knob. MultiControl | SmartControl | UniBox... -
Page 9: Technician Mode
As an alternative, the settings can also be carried out using the WTT (Webasto Thermo Test) diagnostic software. Fig. 17: "Service" menu element Factory settings can only be changed by profession- als. -
Page 10: Max Duration
If this option is selected for heaters that do not the MultiControl/SmartControl. Following a factory reset or after support permanent mode, the heater determines the operating... -
Page 11: Unibox
“Max active timers”. The preset value (number of timers) is shown. Press the control knob in order to confirm selection. Rotate the control knob to set the value. Press the control knob in order to confirm selection. MultiControl | SmartControl | UniBox... -
Page 12: Troubleshooting
UniBox temperature sensor error Check installation. Replace sensor if necessary. connected to the UniBox cannot be read correctly. Charge the battery and check car electrical instal- Operating voltage too low Supply voltage is less than 8V. lation. MultiControl | SmartControl | UniBox... - Page 13 Errors relating to a connected heater Fault code Faults Fault description Troubleshooting F01 to F99 Heater error (analogue) See workshop manual for heater Contact Webasto service workshop F01 to FFE Heater error (W-bus) H01 to Hxx MultiControl | SmartControl | UniBox...
-
Page 14: Technical Data
Permissible ambient temperature [°C] -40 to +75 / -40 to +90 (operation/storage) Control element dimensions [mm] 68 / 15 (9.5 without control knob) / 48 90 (104 with connected wiring harness) / 60 / 25 (length/depth/height) Weight [g] MultiControl | SmartControl | UniBox... -
Page 15: Electrical Connections
Contact 16 GREEN External button for switching on and off red / Contact 17 ST / status Fault code / status black white / Multifunctional input (air Contact 18 Multifunction heater) Fig. 19: UniBox connections MultiControl | SmartControl | UniBox... - Page 16 In multilingual versions the German language is binding. You can request your language if it is missing. The telephone number of the respective country can be obtained from the Webasto service point flyer or the homepage of your respective Webasto country representative.
Need help?
Do you have a question about the MultiControl and is the answer not in the manual?
Questions and answers