
Related Manuals for Holy Stone HS700


Summary of Contents for Holy Stone HS700
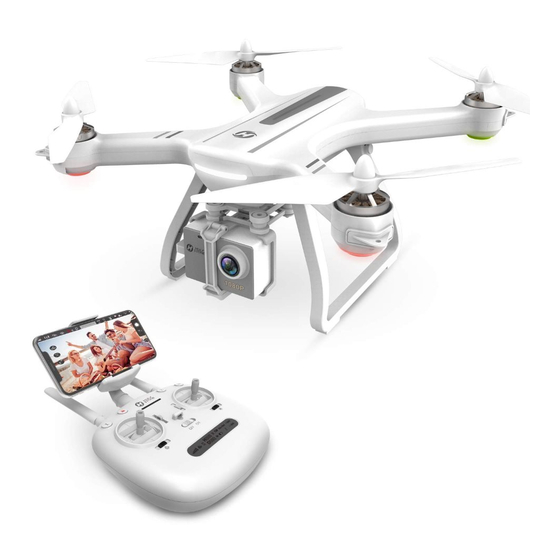
- Page 1 Instructions For Use V 1.2 HS700 usa@holystone.com (USA) eu@holystone.com (EU) jp@holystone.com (JP) ca@holystone.com (CA) 1(855) 888-6699 www.holystone.com...
-
Page 2: Table Of Contents
5.4 Propellers ..................this product only for purposes that are proper and in accordance with local regula- 6.0 Drone’s Details ..................tions, terms and all applicable polices and guidelines Holy Stone may make 7.0 Transmitter Details ................available. 8.0 Charging .................... - Page 3 2.3 Operations Requirements: ④ Please do a thorough check of the product before each use. Check for firmness of the parts, any signs of cracks and wear of the propeller, battery power and ① Please don’t use this product to follow any moving vehicles . effectiveness of the indicator, etc.
-
Page 4: Maintenance
⑦ If the device is not going to be used for an extended period of time, remove 3.0 MAINTENANCE batteries to prevent potential damage from battery leakage. ① Clean the product after each use with a clean, soft cloth. ⑧ It is recommended to only use the USB charging cable that comes with the ②... -
Page 5: Package Contents
④ Install the camera holder to the drone, and connect the USB date cable Instructions Instructions For Use V 1.1 to the drone and lock it. (Pic 6) For Use HS700 usa@holystone.com (USA) eu@holystone.com (EU) ca@holystone.com (CA) jp@holystone.com (JP) 1(855) 888-6699... -
Page 6: Landing Gear
5.4 Propellers 5.3 Landing Gear ① Installation: Install the propeller on the motor shaft according to the “A/ B” corresponding position, and rotate to tighten the propeller according to the “Lock” icon on the propeller. (Pic 10) Removal ② : Grip the brushless motor with propeller spanner tool and ①... -
Page 7: Transmitter Details
7.0 TRANSMITTER DETAILS GPS Mode Switch: 7.1 Transmitter Functions Turn on the transmitter, the default state is GPS mode. You can turn off the GPS by sliding the button. Check the icon “ ” on the LCD screen to confirm GPS on or off. Headless Mode Switch: Unlock/ Return to Home... -
Page 8: Charging
7.3 Mode Switch 8.0 CHARGING 7.3.1 MODE 2 ( Left hand throttle MODE 2 will be default setting Left Joystick Right Joystick Forward ① Ascend ③ ④ USB Adapter (5V/2.0A) ② Down Descend Down Backward Power Bank Charge Balance Battery Charging Cable Transfer Box Charger... -
Page 9: Operation Guide
9.0 OPERATION GUIDE 9.3 Drone’s Battery All of the following operations on this manual under MODE 2. Installation: 9.1 Download APP Android APP on Google play Push the battery into the battery compartment, the yellow LED lights of the drone will flicker quickly. Scan the QR code, connect to the App Store™... -
Page 10: Initialization Detection
9.6 Calibrating the Gyro 9.4 Pairing Head ①Place the drone on a level surface with the head forward. Push both of the joysticks down to the bottom left. the green LED light will ②Hold the” ” button and slide the flash. -
Page 11: Using The Application
9.9 Unlock 9.8 Using the Application 9.9.1 Unlock the drone: After the Compass calibration is completed, unlock the drone to fly. Pic 15 Pic 14 Method 1: Press the Unlock button (Pic 14). The motors rotate and the drone is unlocked. Method 2: Push the left stick to lower right corner and the right stick to the ( Pull up the phone holder and lock the phone.) lower left corner at the same time (Pic 15) to unlock the drone. -
Page 12: One Key Takeoff/Landing
10.0 FUNCTIONS DETAILS 9.10 One Key Takeoff/ Landing 10.1 Transmitter Calibration ① After drone is unlocked, press the One Key Takeoff/ Landing button, the drone will automatically takeoff and hover at about 7~11 feet altitude. Transmitter calibration has been completed by default. It is not ②... -
Page 13: Headless Mode
10.2 Headless Mode 10.3 Return to Home(RTH) ① Slide the Headless Mode button, when the " " icon appears on the The Return to Home function brings the drone back to the last recorded LCD screen, it means to enter the Headless Mode. Home Point. -
Page 14: Drone Status Indicator
10.3.3 Low Voltage RTH ① When the drone's rear lights flash slowly, the " " symbol is displayed b. When the filght altitude is lower on the screen of the transmitter, the First Low Voltage RTH will be triggered. than 50 feet, the drone will elevate auto- And the drone will return automatically in the following two conditions: 50 feet matically to 50 feet high then fly back... -
Page 15: Specifications
12.0 SPECIFICATIONS DRONE BATTERY Capacity: 2800 mAh DRONE Voltage: 7.4 V Model: HS700 Battery Type: Li-po Weight: 580g/ 20.4oz Energy: 20.72 Wh Flight Time: 20 minutes Charging power: 5~10W Motor Model: 2204 1500KV Charging Temperature Range: 41° to 104°F (5° to 40°C) Operating Temperature Range: 32°... -
Page 16: General Information
WARNING: Changes or modifications not expressly approved by the 14.0 GENERAL INFORMATION party responsible for compliance could void the user's authority to oper- ate the equipment. FCC Notice: This device complies with Part 15 of the FCC Rules. RF Exposure Operation is subject to the following two conditions: The equipment complies with FCC radiation exposure limits set forth for an (1) This device may not cause harmful interference. - Page 17 CAN NMB-3 (B) BATTERY WARNING: RF Exposure 1. Failure to follow all the instructions may result in serious injury, irreparable Radiation Exposure Statement: damage to the battery and may cause a fire, smoke or explosion. This equipment complies with IC radiation exposure limits set forth for 2.
- Page 18 Directive 2014/53/EU, the RoHS Directive 2011/65/EU and Safety Directive 2009/48/EC have been fully fulfilled on our product with indication below: REMOTE CONTROL MODEL/RADIO CONTROLLED Product Name: Model/Mark : HS700/HOLYSTONE -32- -33-...
Need help?
Do you have a question about the HS700 and is the answer not in the manual?
Questions and answers