Advertisement
Quick Star t Guide
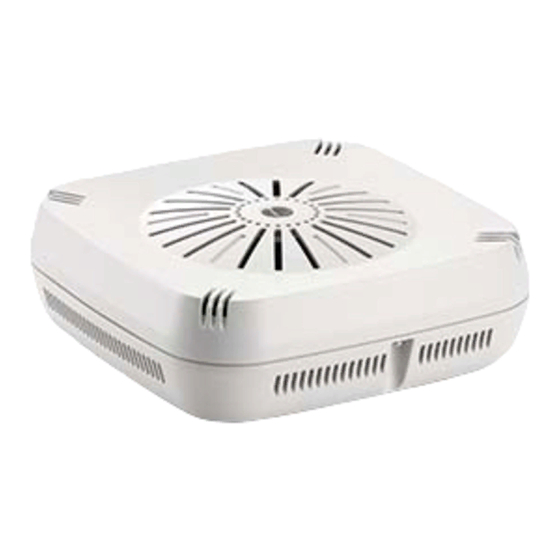
IEEE 802.11a/b/g/n Enterprise Access Point
WAP5110
Installation Information
1. Unpack the AP
www.smc.com
For detailed access point (AP) installation information, refer to the
N
:
OTE
Installation Guide, which is on the Documentation CD included with the AP.
For Safety and Regulatory information, refer to the Safety and Regulatory
N
:
OTE
Information document included with the AP.
The AP includes its own built-in features for mounting the unit to a wall or
suspended ceiling T-rail.
Caution:
The planning and installation of the AP requires professional personnel
that are trained in the installation of radio transmitting equipment. The user is
responsible for compliance with local regulations concerning items such as
antenna power, use of lightning arrestors, grounding, and radio mast or tower
construction. Therefore, it is recommended to consult a professional contractor
knowledgeable in local radio regulations prior to equipment installation.
Follow these steps to install the AP:
Unpack the AP and check the package contents.
◆
WAP5110 Enterprise Access Point
◆
AC Power adapter
◆
Console cable (RJ-45 to DB-9)
◆
Quick Start Guide (this guide)
◆
Regulatory and Safety Information
◆
Documentation CD — includes Installation Guide and Management Guide
– 1 –
E042013-CS-R01
150200000556A
Advertisement
Table of Contents

Related Manuals for SMC Networks WAP5110


Summary of Contents for SMC Networks WAP5110
- Page 1 Follow these steps to install the AP: 1. Unpack the AP Unpack the AP and check the package contents. ◆ WAP5110 Enterprise Access Point ◆ AC Power adapter ◆ Console cable (RJ-45 to DB-9) ◆...
-
Page 2: Mounting On A Wall
Quick Start Guide 2. Mount the AP After planning your installation, mount the unit on a wall or suspended ceiling T-rail. Mounting on a Wall Set two screws in the wall 6.2 mm (2.4 in.) apart. Slide the AP’s wall mounting slots down onto the screws so that the unit is secure. Mounting on a Ceiling T-rail Position the AP’s ceiling-mount clip holders on either side of the T-rail. -
Page 3: Connect Cables
Quick Start Guide 3. Connect Cables Connect network cable to the RJ-45 port for your network connection. The RJ-45 port connection can also provide PoE power to the unit. Connect Category 5e or better cable to the RJ-45 port. 4. Connect Power If you do not power the unit using PoE, connect the AC power adapter to the AP and to an AC power source. -
Page 4: Verify Ap Operation
Quick Start Guide 5. Verify AP Operation Verify basic AP operation by checking the system LEDs. The Power LED should be on green and the Network LED on or flashing amber. Network Link/Activity Power/Diagnostic 6. Connect to the To make initial configuration changes to the AP, connect a PC to the AP’s console Console Port port using the included console cable. - Page 5 Quick Start Guide From a PC running VT-100 terminal emulator software, use the following settings: ◆ Baud rate — 115,200 bps ◆ Character Size — 8 Characters ◆ Parity — None ◆ Stop bit — One ◆ Data bits — 8 ◆...
-
Page 6: Hardware Specifications
Quick Start Guide Hardware Specifications Item Specification Chassis Specifications Size W x D x H: 140 x 140 x 47.8 mm (5.51 x 5.51 x 1.88 inches) Weight 500 g (1.10 lbs) Temperature Operating: 0 °C to 40 °C (32 °F to 104 °F) Storage: -20 °C to 70 °C (-4 °F to 158 °F) Humidity Operating: 5% to 95% (non-condensing)
Need help?
Do you have a question about the WAP5110 and is the answer not in the manual?
Questions and answers