Table of Contents
Advertisement
HPE OfficeConnect 1920S Switch Series Quick Setup
Guide and Safety/Regulatory Information
Applicable products
HPE OfficeConnect 1920S 8G Switch
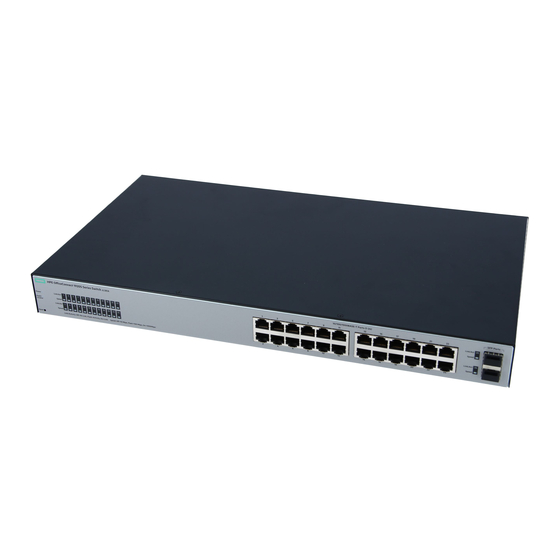
HPE OfficeConnect 1920S 24G 2SFP Switch
HPE OfficeConnect 1920S 48G 4SFP Switch
HPE OfficeConnect 1920S 8G PPoE+ 65W Switch
HPE OfficeConnect 1920S 24G 2SFP PPoE+ 185W Switch
HPE OfficeConnect 1920S 24G 2SFP PoE+ 370W Switch
HPE OfficeConnect 1920S 48G 4SFP PPoE+ 370W Switch
HPE OfficeConnect 1920S 8G 2SFP PoE+ 185W Switch
HPE OfficeConnect 1920S 24G 2SFP PoE+ 185W Switch
HPE OfficeConnect 1920S 48G 4SFP PoE+ 370W Switch
Use only supported HPE Aruba SFP transceivers
Non-HPE Aruba SFP transceivers are not supported. Use of supported HPE Aruba products ensures that your network
maintains optimal performance and reliability. If you require additional transceivers, contact an HPE Aruba sales
representative or an authorized reseller. For more information, see the latest edition of the Installation and Getting Started
Guide for your switch at http://www.hpe.com/networking/ResourceFinder.
Installation Precautions
WARNING:
•
Adequately secure the rack or cabinet to prevent it from becoming unstable, tilting, or falling. Mount devices
installed in a rack or cabinet as low as possible, with the heaviest devices at the bottom, and progressively lighter
devices above.
•
Do not wall-mount any switch without checking for restrictions in the Installation and Getting Started Guide at
http://www.hpe.com/networking/ResourceCenter. Wall-mount the switch with network ports facing up or down
(away from or toward the floor). Do not wall-mount the switch with the ventilation holes facing up or down.
JL380A
JL381A
JL382A
JL383A
JL384A
JL385A
JL386A
JL582A
JL583A
JL584A
*5200-4911*
©
Copyright 2017, 2018, Hewlett Packard Enterprise Development LP
Part Number: 5200-4911
Published: March 2018
Edition: 1, Printed in China
Advertisement
Table of Contents

Subscribe to Our Youtube Channel
Related Manuals for HP OfficeConnect 1920S Series


Summary of Contents for HP OfficeConnect 1920S Series
-
Page 1: Installation Precautions
HPE OfficeConnect 1920S Switch Series Quick Setup Guide and Safety/Regulatory Information Applicable products HPE OfficeConnect 1920S 8G Switch JL380A HPE OfficeConnect 1920S 24G 2SFP Switch JL381A HPE OfficeConnect 1920S 48G 4SFP Switch JL382A HPE OfficeConnect 1920S 8G PPoE+ 65W Switch JL383A HPE OfficeConnect 1920S 24G 2SFP PPoE+ 185W Switch JL384A... -
Page 2: Installing A 1920S Switch
CAUTION: • Ensure that the power source circuits are properly grounded. To connect to the AC power source, use the power cord supplied with the switch. • If your installation requires a different power cord than the one supplied with the switch and/or power supply, be sure that the cord is adequately sized for the current requirements of the switch. - Page 3 Prerequisites Site preparation complete (For site preparation information, see the latest Installation and Getting Started Guide for your switch at http://www.hpe.com/networking/ResourceFinder. Four #12-24 machine screws (for rack mounting) Two 5/8-inch #12 wood screws (for wall or under-table mounting of any of the 1920S-8G switches) Accessory kits for your switch model (described later in this section) #1 Phillips (cross-head) screwdriver A PC to use as a terminal for configuring the switch...
- Page 4 JL582A 8G switch Kit number 5066-5626 • two wall/table mounting brackets • eight 8-mm M4 screws • two 10 in. rack-mounting brackets • four rubber feet 2. Power-on and verify that Self-Test completes normally by observing the switch LED behavior. For details of LED behavior, see the latest version of the Installation and Getting Started Guide for your switch model at http:// www.hpe.com/networking/ResourceFinder •...
-
Page 5: Power Cords And Power Adapters
IMPORTANT: Wall-mount the switch with network ports facing up or down (away from or toward the floor). Do not wall- mount the switch with the ventilation holes facing up or down. (See Installation Precautions on page 1.) 5. Power up the switch and connect it to your network. 6. -
Page 6: Jl383A 8G Switch Power Cords And External Power Adapter
8120-8699 United Kingdom/Hong Kong/ Singapore/Malaysia 8121-1081 Brazil 8121-8367 Argentina 8121-0514 Chile Wall plug-in power adapter Power adapter: (AC power cords are not used) specifications: 5066-5562 United States/Canada/Mexico • AC Input Voltage: 100–240 V 5184-5864 Continental Europe/Denmark/Norway/ • Maximum AC Input Current: 0.4 A Sweden/Switzerland/Israel/ Vietnam/ Indonesia •... - Page 7 8121-1071 Brazil 8121-0729 Argentina 8121-0735 Chile Power cords for the JL381A 24G, JL384A 24G, JL583A 24G, JL382A 48G, JL584A 48G, and JL582A 8G switches Country: AC power cord: Country: AC power cord: 8121-0837 Australia/New Zealand 8121-0738 Switzerland 8121-0943 China 8121-0964 Taiwan 8121-0731 Continental Europe...
-
Page 8: 1920S Switch Series Regulatory And Safety Information
1920S Switch Series regulatory and safety information Table 1: Electrical information 1920S switch Maximum current AC Voltage Frequency range model 24G JL381A 0.5 / 0.3 A 48G JL382A 0.8 / 0.5 A 24G PPoE 2.6 / 1.3 A + (185W) JL384A 24G POE+ (370W) JL385A 5.1 / 2.6 A... -
Page 9: Additional Regulatory And Safety Information
Acoustic No fans: 0 dB: JL380A 8G, JL381A 24G, and JL382A 48G Includes fans: 45 dB: JL383A 8G, JL384A 24G, JL385A 24G , JL386A 48G 45 dB: JL582A 8G 45 dB: JL583A 24G 45 dB: JL584A 48G Safety-EU CSA22.2 No. 60950-1; EN60950-1/IEC60950-1; UL60950-1EN 60825-1 / IEC 60825-1 Class 1;... - Page 10 Interior JL380A 8G, JL381A 24G, JL382A 48G, JL383A 8G, JL384A 24G, JL385A 24G, JL386A 48G, Wiring JL582A 8G, JL583A 24G, JL584A 48G Warning Brazil WARNING: Statement Este equipamento deve ser conectado obrigatoriamente em tomada de rede de energia elétrica que possua aterramento (três pinos), conforme a Norma NBR ABNT 5410, visando a segurança dos usuários contra choques elétricos.
-
Page 11: Documentation Feedback
European Community The product herewith complies with the requirements of Directive 2014/35/EU relating to electrical equipment designed for use within certain voltage limits, Directive 2014/30/EU relating to electromagnetic compatibility, Directive 2011/65/EU on the restriction of the use of certain hazardous substances in electrical and electronic equipment, and carries the CE marking accordingly.
Need help?
Do you have a question about the OfficeConnect 1920S Series and is the answer not in the manual?
Questions and answers