
Subscribe to Our Youtube Channel
Related Manuals for CHIEF MTMP1U


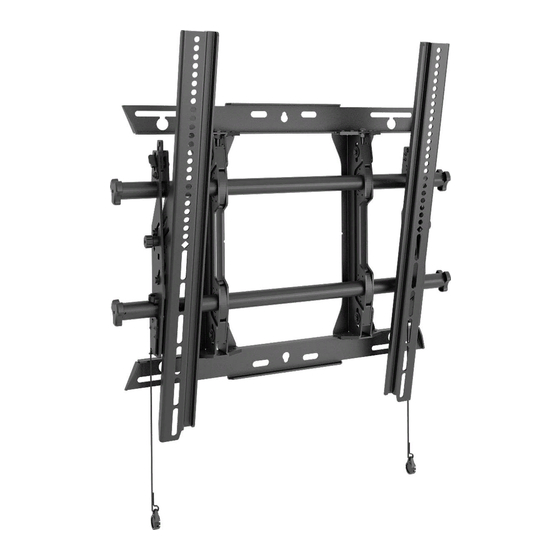
Summary of Contents for CHIEF MTMP1U
- Page 1 I N S T A L L A T I O N I N S T R U C T I O N S FUSION PORTRAIT MEDIUM TILT MOUNT Spanish Product Description German Product Description Portuguese Product Description Italian Product Description Dutch Product Description French Product Description MTMP1U...
-
Page 2: Important Safety Instructions
It is the installer’s responsibility to make sure the combined weight of all components attached to the MTMP1U does not exceed 125 lbs (56.7 kg) when mounted to a single 2" x 4" wood stud;... -
Page 3: Installation Instructions
Installation Instructions MTMP1U DIMENSIONS 0.34 7.00 177.8 RAILS CAN BE SLID LEFT OR RIGHT FOR OFFSET MAXIMUM MOUNTING PATTERN IS 18.8" (477.5 mm) WITHOUT REVERSING UPRIGHTS MAXIMUM MOUNTING PATTERN IS 22.5" (571.5 mm) WITH REVERSING UPRIGHTS DIMENSIONS: INCHES FOR RECESSED APPLICATIONS, MINIMUM VERTICAL LIFT FOR HOOK ENGAGEMENT IS .75"... - Page 4 MTMP1U Installation Instructions LEGEND Tighten Fastener Pencil Mark Apretar elemento de fijación Marcar con lápiz Befestigungsteil festziehen Stiftmarkierung Apertar fixador Marcar com lápis Serrare il fissaggio Segno a matita Bevestiging vastdraaien Potloodmerkteken Serrez les fixations Marquage au crayon Loosen Fastener Drill Hole Aflojar elemento de fijación...
-
Page 5: Tools Required For Installation
Installation Instructions MTMP1U TOOLS REQUIRED FOR INSTALLATION 1/2" 1/8" 7/32" (5.5mm) Wood Stud (included) 3/16" x 10" 3/8" (9.5mm) Concrete (included) PARTS Universal Hardware Kit [Included in hardware box] E (4) G (4) A (4) B (4) C (4) F (4) - Page 6 Using a level, mark the wall on each stud to attach the mount through the upper mounting slots. (See Figure 2) The MTMP1U mounts are designed to be mounted to a bare 8" Drill one 7/32" (5.5mm) pilot hole in each stud.
- Page 7 Installation Instructions MTMP1U Installing to a Concrete Wall 14. Tighten all lag bolts to secure mount (Z) to wall. Determine the center of the TV screen, and where it should 15. Slide rails to approximate center of screen location. be located on the wall.
- Page 8 (mounting slots). (See Figure 7) The location of the left and right interface brackets may be switched, with the knobs on the MTMP1U interface brackets (A-L) facing the inside of the mount. (See Figure 7)
- Page 9 Installation Instructions MTMP1U If necessary, the interface bracket knobs may be switched Attaching Display to Wall Mount to allow the brackets to be reversed. (See Figure 8) NOTE: NEVER place both interface brackets (X and Y) to one a. Remove display from mount.
- Page 10 MTMP1U Installation Instructions Hang screen onto the top rail of the mount (Z).(See Figure 10) Adjustments • Move latch on top of interface bracket to OPEN position Horizontal Adjustment and hang top hook of interface brackets (X and Y) onto the top rail of the mount (Z).
- Page 11 Installation Instructions MTMP1U Tilt Locking Interface Brackets (Optional) Lock interface brackets onto mount rails using one The interface brackets (X and Y) allow from -5° to 12° tilt, and 3/8-16 x 3/4" set screw (U) on each interface bracket. (See can be locked at 0°, 6°...
- Page 12 Europe A Franklinstraat 14, 6003 DK Weert, Netherlands P +31 (0) 495 580 852 F +31 (0) 495 580 845 Chief, a products division of Asia Pacific A Office No. 918 on 9/F, Shatin Galleria Milestone AV Technologies 18-24 Shan Mei Street...
Need help?
Do you have a question about the MTMP1U and is the answer not in the manual?
Questions and answers