Table of Contents
Advertisement
Quick Links
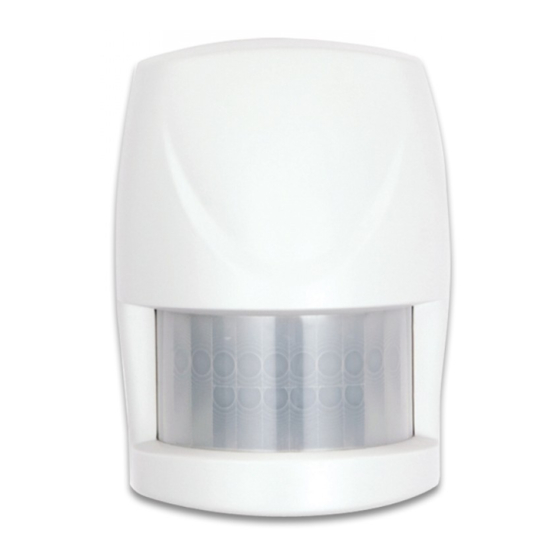
Motion Detector HSP01-0
Installation and Operating
Instructions
INTRODUCTION
The Motion Detector is designed with two detecting
sensors, Passive Infra-Red (PIR) sensor and light sensor,
in order to fulfill the purpose of security and home
automation.
When the detector is cooperated with
security appliances, it is acting as a security device by
detecting changes in infra-red radiation levels.
person moves within or across the device field of vision, a
trigger radio signal will be transmitted to cause full alarm
condition in order to frighten intruders away. Alternatively,
when the detector is worked with home automation
appliances, the detector can be set to perform the role of
home automation device by detecting both changes in
infra-red radiation levels and percentage of lux levels.
Once night falls, the percentage of ambient illumination is
lower than preset value.
across the device field of vision, a trigger radio signal will
be transmitted so as to turn on the connected lightings for
better illumination.
The PIR Detector adopts a CR2 3.0V Lithium battery which
under normal conditions will have typical life in excess of 1
year. When the battery level drops to an unacceptable
level, the LED behind the detection window will flash once
every 30 seconds. When this occurs the batteries should
be replaced as soon as possible.
Product Overview
Choosing a Mounting Location
The PIR Detector is suitable for mounting in dry interior
locations only.
If a person moves within or
The recommended position for a PIR Detector is in the
corner of a room mounted at a height between 1.8 and 2m.
At this height, the detector will have a maximum range of
up to 9m with a field of view of 110°, subject to the position
for the PCB being set in 5. (FIGURE 1& 2) The position of
the PCB inside the PIR can be set to 5 different positions
to adjust the range of the detector. Setting the PCB in
position 3 will reduce the range to 6m approximately, with
position 1 providing a range of 3m approximately. The
recommended position setting for the PCB is in position 5.
If a
13
12
11
10
When considering and deciding upon the mounting
position for the detector the following points should be
considered to ensure trouble free operation:
1. Do not locate the detector facing a window or where it
is exposed to or facing direct sunlight. PIR Detectors
are not suitable for use in conservatories.
2. Do not locate the detector where it is exposed to
ventilators.
3. Do not locate the detector directly above a heat source,
(e.g. fire, radiator, boiler, etc).
4. Where possible, mount the detector in the corner of
the room so that the logical path of an intruder would
cut across the fan detection pattern. PIR detectors
respond more effectively to movement across the
device than to movement directly towards it. (FIGURE
3)
1
9
8
7
6
5
4
3
2
PCB Position
Range
1
3m
3
6m
5
9m
FIGURE 1& 2
2M
1
0
Advertisement
Table of Contents

Subscribe to Our Youtube Channel
Related Manuals for EVERSPRING HSP01-0


Summary of Contents for EVERSPRING HSP01-0
- Page 1 Motion Detector HSP01-0 The recommended position for a PIR Detector is in the Installation and Operating corner of a room mounted at a height between 1.8 and 2m. At this height, the detector will have a maximum range of Instructions up to 9m with a field of view of 110°, subject to the position...
- Page 2 Less Sensitive More Sensitive FIGURE 3a FIGURE 3 5. Do not locate the detector in a position where it is subject to excessive vibration. 6. Ensure that the position selected for the PIR detector is within effective range of the system, (refer to System Installation and Operating Manual).
- Page 3 Learning & Clearing the ID Code start, enabling the control panel to learn the code. If code learning is successful, the detector will beep once and the The Motion Detector has its unique code. In order to green LED will be on shortly then off. If failure, three prevent any unauthorized attempt to operate or disarm rapid beeps can be heard and green LED will flash rapidly your system, you must let your control panel (e.g.
- Page 4 the detecting functions of the detector. To enable/disable Note: The default value is set in 5, which implies that the the PIR/light sensors, users can send system On/Off detector can only be re-triggered after 5 seconds of command via UnetSystem. System On is for enabling interval.
- Page 5 control panel) not working Distance is out of operating range Reposition the mounting location of the detector and connected appliances (or control panel). Make sure the distance is within 200 meters. Specifications Battery CR2 3.0V 800mAh Lithium Battery Operating Range Minimum 200 m line of sight Warm Up Time About 2 minutes...
Need help?
Do you have a question about the HSP01-0 and is the answer not in the manual?
Questions and answers