Table of Contents
Advertisement
Advertisement
Table of Contents

Related Manuals for Ryobi RIG2000PCB


Summary of Contents for Ryobi RIG2000PCB
- Page 1 ORIGINAL INSTRUCTIONS Digital Inverter Generator RIG2000PCB...
- Page 2 Important! It is essential that you read the instructions in this manual before assembling, operating, and maintaining the product. Subject to technical modification.
-
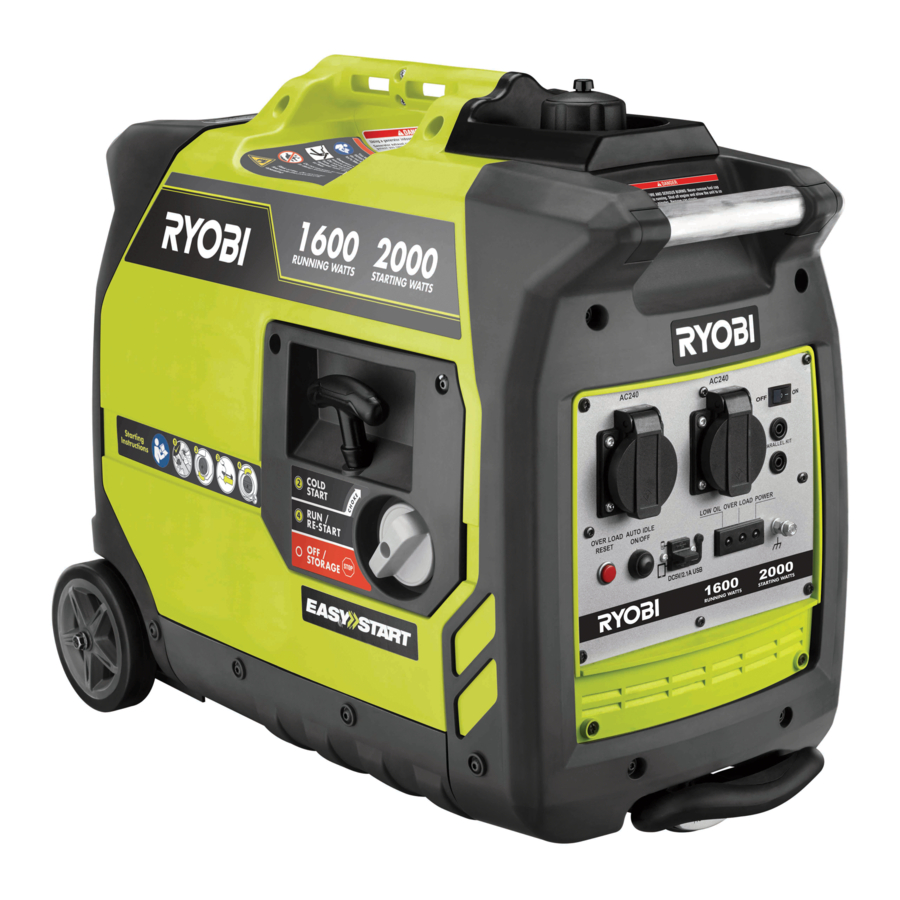
Page 3: Know Your Product
KNOW YOUR PRODUCT 1. 240 Volt AC outlets 16. Engine choke/off selector knob 2. Main on/off switch 17. Starter grip and rope 3. Parallel kit connections 18. Fuel cap 4. Engine cover 19. Funnel 5. Muffler with spark arrestor screen 20. - Page 4 Fig. 2 Fig. 3 10 9 Fig. 4 Fig. 5 Fig. 6 Fig. 7...
- Page 5 Fig. 9 Fig. 8 Fig. 9 Fig. 10 Fig. 11 Fig. 12 Fig. 13...
- Page 6 Fig. 14 Fig. 15...
-
Page 8: Intended Use
English | Original instructions Safety, performance, and dependability have been given Save these instructions. top priority in the design of your digital inverter generator. This manual contains important instructions that should be followed during the installation and maintenance of the INTENDED USE product. -
Page 9: Specific Safety Warnings
Do not allow the cooling air slots in the ■ The generating set must not be connected to other generator to become clogged with foreign material such power sources except another RIG2000PCB with the as leaves, and snow. RIGPC1000 parallel cable (sold separately). ■... -
Page 10: Symbols On The Product
English | Original instructions SYMBOLS ON THE PRODUCT Do not use the product indoors. Do not expose to rain or use in damp locations. Only run the product outdoors. To reduce the risk of injury, the user must read and understand the Regulatory Compliance Mark (RCM). -
Page 11: Extension Cord Cable Size
Original instructions | English ELECTRICAL EXTENSION CORD CABLE SIZE Refer to the table below to ensure the cable size of the extension cords you use are capable of carrying the required load. Inadequate size cables can cause a voltage drop, which can damage the appliance and overheat the cord. Load in Watts Maximum Allowable Cord Length Current in... -
Page 12: Generator Capacity
English | Original instructions 5. Again, permit the generator to stabilise. ELECTRICAL 6. Repeat steps 4 and 5 for each additional load. 7. Never add more loads than the generator capacity. GENERATOR CAPACITY Take special care to consider surge loads in generator Make sure the generator can supply enough continuous capacity as previously described. -
Page 13: Operation
NOTE: Read and understand the parallel kit’s instructions prior to use. The kit is for use with the RIG2000PCB only. WARNING RESET BUTTON Do not attempt to modify the product or create The reset button is used to restore power if an overload accessories not recommended for use with the product. -
Page 14: Special Requirements
English | Original instructions Even when you use a generator correctly, CO may leak into provide any communication capabilities. A suitable USB the home. Always use a battery-powered or battery-backup cable must be provided by the user. CO alarm in the home. CHECKING/ADDING LUBRICANT If you start to feel sick, dizzy, or weak after the generator See Figure 3. -
Page 15: Oxygenated Fuels
Original instructions | English OXYGENATED FUELS position. ■ Place the main on/off switch in the "on" position. ■ Pull the engine recoil five (5) times to prime the fuel CAUTION system. Do not use E15 or E85 fuel (or fuel containing greater ■... -
Page 16: General Maintenance
English | Original instructions ■ Start the generator with nothing connected. GENERAL MAINTENANCE ■ Plug in and turn on the first load, preferably the largest Keep the generator in a clean and dry environment where it load (highest wattage) you have. is not exposed to dust, dirt, moisture, or corrosive vapours. -
Page 17: Spark Plug Replacement
Original instructions | English Specifications" in this manual. DRAINING FUEL TANK/CARBURETOR See Figures 13-14. ■ Replace and secure the oil cap/dipstick. ■ Reinstall the engine cover. Reinstall the oil drain cover To help prevent gum deposits in the fuel system, drain the and tighten the screws. -
Page 18: Product Specifications
Before storing PRODUCT SPECIFICATIONS Less than 2 months • Drain fuel from the tank and dispose of Model RIG2000PCB in a suitable container according to state and local ordinances. AC Output 2 months to 1 year • Drain fuel from the carburettor. -
Page 19: Troubleshooting
TROUBLESHOOTING Problem Possible cause Solution The engine will not start. Engine choke/off selector knob is Move engine choke/off selector knob to "choke" in "run" position. position. No fuel. Fill fuel tank. Stale fuel or water in the fuel. Drain entire system and refuel with fresh unleaded fuel. -
Page 20: Maintenance Schedule
MAINTENANCE MAINTENANCE SCHEDULE After 1st month Every 3 months Every 6 months Every year or Before or 20 hours of or 50 hours of or 100 hours after 300 hours each use operation operation of operation of operation Check engine lubricant Change engine lubricant Check air filter Clean air filter... -
Page 21: Wiring Diagram
WIRING DIAGRAM... - Page 24 Imported by: Techtronic Industries Australia Pty Ltd 31 Gilby Road, Mount Waverley, VIC 3149 Melbourne, Australia Techtronic Industries N.Z. Limited 2 Landing Drive, Mangere Auckland, 2022, New Zealand 960478058-01...
Need help?
Do you have a question about the RIG2000PCB and is the answer not in the manual?
Questions and answers