
Related Manuals for Lawmate PV-RC300 Mini Camstick DVR


Summary of Contents for Lawmate PV-RC300 Mini Camstick DVR
-
Page 1: Quick Guide
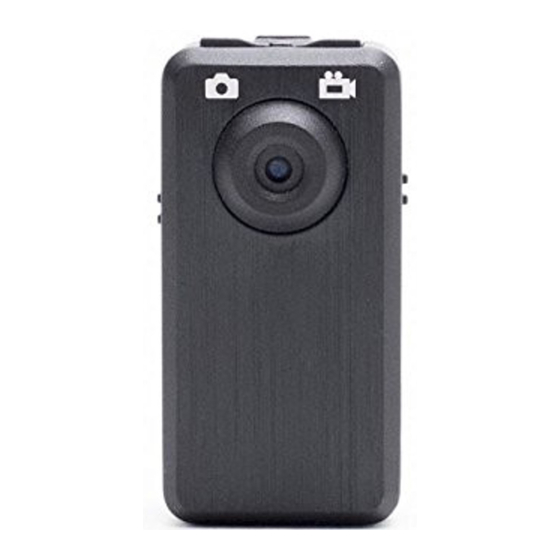
Lawmate PV-RC300 Mini Camstick DVR User Manual Last Modified on 12/23/2015 8:54 pm EST PV-RC300mini CamStick DVR Quick Guide Law Enforcement Products Manufacturer LawMate 1. Introduction... -
Page 2: Package Content
2. Package Content 3. Charging Battery Connect the USB cable to the socket on the bottom of the camera. Switch to “Charge” position on the cable. Charging options: Connect the other end of the cable to car charger Connect the other end of the cable to PC... - Page 3 4. Inserting Micro SD card Insert micro SD card gently into card slot on the side. Ensure insertion placed in proper direction as indicated. To eject the card, gently push and release the card. 5. Date and Time Setting (for Windows XP) Switch to USB position on the controller.
- Page 4 Click on the Removable Drive > sign RTCRW. Click Set Host Time onto RTC. Shown message to indicate time setting is completed. 6. Covert Application Clip Mount Magnet Mount Camera Strap Mount 7. Webcam Driver Installation Install the webcam driver from the supplied CD-ROM. The file is located in the folder \Driver\Setup.
-
Page 5: Video Recording
Installation completed. Webcam is then ready to work. 8. Accessing Webcam Function Option (1) Without microSD card inserted, connect PV-RC300mini to computer with USB cable. After connection is established, turn on PV-RC300mini. Turn on installed AMCap application and access webcam function. Option (2) With microSD card inserted, turn on PV-RC300mini without cable connection. - Page 6 10. Photo Taking Turn on PV-RC300mini. Blue LED light on to indicate power on status. Gently press the button on top of the unit once. Red LED light on in one second time to indicate taking snapshoot status. When snapshoot is taken and saved, Red LED goes out. 11.
Need help?
Do you have a question about the PV-RC300 Mini Camstick DVR and is the answer not in the manual?
Questions and answers