Table of Contents
Advertisement
Quick Links
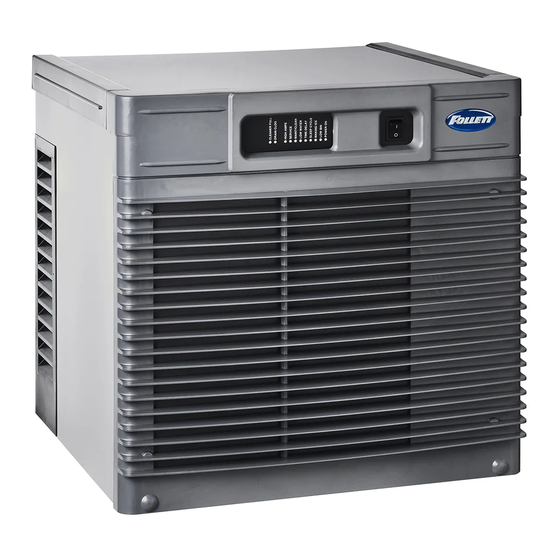
Horizon Elite
HCD/HMD710ABT, H_C1010ABT, H_C1010WBT,
H_C1410ABT, H_C1410WBT,
(See model number configurator on page 2 for details.)
Order parts online
www.follettice.com
Ice Machine Installation Instructions
™
to Ice Storage Bin Top-mount Applications
801 Church Lane • Easton, PA 18040, USA
Toll free (877) 612-5086 • +1 (610) 252-7301
www.follettice.com
self-contained
01113307R02
Advertisement
Table of Contents

Related Manuals for Follett HMD710ABT


Summary of Contents for Follett HMD710ABT
- Page 1 Horizon Elite Ice Machine Installation Instructions ™ to Ice Storage Bin Top-mount Applications HCD/HMD710ABT, H_C1010ABT, H_C1010WBT, H_C1410ABT, H_C1410WBT, (See model number configurator on page 2 for details.) Order parts online www.follettice.com self-contained 801 Church Lane • Easton, PA 18040, USA Toll free (877) 612-5086 •...
- Page 2 Chewblet Ice Machine Model Number Configurations ® 1810 Application Configuration Icemaker Voltage Series Condenser MC Maestro™ C 208-230/60/1 (icemaking head) 425 up to A Air-cooled, self-contained V Vision™ S RIDE™ Self-contained only. 425 lbs Chewblet ® W Water-cooled, self-contained H Harmony™ (RIDE remote D 115/60/1 (icemaking head) (193 kg)
-
Page 3: Table Of Contents
Contents Unpack ....................................4 Unpack Ice Machine ..............................4 Site Preparation ................................5 Installation site requirements .............................5 Louvered Docking Assembly Installation ........................6 External Connections ..............................7 Ice Transport Tube Installation ...........................7 Air-cooled ice machines only .............................8 Water-cooled ice machines only ..........................8 Internal Connections ..............................9 Ice transport tube ..............................9 Potable water and drain lines ............................9 Power cord .................................9... -
Page 4: Unpack
Unpack Carefully unpack and inspect the contents of your Follett ice machine. Unpack Ice Machine ➋ ➌ ➊ ➎ ➍ 7/16" DO NOT TILT ICE MACHINE TO ACCESS BOLTS! COMPRESSOR DAMAGE 7/16" WILL RESULT ➐ ➏ BIN • TOP-MOUNT Horizon 710/1010/1410... -
Page 5: Site Preparation
§ If the supply cord is damaged, it must be replaced by the manufacturer, its service agent or similarly qualified persons in order to avoid a hazard. H_C1010/1410(A/W)BT 208-230/60 HCD/HMD710ABT 115/60 Requires dedicated 15A circuit. Requires a 15A dedicated circuit. -
Page 6: Louvered Docking Assembly Installation
Louvered Docking Assembly Installation WARNING! § Prior to installing the louvered docking assembly, ensure that the drain fitting is oriented (right or left) correctly for your installation. An optional straight drain fitting is also supplied. You may need to remove the back panel of the docking assembly in order to re-orient or change the drain fitting. -
Page 7: External Connections
External Connections Ice Transport Tube Installation Hot Water 160 F (71 C) ➊ ➋ ➌ § Install supplied ice transport tube insulation. ➊ § Heat end of transport tube in cup of 160 F (71 C) hot water to soften and spread with pliers before making connection to ease assembly. -
Page 8: Air-Cooled Ice Machines Only
Air-cooled ice machines only Water-cooled ice machines only ➊ ➊ ➏ ➋ ➋ ➐ ➌ ➌ ➏ Minimum 8" Minimum 8" ➑ radius radius 2 ft. x 1" OD 2 ft. x 1" OD silicone tubing silicone tubing 3/4" barb x 3/4" FPT 3/4"... -
Page 9: Internal Connections
Internal Connections Air-cooled ice machines – follow steps 5.1 and 5.5. Water-cooled ice machines – follow steps 5.6 through 5.12. Ice transport tube Potable water lines ➋ ➊ ➊ § Slide ice machine into louvered docking ➊ § Insert potable water line into valve assembly ensuring that drain tube is fully seated on barbed drain fitting ➊... -
Page 10: Cooling Lines
TDS switch Cooling Lines HIGH CLEAN § Set the TDS switch on the elctrical box. § Install ice machine cooling water lines to louvered docking assembly. – HIGH: for extended service life – LOW: for low-scale water Ice transport tube Potable Water Line ➋... -
Page 11: Power Cord
5.10 Cooling lines and power Power cord ➋ ➊ § Remove twist tie. ➊ § Connect cooling water lines to ice machine § Carefully pass plug thru opening and plug into (Water "Out" connects to water regulator.) wall outlet. § Water valve is set at the factory. DO NOT remove ➋... -
Page 12: Front Cover
3. Check that ice begins to enter dispenser bin area within approximately 10 minutes. Horizon, Horizon Elite, and Harmony are trademarks of Follett LLC. Follett, Chewblet and RIDE are registered trademarks of Follett LLC, registered in the US. 801 Church Lane • Easton, PA 18040, USA Toll free (877) 612-5086 •...
Need help?
Do you have a question about the HMD710ABT and is the answer not in the manual?
Questions and answers