Sign In
Upload
Download
Table of Contents
Contents
Add to my manuals
Delete from my manuals
Share
URL of this page:
HTML Link:
Bookmark this page
Add
Manual will be automatically added to "My Manuals"
Print this page
×
Bookmark added
×
Added to my manuals
Manuals
Brands
I2M Manuals
Motorcycle Accessories
Chrome Lite
User manual
I2M Chrome Lite User Manual
Hide thumbs
1
2
Table Of Contents
3
4
5
6
7
8
9
10
11
12
13
14
15
16
17
18
19
20
21
22
23
24
25
26
27
28
29
30
31
page
of
31
Go
/
31
Contents
Table of Contents
Bookmarks
Table of Contents
Table of Contents
Definitions & Abbreviations
Introduction
Main Features
Before Installation
What's Inside the Box
Chrome "Lite/Plus/Pro
Motorcycle Specific Wiring Harness, CNC Adaptor Plate (P&P Kits)
Sensor Connector Wiring Harness (P&P Kit)
Installation
Chrome Inputs
16-Pin Connector
Video Input Connector
UP" and "DN" Buttons
Editing Alphanumerical Values
Startup Screen
OEM to I2M P&P Wiring Harness
Loading Motorcycle Specific Settings
Acquired Channels
Unit Configuration
Gear Indicator
Adding a New Circuit
Software & Firmware Updates
Basic Configuration
Chrome Menu
Startup Screen
Chronometer
View Lap Times
Delete Lap Times
Select Circuit
Circuit Details
Daily Details
Export & Import
Circuit Library
Chromelaps
Display View
Data Acquisition, Video & Wifi
Download
Counters
Inputs & Special Functions
Configure Inputs Manually
Automatic Configure (Analogs)
Configure Heart Sensor
Configure TPMS Sensor
Configure CANBUS Inputs
Analyze Carburation
Configure DDS
Alarms
Options
Motorcycle Channel and Alarm Assignment Tables
Assigned Channels
Assigned Alarms
Advertisement
Quick Links
1
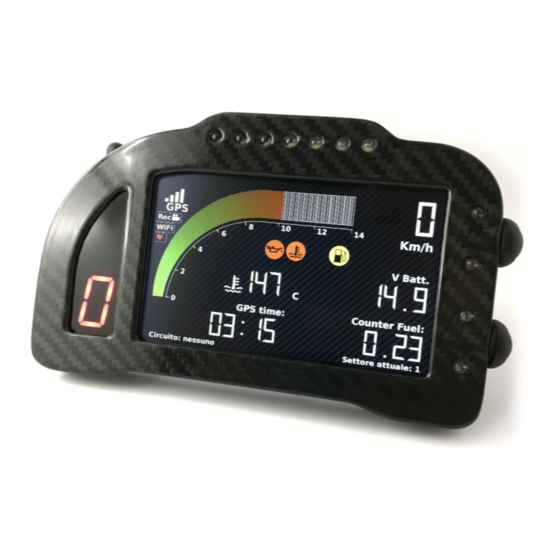
Display View
Download this manual
USER MANUAL
V1.1
Chrome
"Lite/Plus/Pro"
I2M srl
Piazzale Giulio Cesare 9
20145 Milano, Italy
P.IVA 06094510960 C.F. 06094510960
info@i2m.it
Table of
Contents
Previous
Page
Next
Page
1
2
3
4
5
Advertisement
Table of Contents
Need help?
Do you have a question about the Chrome Lite and is the answer not in the manual?
Ask a question
Questions and answers
Related Manuals for I2M Chrome Lite
Motorcycle Accessories I2M Chrome User Manual
Dashboard (28 pages)
Motorcycle Accessories I2M Chrome Plus User Manual
(31 pages)
Motorcycle Accessories I2M Chrome Pro User Manual
(31 pages)
This manual is also suitable for:
Chrome plus
Chrome pro
Table of Contents
Save PDF
Print
Rename the bookmark
Delete bookmark?
Delete from my manuals?
Login
Sign In
OR
Sign in with Facebook
Sign in with Google
Upload manual
Upload from disk
Upload from URL


Need help?
Do you have a question about the Chrome Lite and is the answer not in the manual?
Questions and answers