Advertisement
Advertisement
Table of Contents

Related Manuals for HELIX V EIGHT DSP


Summary of Contents for HELIX V EIGHT DSP
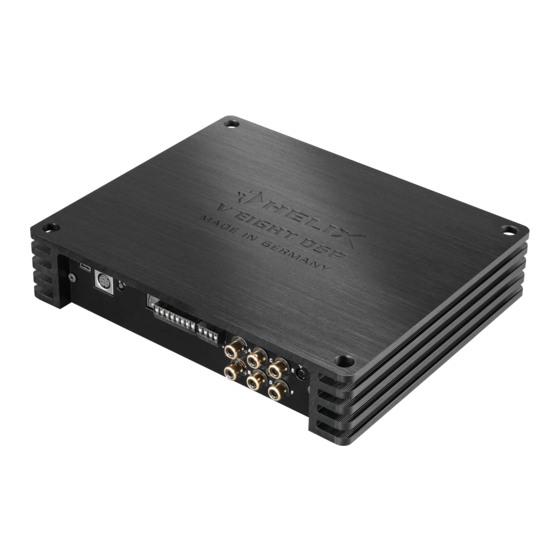
- Page 1 V EIGHT DSP 8-Kanal Verstärker mit integriertem DSP...
-
Page 2: General Instructions
HELIX dealer. ble cross-section for the connection of HELIX Install your HELIX V EIGHT DSP in a dry location V EIGHT DSP. The fuses may only be replaced by identically rated fuses (2 x 30 A) to avoid... -
Page 4: Usb Input
Important: It is strictly forbidden to use the High- Attention: After erasing the setups from memory level Input Line Input the HELIX V EIGHT DSP will not reproduce any au- dio output. 4 Status LED 7 Line Input The Status LED setup. -
Page 5: Initial Start-Up And Functions
We strongly recommend to use this output for turn- ommended cross section: min. 16 mm² / AWG 6. the Line Output of the HELIX V EIGHT DSP. This is The remote input has to be used to turn on/off the V EIGHT DSP if the signal source which is connect- ing process of the DSP is completed. -
Page 6: Installation
Installation Connection of HELIX V EIGHT DSP to the head automatically turn on once a loudspeaker signal Caution: Carrying out the following steps will re- quire special tools and technical knowledge. In or- Attention: It is mandatory to properly adapt... - Page 7 PCM format with a sample rate be- tween 12 kHz and 96 kHz and no Dolby-coded to the outputs of the HELIX V EIGHT DSP signals. during this setup. 5. Connection to power supply...
- Page 8 DSP PC-Tool software before has BTL output stages. The V EIGHT DSP will be turned on automati- cally if the Highlevel Input is used or if a signal is applied to the remote input (REM stroy your tweeters right away.
- Page 9 Installation the speakers must not be lower than 2 Ohms. 10. Connecting the remote output This output (Rem Out this remote output signal to turn on the ampli- Source Which input? Position Position Position of Jumper A Jumper B control 9 4-channel OEM radio Optional Up to 25 Watts RMS power each channel...
- Page 10 Easy Plug Cable. You may need To simplify installation to an OEM or aftermarket radio the HELIX V EIGHT DSP can also be con- database on the Audiotec Fischer homepage signals of the radio. No factory wires or plugs need to be cut by using this connection method.
- Page 12 HELIX Extension Card slot (HEC slot) Bluetooth ® Audio Streaming module, an additional optical digital input or an AUX input. replace it by the new side panel that comes with the HEC module. Attention: Install the HEC module only in the...
- Page 13 Besides that Pure Class GD amp outperforms remote output (Rem Out quality by implementing a fully differential signal stages will be turned off. The HELIX V EIGHT DSP Smart highlevel input is applied. It is possible to either modify the turn-off...
-
Page 14: Technical Data
Technical Data Output power RMS - @ 4 Ohms ..............75 Watts per channel ( - @ 2 Ohms ..............120 Watts per channel ( Inputs ...............................RCA / Cinch 2 - 4 Volts or 4 - 8 Volts Outputs .........................3 Volts RMS Frequency response ............20 Hz - 22,000 Hz DSP resolution ..............64 Bit DSP power .............. - Page 15 Audiotec Fischer GmbH...
Need help?
Do you have a question about the V EIGHT DSP and is the answer not in the manual?
Questions and answers