Advertisement
OPERATING
INSTRUCTION MANUAL
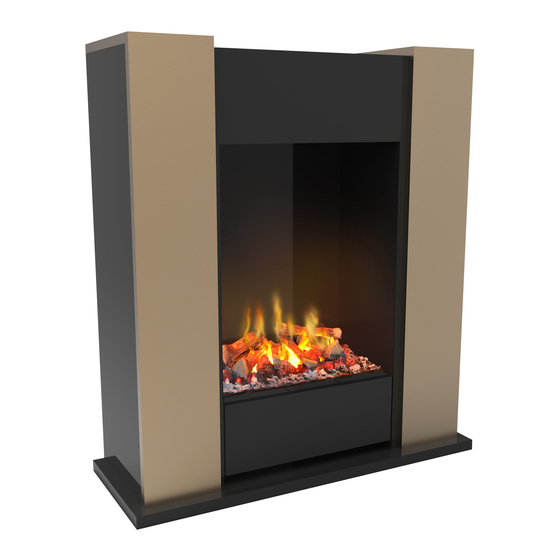
Dimplex Pro Engine Range
Models: ENG56-400 E, ENG68-400 E, ENG56-600 E
These instructions should be read carefully and
retained for future use. Note also the information
presented on the appliance.
EN: This product is only suitable for well insulated rooms or occasional use. DE: Dieses Produkt ist nur für gut isolierte Bereiche oder
gelegentliche Verwendung geeignet. FR: Ce produit convient uniquement à des endroits bien isolés ou pour un usage occasionnel.
IT: Questo prodotto è adatto solo per spazi ben isolati o per uso occasionale. ES: Este producto sólo es adecuado para espacios
bien aislados o un uso ocasional. NL: Dit product is uitsluitend geschikt voor goed geïsoleerde ruimten of voor sporadisch gebruik.
PL: Produkt ten jest odpowiedni wyłącznie do dobrze odizolowanych miejsc lub do okazjonalnego użytku. NO: Dette produktet
egner seg kun for godt isolerte rom eller sporadisk bruk. RO: Acest produs este adecvat exclusiv spaţiilor bine ventilate sau utilizării
ocazionale. CZ: Tento výrobek je vhodný pouze do dobře izolovaných prostor nebo k příležitostnému použití. DK: Dette produkt
er kun egnet til velisolerede rum eller lejlighedsvis brug. PT: Este produto somente é adequado para espaços bem isolados ou
uso ocasional. SE: Denna produkt är endast avsedd för välisolerade utrymmen eller tillfällig användning. FI: Tämä tuote soveltuu
ainoastaan hyvin eristettyihin tiloihin tai satunnaiseen käyttöön. SK: Tento výrobok je vhodný len pre dobre izolované priestory alebo
na občasné použitie. SI: Ta izdelek je primeren le za dobro izolirane prostore ali za občasno uporabo. HR: Ovaj proizvod je pogodan
samo za dobro izolirane prostore ili povremenu upotrebu. HU: Ez a termék csak jól szigetelt terekhez vagy eseti használatra alkalmas
The product complies with the European Safety Standards EN60335-2-30 and the European Standard Electromagnetic
Compatibility (EMC) EN55014, EN60555-2 and EN60555-3. These cover the essential requirements of EEC Directives
2014/30/EU and 2014/35/EU
08/53883/0 ISSUE 2 OCN 10949
Advertisement
Table of Contents


Need help?
Do you have a question about the Pro Engine series and is the answer not in the manual?
Questions and answers