Table of Contents
Advertisement
Quick Links
Advertisement
Table of Contents

Related Manuals for Heatrae Sadia FBM series


Summary of Contents for Heatrae Sadia FBM series
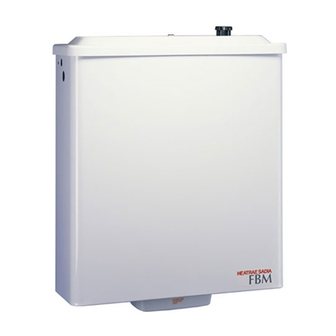
- Page 1 FBM RANGE Fitting Instructions and User Guide...
- Page 2 NOTICE TO INSTALLER These water heater have a built in cold water feed cistern and float valve and can supply a number of hot water outlets. As the hot water flows by gravity the water heater must be mounted higher than the taps they serve. Ideally the heater should be fitted close to the point where hot water is required most frequently.
- Page 3 FBM 75 and 125: • Mark positions of two bottom fixing points (ensure heater is level). • Drill and plug these positions. • Screw in fixing bolts leaving head 5mm from wall. • Locate slotted bottom fixing brackets onto fixing bolts, mark top two fixing positions.
- Page 4 WATER REGULATIONS To meet the requirements of the Water Supply (Water Fittings) Regulations 1999, Water Byelaws 2000, Scotland and the Water Regulations Northern Ireland. A servicing valve shall be installed on the inlet pipe adjacent to the storage cistern. Schedule 2 - Section 16(2). A servicing valve shall be installed on the outlet pipe of the storage cistern.
- Page 5 The outlet fitting is located on the underside of the heater and is threaded 3/4.BSP Female on the FBM25, 50 and 75, and 1”BSP Female on the FBM125. A Drain fitting is provided and is located on the element plate assembly under the terminal cover.
- Page 6 N.B. DO NOT LINK ELEMENTS EACH ELEMENT HAS SEPARATE THERMOSTAT AND THERMAL CUT-OUT. THERMAL THERMAL ELEMENT CUTOUT CUTOUT 3kW AT 240V ELEMENT THERMOSTAT 3kW AT 240V THERMOSTAT EARTH POST 230/240V ac SUPPLY VIA DOUBLE POLE ISOLATING SWITCH Fig 3. Schematic wiring Diagram 6kW units The cable entry is suitable for flexible cable or conduit connection and is located on the left hand side of the terminal cover.
- Page 7 DO NOT switch on electrical supply until the heater is full of water. THERMOSTAT An adjustable Cotherm TSD rod type thermostat is fitted. This should be set during installation by rotating the setting dial with a small screwdriver to the maximum position, marked by “+”, and then turning back 45º.
- Page 8 Codes of Practice and Regulations in force at the time of installation. It has not been modified in any way, other than by Heatrae Sadia Heating. The damage is not due to scale or freezing.
Need help?
Do you have a question about the FBM series and is the answer not in the manual?
Questions and answers