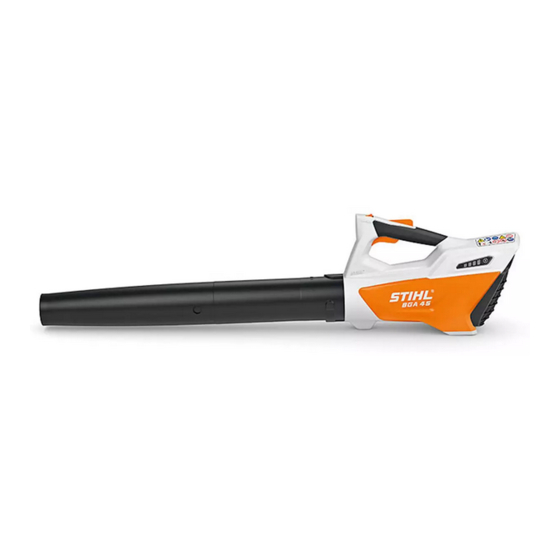
Stihl BGA 45 Instruction Manual
Hide thumbs
Also See for BGA 45:
- User manual ,
- Instruction manual (280 pages) ,
- Instruction manual (16 pages)
Table of Contents
Advertisement
Advertisement
Table of Contents

Summary of Contents for Stihl BGA 45
- Page 1 STIHL BGA 45 Instruction Manual...
-
Page 3: Table Of Contents
6.3 LEDs..........12 18.1 STIHL BGA 45 Blower ......17 18.2 STIHL LK 45 Charging Cable . -
Page 4: Introduction
Dear Customer, 21.1 STIHL BGA 45 Blower ......18 Thank you for choosing STIHL. We develop and 21.2 STIHL LK 45 Charging Cable . -
Page 5: Symbols Used With Warnings In The Text
English 3 Overview Symbols used with warnings in the text WARNING This symbol indicates dangers that can cause serious injuries or death. ► The measures indicated can avoid serious injuries or death. NOTICE This symbol indicates dangers that can cause damage to property. -
Page 6: Symbols
English 4 Safety Precautions 6 Intake Screen This symbol shows that an LK 45 charging cable LK 45 Protects the operator from moving parts inside the must be used. blower. The data next to this symbol indicates the energy 7 Charging Socket content of the battery according to the cell manufacturer’s specification. -
Page 7: Intended Use
Wear safety glasses. ■ Charging cables or power supply units not explicitly approved for the blower by STIHL may cause a fire or explosion. This can result in serious or fatal injuries and Confine long hair so that it cannot be sucked into damage to property. -
Page 8: Clothing And Equipment
This can result in personal injury. ► If you have any queries: Contact your STIHL servicing ► Wear work gloves made of durable material. dealer for assistance. ■ Wearing unsuitable footwear may cause you to slip or stumble. -
Page 9: Safe Condition
► Never bridge the contacts in the activation key socket ► Use and store the charging cable at a temperature with metallic objects (short circuit). between 0°C and +40 °C. ► Do not open the blower. ► If you have any queries: Contact your STIHL servicing dealer for assistance. 0458-719-0121-A... -
Page 10: Built-In Battery
English 4 Safety Precautions 4.7.2 Charging Cable ► Use and store the blower at a temperature between 0°C and +50°C. The charging cable is in a safe condition if the following points are observed: – Charging cable is undamaged. ► Keep the blower away from metallic objects. –... -
Page 11: Charging
This can result in serious or fatal injuries and damage to property. ► Stop work, remove the activation key and contact your STIHL servicing dealer. ► Do not cover the charging cable. ■ Blower vibrations may occur during operation. -
Page 12: Storing
English 4 Safety Precautions 4.12.2 Charging Cable ► Remove the activation key. WARNING ■ Children are not aware of and cannot assess the dangers of a charging cable. Children may sustain serious or fatal ► Pack the blower in packaging or a transport box in such injuries. -
Page 13: Preparing The Blower For Operation
► Check the controls, @ 10. ► Insert the plug (2) in a convenient wall outlet (1). ► If 3 LEDs flash red while you are checking the controls: Remove the activation key and contact your STIHL servicing dealer. WARNING Malfunction in blower. -
Page 14: State Of Charge
English 7 Assembling the Blower ► Insert the charger plug (4) in the charge socket (5). The LEDs (6) glow green and show the state of charge. ► If the LEDs (6) stop glowing: Disconnect the charger plug (4) from the charge socket (5). The blower is fully charged. -
Page 15: Removing The Activation Key
► Release the trigger. ► If air continues to flow from nozzle: Remove the activation No air flows from the nozzle. key and contact your STIHL servicing dealer. ► If air continues to flow from nozzle: Remove the activation Blower has a malfunction. -
Page 16: Checking The Built-In Battery
The LEDs glow or flash. 12 After Finishing Work ► If the LEDs do not glow or flash: Do not use the blower and contact your STIHL servicing dealer. There is a malfunction in the built-in battery. 12.1 After Finishing Work ►... -
Page 17: Storing
► Clean the charging cable with a damp cloth. 14.1 Storing the Blower 16 Maintenance and Repairs STIHL recommends that you store the blower with a charge between 40% and 60% (2 LEDs glow green). 16.1 Maintenance Intervals ► Switch off the blower and remove the activation key. -
Page 18: Troubleshooting
► Allow blower to cool down. 3 LEDs flash red. There is a electrical ► Remove the activation key. malfunction. ► Do not use the blower and contact your STIHL servicing dealer. Blower is damp. ► Allow the blower to dry. -
Page 19: Specifications
STIHL 2 m/s². accessories. STIHL recommends that you wear hearing protection. STIHL recommends the use of original STIHL replacement parts and accessories. Original STIHL replacement parts and original STIHL accessories are available from STIHL servicing dealers. 0458-719-0121-A... - Page 20 The blower contains a built-in rechargeable battery which must be disposed of separately. ANDREAS STIHL AG & Co. KG ► Return the blower to a STIHL servicing dealer for disposal. The STIHL dealer removes the built-in battery from the blower for separate disposal.
- Page 21 English 21 EC Declaration of Conformity 0458-719-0121-A...
- Page 22 English 21 EC Declaration of Conformity 0458-719-0121-A...
- Page 24 0458-719-0121-A englisch www.stihl.com *04587190121A* 0458-719-0121-A...


Need help?
Do you have a question about the BGA 45 and is the answer not in the manual?
Questions and answers