
Related Manuals for Lionel Plug-Expand-Play Classic Automatic Gateman


Summary of Contents for Lionel Plug-Expand-Play Classic Automatic Gateman
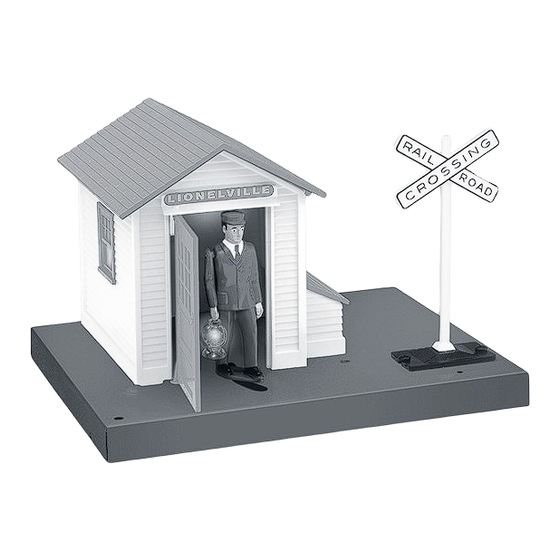
- Page 1 78-1063-250 7/18 Lionel Lionel Plug-Expand-Play ® Plug-Expand-Play ® Classic Automatic Gateman Classic Automatic Gateman Owner’s Manual Owner’s Manual...
-
Page 2: Table Of Contents
The following Lionel marks are used throughout this Owner’s Manual and are protected under law. All rights reserved. Lionel ® , FasTrack ® , LEGACY ® , LEGACY ® Control System, Lockon ® , TMCC ® , CAB-1 ® Remote Controller, Plug-Expand-Play ® , ASC ® , Accessory Switch Controller ®... -
Page 3: Automatic Gateman Basics
Automatic Gateman basics Connecting your Gateman using Plug-Expand-Play our automatic gateman comes with a remote control box. This allows you to turn the interior lamp ON or OFF and activate the animation in either the ON or OFF positions by pressing the control button down. - Page 4 Doing so will damage the pins on the accessory and/or the lock-on. Make sure that you are also inserting the connectors with the proper orienta- tion. Lionel's Limited Warranty does NOT cover this type of damage to your products. Note! Please be aware that adding additional accessories will take power away from the track, thus resulting in less available power for running trains.
- Page 5 Automatic Gateman basics Connecting your Gateman using Plug-Expand-Play continued As the Automatic Gateman is connected to the lock-on, power is supplied through the track to the accessory and the light is ON. Automatic Gateman Accessory 3-pin male connector Lock-on 5" track 5"...
-
Page 6: Wiring Options
Wiring options Connecting your Gateman using FasTrack ou also are able to connect your automatic gateman to FasTrack using the 8" 3-pin female pig- tail (6-82038 - SOLD SEPARATELY). Plug in the 3-pin male connector from the accessory into the 3-pin female slot on the back of the remote control box. Next plug in the 3-pin male connector from the box into the 3-pin female pigtail. -
Page 7: Connecting Your Gateman Using A Fastrack Accessory Activation Pack 6-12029
Wiring options Wiring and operating your accessory using FasTrack Accessory Activator Pack ee figure 5 below for wiring your accessory using the FasTrack Accessory Activator Pack (6-12029 SOLD SEPARATELY) and the 8” 3-pin female pigtal (6-82038 SOLD SEPARATELY). Power is supplied through the track to the accessory and the light will stay illuminated. -
Page 8: Connecting Your Gateman Using Tubular Track
Wiring options Connecting your Gateman to Tubular Track ou can also connect your automatic gateman to tubular track using the remote control box and the 8" 3-pin female pigtail (6-82038 - SOLD SEPARATELY). Plug in the 3-pin male connector of the gateman into the 3-pin female slot on the back of the remote control box. -
Page 9: Connecting Your Gateman Using A Transformer
Wiring options Connecting your Gateman to a Transformer o power your automatic gateman with a CW-80 Transformer (6-14198), you will need the 8" 3-pin female pigtail (6-82038 - SOLD SEPARATELY) and the included remote control box to connect to the transformer terminals. Make sure that all connections are secure. Loose connections can produce extremely high temperatures. -
Page 10: Wiring For Tmcc Or Legacy
Wiring for TMCC or LEGACY o power your automatic gateman in the Command Control and LEGACY environments, you will need an SC-2 (6-22980), an ASC (6-14182), or an ASC2 (6-81639). You will also need the 8" 3-pin female pigtail (6-82038 - SOLD SEPARATELY) and a transformer (6-14198). See figures 8 and 9 for wiring. -
Page 11: Asc Wiring And Operation
Wiring for TMCC or LEGACY ASC wiring and operation our wires are needed to connect your accessory to the ASC and a separate accessory transformer. Refer to Figure 9. 1. Attach a wire to the transformer Common/Ground/U terminal and connect it to the COMM (com- mon) position on the ASC. -
Page 12: Lionel Limited Warranty Policy & Service
Lionel LLC or any Lionel Authorized Service Station MUST be accompanied by the original receipt for purchase (or copy) from an Authorized Lionel Retailer*, will at the discretion of Lionel LLC, be repaired or replaced, without charge for parts or labor. In the event the defective product cannot be repaired, and a suitable replacement is not available, Lionel will offer to replace the product with a comparable model (determined by Lionel LLC), if available.
Need help?
Do you have a question about the Plug-Expand-Play Classic Automatic Gateman and is the answer not in the manual?
Questions and answers