
Related Manuals for Netstor NA333TB3


Summary of Contents for Netstor NA333TB3
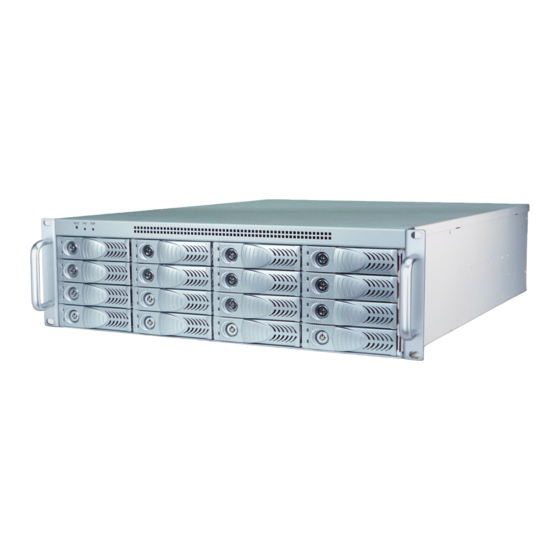
- Page 1 NA333TB3 3U 16-bay Thunderbolt 3 Storage and PCIe Expansion User Manual First edition, June. 2017...
-
Page 2: Table Of Contents
1. Overview 2. Package Checklist 3. Panel Layout 4. Hardware Configuration 5. Building Up Procedures 5.1 PCIe Card Installation 5.2 Hard Drive Installation 5.3 Connecting to Host Computer 6. Operation and Verification 6.1 Verification steps for Mac 6.2 Verification steps for Windows... -
Page 3: Overview
1. Overview Based on the latest Thunderbolt 3 technology and PCIe architecture, the creative, innovative design of the storage allows the NA333TB3 enclosure to be capacity expandable with RAID performance/protection and PCIe slot expandable to Thunderbolt-equipped computers through the lightning-fast 40Gbps Thunderbolt 3 interface. Furthermore, the Thunderbolt 3 NA333TB3 enclosure is compatible with both SAS and SATA HDDs/SSDs for applications in various fields. -
Page 4: Panel Layout
3. Panel Layout 1. HDD Power LED 。White - Power On Indicator 2. HDD Status LED 。Flash Blue - HDD Accessing Indicator 。Red - HDD Failure Indicator 3. Mute Button 。Reset for buzzer beeping 4. Fan Status LED 。Normal – Green 。Failure –... -
Page 5: Hardware Configuration
1. Place NA333TB3 chassis on a level surface of a stable table. 2. Open the chassis by removing the top cover. 3. Three PCIe slots on rear of NA333TB3 are covered by removable L-shape metal brackets. Unscrew the screw of the removable L-shape metal bracket to let the PCIe slots be ready for PCIe cards installation. - Page 6 4. Install one SAS/SATA RAID card and other PCIe cards into proper PCIe slots of NA333TB3, and then tighten them with screws on the brackets of the PCIe cards. 5. Connect the cable between the topmost mini-SAS connector on backplane...
-
Page 7: Hard Drive Installation
Step 1. Step 2. 5.3 Connecting to Host Computer 1. Connect NA333TB3 to Thunderbolt 3 Mac directly by Thunderbolt 3 cable. 2. Immobilize the chassis on a server rack or proper place. 3. Connect NA333TB3 with power source. Go Top ↑... -
Page 8: Operation And Verification
6. Operation and Verification 6.1 Verification steps for Mac 1. When NA333TB3 is connected to the power source, turn on the two power switches of storage’s PSU. (turn the two switches to “I” position to enable the power supply unit) turn the switches to position “... - Page 9 3. Verify Netstor Thunderbolt 3 target card is recognized by Mac. Click the Apple icon on top left of the screen, select About This Mac, and click System Report, and then System Information pane will pop up. Select Thunderbolt at the left side of the pane;...
- Page 10 4. Verify the PCIe cards installed in NA333TB3. After the verification of Netstor Thunderbolt 3 target card, click PCI at the left side of the pane, and all the PCIe cards installed in NA333TB3 will be shown in the information area within the pane.
- Page 11 Mac, the NA333TB3 will be shut down simultaneously as well. 6.2 Verification steps for Windows 1. Verify NA333TB3 is recognized by host. Right-click Computer, and select Manage. When window of Computer Management pops up, select Device Manager at the left, and click View on top, and then select Devices by connection.
- Page 12 Find one of the items that shows PCI standard PCI-to-PCI bridge, open the PCI standard PCI-to-PCI bridge to the innermost tier, and the RAID card within NA333TB3 will be shown, meaning the storage is recognized by host.
- Page 13 4. After installing the driver and the GUI program, launch the GUI program by selecting ArcHttpSrvGUI in All Programs in Windows Start to execute the application. 5. After executing ArcHttpSrvGUI application, the web GUI will pop up. Select SAS RAID Controllers, and then select ARC-188X Web Management to enter the GUI interface.
- Page 14 7. After logging in, for quick setup of RAID volume, select Quick Function at the left side of GUI, and then select Quick Create. 8. After creating RAID volume, right-click Computer, and select Manage. When window of Computer Management pops up, select Disk Management at the left, and then a window will pop up.
- Page 15 NA333TB3 will be shut down simultaneously as well. Note: The NA333TB3 chassis supports SGPIO. When any HDD fails, the red LED indicator on the tray will light. The SGPIO function will be effective when the SAS/SATA RAID card supports SGPIO function.
Need help?
Do you have a question about the NA333TB3 and is the answer not in the manual?
Questions and answers