trig TY91 Installation Manual
Hide thumbs
Also See for TY91:
- Installation manual (69 pages) ,
- Operating manual (28 pages) ,
- Operating manual (28 pages)
Advertisement
Quick Links
SPECIFICATION SHEET
Trig wiring harnesses are designed for home builders and those who can
certify their own installation who are looking for an easy installation path.
The wiring harnesses come in the following configurations:
Part Number
Description
01987-00
TY91/TY92 - radio wiring harness short (1 metre)
01988-00
TY91/TY92 - radio wiring harness long (3 metre)
01989-00
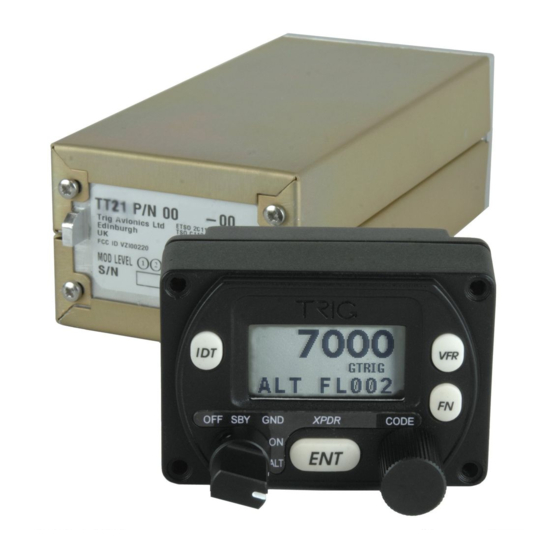
TT21/TT22 - transponder wiring harness short (1 metre)
01990-00
TT21/TT22 - transponder wiring harness long (3 metre)
01991-00
TT21/TT22 - transponder wiring harness short - includes
TN72 wiring (1 metre)
TT21/TT22 - transponder wiring harness long – includes
01992-00
TN72 wiring (3 metre)
Part Number
TY91/92 to TC90
01987-00
100 cm
01988-00
300 cm
Part
TT21/22 to TC20
Number
01989-00
100 cm
01990-00
300 cm
01991-00
100 cm
01992-00
300 cm
TY91/92 to all other connections
300 cm
300 cm
TT21/22 to TN72
TT21/22 to all
other connections
N/A
300 cm
N/A
300 cm
100 cm
300 cm
300 cm
300 cm
INSTALLATION GUIDE
With the Trig units fixed in place, run the harness along its
intended routing. Make sure that this routing will not cause any
chafing of the cables and will not interfere with any of the aircraft
controls or any other systems.
Try to avoid routing the wiring near any antenna cables,
especially the transponder or any wiring associated with high
power or pulsing devices (alternator, strobe light, etc). If you
must cross these cables, try to do so at an angle of 90 degrees.
Once in position, secure the wiring to the aircraft structure using
aviation approved ties or string.
Terminate the ground connections on a suitable grounding point
using a crimp or screw terminal. Terminate the power supply
connections via the correct rated circuit breaker as specified in
the installation manual.
Any unused connections must be either trimmed or tied back and
any exposed wire covered with suitable insulating tape or
terminated to prevent shorts.
For radio wiring, ensure that the sockets for the microphone and
headphones are electrically isolated from the panel using bushes
or washers.
Connect the D Type connections to the units, hand tightening the
securing screws.
Advertisement

Summary of Contents for trig TY91
- Page 1 INSTALLATION GUIDE SPECIFICATION SHEET With the Trig units fixed in place, run the harness along its Trig wiring harnesses are designed for home builders and those who can intended routing. Make sure that this routing will not cause any certify their own installation who are looking for an easy installation path.
- Page 2 Trig Edinburgh, or our other associated Trig Service Centres. information. The installation manual for your avionics should Trig will then cover the costs of shipping to return the customer’s item. also be fully read before commencing installation work.


Need help?
Do you have a question about the TY91 and is the answer not in the manual?
Questions and answers