Sign In
Upload
Download
Table of Contents
Contents
Add to my manuals
Delete from my manuals
Share
URL of this page:
HTML Link:
Bookmark this page
Add
Manual will be automatically added to "My Manuals"
Print this page
×
Bookmark added
×
Added to my manuals
Manuals
Brands
Riello Manuals
Boiler
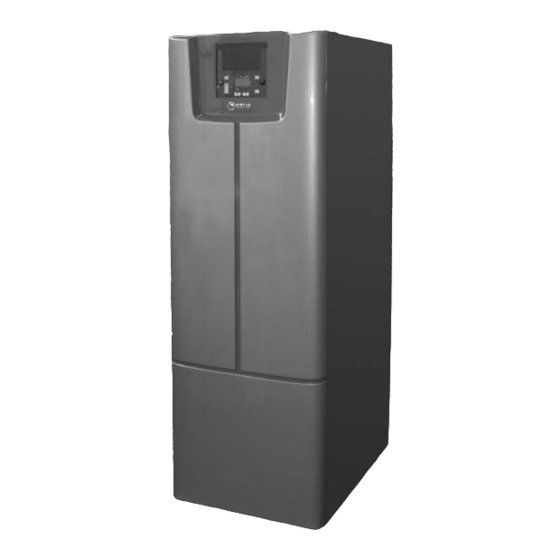
TAU 55 UNIT
Installation and maintenance manual
Riello TAU 55 UNIT Installation And Maintenance Manual
Condensing boilers
Hide thumbs
1
2
3
Table Of Contents
4
5
6
7
8
9
10
11
12
13
14
15
16
17
18
19
20
21
22
23
24
25
26
27
28
29
30
31
32
33
34
35
36
37
38
39
40
41
42
43
44
45
46
47
48
49
50
51
52
53
54
55
56
57
58
59
60
61
62
63
64
65
66
67
68
69
70
71
72
page
of
72
Go
/
72
Contents
Table of Contents
Troubleshooting
Bookmarks
Table of Contents
Table of Contents
General Safety Information
Precautions
Product Description
Safety Devices
Identification
Data Plate
Layout
Technical Specifications
Water Circuit
Wiring Diagram
Positioning the Temperature Sensors
Pumps
Control Panel
Programming Levels
Information Levels
Unpacking the Product
Opening
Dimensions and Weight
Handling
Place of Installation
Installation in Older Systems and Systems Requiring Modernisation
Water in Heating Circuits
Water Connections
Draining the Condensate
Condensate Neutralisation Unit
Gas Connection
CH Frost Protection
Flue Gas Vent and Comburent Air Intake
Electrical Connections
Sensor Connections
Outdoor Sensor Connections
Filling and Draining the System
Preparing for First Start-Up
Initial Start-Up
Checks During and after Initial Start-Up
Temporary Shutdown
Preparing for Extended Periods of Disuse
Calibrating Combustion Parameters
Setting Functioning Parameters
Error Codes
Complete List of Parameters
Conversion from One Gas Type to Another
Maintenance
Removing the Burner
Positioning the Electrodes
Cleaning the Condensate Drain and Siphon
Troubleshooting
Advertisement
Quick Links
1
Table of Contents
2
Control Panel
3
Programming Levels
4
Setting Functioning Parameters
5
Error Codes
Download this manual
CONDENSING
BOILERS
TAU 55 - 75 - 110
UNIT
INSTALLATION AND
MAINTENANCE MANUAL
Table of
Contents
Previous
Page
Next
Page
1
2
3
4
5
Advertisement
Table of Contents
Need help?
Do you have a question about the TAU 55 UNIT and is the answer not in the manual?
Ask a question
Questions and answers
Related Manuals for Riello TAU 55 UNIT
Boiler Riello TAU 115 N Installation, Operation, Maitenance Manual
Stainless steel condensing boiler (44 pages)
Boiler Riello TAU N Series Instructions For The System Manager, Installer And The Technical Assistance Service
(40 pages)
Boiler Riello TAU 350 N OIL PRO Installation, Technical Assistance Service And System Management Manual
(32 pages)
Boiler Riello TAU N OIL PRO Series Installation, Technical Assistance Service And System Management Manual
(36 pages)
Boiler Riello 20124406 Installation, Technical Assistance Service And System Management Manual
(38 pages)
Boiler Riello TAU 150 N Installation, Operation & Maintenance Instructions Manual
Tau series stainless steel condensing boiler (44 pages)
Boiler Riello TAU 35 UNIT Installation And Maintenance Manual
(75 pages)
Boiler Riello TAU 35 UNIT User Manual
(20 pages)
Boiler Riello TAU 75 UNIT Installation And Maintenance Manual
Condensing boilers (72 pages)
Boiler Riello TAU 110 UNIT Installation And Maintenance Manual
Condensing boilers (72 pages)
Boiler Riello TAU 150 UNIT Installation And Maintenance Manual
Condensing boiler (72 pages)
Boiler Riello TAU 210 UNIT Installation And Maintenance Manual
Condensing boiler (72 pages)
Boiler Riello TAU NB Series Instructions For The System Manager, Installer And The Technical Assistance Service
(40 pages)
Boiler Riello TAU 1750 N Installation, Technical Assistance Service And System Management Manual
(48 pages)
Boiler Riello TAU 2100 N Installation, Technical Assistance Service And System Management Manual
(44 pages)
Boiler Riello Tregi 3 N Installation, User-Operation, Maintenance And System Management Manual
Cast iron boilers (48 pages)
This manual is also suitable for:
Tau 75 unit
Tau 110 unit
Tau 55
Tau 75
Tau 110
20011771
...
Show all
20011772
20011773
Table of Contents
Print
Rename the bookmark
Delete bookmark?
Delete from my manuals?
Login
Sign In
OR
Sign in with Facebook
Sign in with Google
Upload manual
Upload from disk
Upload from URL


Need help?
Do you have a question about the TAU 55 UNIT and is the answer not in the manual?
Questions and answers