
Related Manuals for RealFlame Silverton G8600


Summary of Contents for RealFlame Silverton G8600
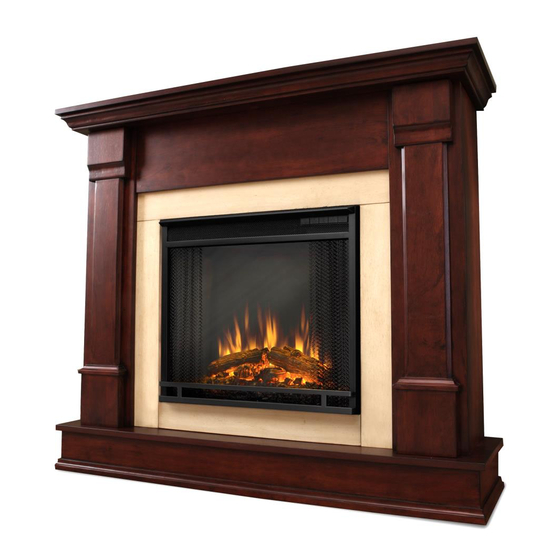
- Page 1 Lot:___________ PO:___________ Mantel Assembly Instructions Model # G8600 Silverton Fireplace...
-
Page 2: First Aid
WARNINGS Read entire label and all instructions included with gel fuel and fireplace. PROPERTY DAMAGE, SERIOUS INJURY OR DEATH may result if these warnings are not followed. HAZARDS Gel Fuel is flammable. Failure to follow warnings can result in property damage or serious burns. Real Flame ®... -
Page 3: Parts List
PARTS LIST Number Desc ription Black Dark Mahogany White Quantity B as e P anel 86000101JW 86000501JW 86000801JW Left S ide P anel 86000102JW 86000502JW 86000802JW Ri ght S ide P anel 86000103JW 86000503JW 86000803JW Left F ront P anel 86000104JW 86000504JW 86000804JW... - Page 4 Step One -Join left side panel (2) with left front panel (4) by securing 6 short allen screws (A) through 3 L-brackets (B). -Repeat with right side panel (3) and right front panel (5). Step Two -Set base panel (1) on a at surface as shown. -Join panel (2) &...
- Page 5 Step Three -Attach left rebox trim (8) to left front panel (4) by securing 2 long allen screws (C) through 2 washers (D). Fit on base panel (1) by securing 2 short allen screws (C) through 1 L-bracket (B). -Repeat with right rebox trim (9). Step Four -Attach lower rebox trim (10) to side rebox trim (8) , (9) by securing 2 long allen screws (C) through 2 washers (D).
- Page 6 Step Five -Attach center panel (6) to front panel (4) , (5) by securing 4 long allen screws (C) through 4 washers (D). Fit on upper rebox trim (11) by securing 1 long allen screw (C) through 1 washer (D). Step Six -Locate top panel (7) to above nished parts.
- Page 7 Step Seven -Insert rebox support (12) to the hole on left side panel (2). Slide down the other side along the groove on right side panel (3). Step Eight For next step reference the instruction manual included with your rebox. If you do not have an instruction manual included with your rebox do not attempt to assemble or operate.
-
Page 8: Warranty & Return Policies
Warranty & Return Policies Warranty Real Flame® Company warrants Real Flame ventless fireplaces and accessories to be free from defects in parts and workmanship under normal use and service for a period of 90 days from the date of purchase. In the event of such defects Real Flame will, at its option, replace the defective product or refund the purchase price.
Need help?
Do you have a question about the Silverton G8600 and is the answer not in the manual?
Questions and answers