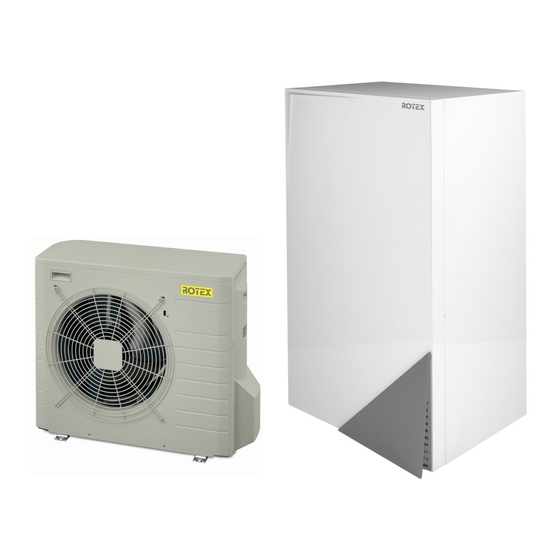
Rotex RRLQ006CAV3 Installation Manuals
Hpsu low temperature bi-bloc
Hide thumbs
Also See for RRLQ006CAV3:
- Installation manual (8 pages) ,
- Installer's reference manual (104 pages)
Summary of Contents for Rotex RRLQ006CAV3
- Page 1 Installation manual ROTEX HPSU low temperature Bi‑bloc RRLQ004CAV3 Installation manual RRLQ006CAV3 English ROTEX HPSU low temperature Bi‑bloc RRLQ008CAV3...
- Page 2 3PW68004-7E...
-
Page 3: Table Of Contents
▪ Installer reference guide: Table of contents ▪ Preparation of the installation, good practices, reference data,… ▪ Format: Digital files on the ROTEX homepage ▪ Addendum book for optional equipment: 1 About the documentation ▪ Additional info about how to install optional equipment About this document.............. -
Page 4: Preparation
EKFT008CA option kit If the unit is installed on brackets to the wall, it is recommended to 1× use the EKFT008CA option kit and to install the unit as follows: Installation manual RRLQ004~008CAV3 ROTEX HPSU low temperature Bi‑bloc 4PW74444-1D – 2018.07... -
Page 5: To Install The Outdoor Unit
The pedestal MUST be aligned with the backside of the U‑beam. 3 Remove the protective cardboard and instruction sheet. Protective cardboard Instruction sheet 4.2.3 To provide drainage Make sure that condensation water can be evacuated properly. RRLQ004~008CAV3 Installation manual ROTEX HPSU low temperature Bi‑bloc 4PW74444-1D – 2018.07... -
Page 6: To Prevent The Outdoor Unit From Falling Over
3 Insert a rubber sheet between the cables and the outdoor unit to prevent the cables from scratching the paint (field supply). 4 Attach the ends of the cables and tighten them. Connecting the refrigerant piping DANGER: RISK OF BURNING Installation manual RRLQ004~008CAV3 ROTEX HPSU low temperature Bi‑bloc 4PW74444-1D – 2018.07... -
Page 7: To Connect The Refrigerant Piping To The Outdoor Unit
2 Leave as is for 4-5 minutes and check the pressure: If the pressure… Then… GWP × kg 1000 Does not change There is no moisture in the system. This procedure is finished. RRLQ004~008CAV3 Installation manual ROTEX HPSU low temperature Bi‑bloc 4PW74444-1D – 2018.07... -
Page 8: Connecting The Electrical Wiring
3 Open the wire clamp. Starting up the outdoor unit 4 Connect the interconnection cable and power supply as follows: See the indoor unit installation manual for configuration and commissioning of the system. Installation manual RRLQ004~008CAV3 ROTEX HPSU low temperature Bi‑bloc 4PW74444-1D – 2018.07... -
Page 9: Technical Data
LED 1~LED 4 Indication lamps S2~S503 Connector LED A, LED B Pilot lamp Surge arrestor Compressor motor SHEET METAL Terminal strip on fixed plate Fan motor SW1, SW3 Push buttons RRLQ004~008CAV3 Installation manual ROTEX HPSU low temperature Bi‑bloc 4PW74444-1D – 2018.07... - Page 10 Terminal strip Electronic expansion valve coil Reversing solenoid valve coil Z1C~Z4C Ferrite core Field wiring Terminal strip Connector Terminal Protective earth Black Blue Brown Green Orange Purple White Yellow Installation manual RRLQ004~008CAV3 ROTEX HPSU low temperature Bi‑bloc 4PW74444-1D – 2018.07...
- Page 12 Unsere Partner im Ausland Our partners abroad • Unsere Partner im Ausland Nos partenaires à l’étranger • Le nostre sedi all'estero Neustros representantes en el extranjero Nasi partnerzy za granicą • Naši partneři v zahraničí http://de.rotex-heating.com > ueber-rotex > international 4PW74444-1D 2018.07...


Need help?
Do you have a question about the RRLQ006CAV3 and is the answer not in the manual?
Questions and answers