Table of Contents
Advertisement
Quick Links
Advertisement
Table of Contents

Summary of Contents for AIPTEK PENCAM VGA
- Page 1 C o m p a n y English AIPTEK PENCAM VGA Installation Guide...
-
Page 2: User Interface
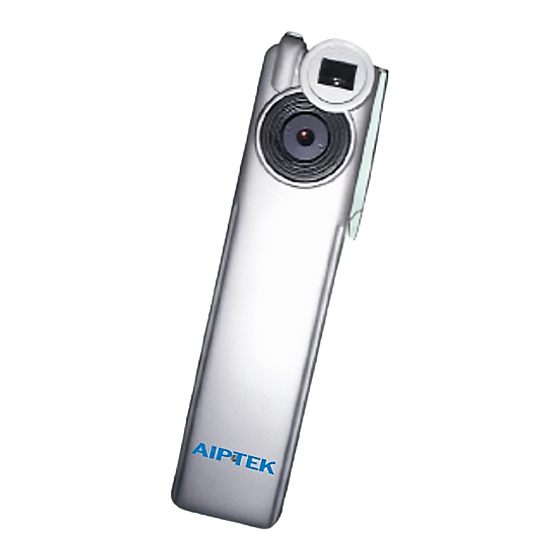
ENGLISH C o m p a n y How to Use Your PenCam View Finder Introduction Lens The camera is capable of taking and storing 107 QVGA(320 x 240 Pixels) images or 26 VGA (640 x 480 Pixels) Images. These images may be uploaded to a PC via the USB port. -
Page 3: Self Timer
ENGLISH C o m p a n y Self Timer Pressing the mode button until "St" appears in the LCD then pressing the shutter button will start a 10 second self-timer. The camera will issue a short Switch mode to "St" beep every second and then a longer beep. -
Page 4: Start Aiptek Pencam Manager
C o m p a n y How to Upload Photo & Video to PC Thank you for purchasing the Aiptek PenCam. This guide will walk you through the steps of how to install the PenCam onto your computer system. -
Page 5: Mode Selecting
ENGLISH C o m p a n y Mode Selecting: Press the "Live View" button to switch the camera to PC Camera mode. Press the "DSC Function" button to switch the camera to DSC & Camcorder mode. Live View (PC Camera Mode) DSC Function (DSC Mode) DSC Mode PC Camera Mode:... - Page 6 ENGLISH C o m p a n y Editing Photos: Playing Video: It is easy to edit any photo you want in the album You can play any video clip file (AVI format) you folder. Double click the photo icon to execute your want in album folder by double clicking the AVI file default image application (such as Imaging, icon to execute your default media application.


Need help?
Do you have a question about the PENCAM VGA and is the answer not in the manual?
Questions and answers