Table of Contents
Advertisement
Advertisement
Table of Contents

Related Manuals for AIPTEK PenCam Mini 1.3


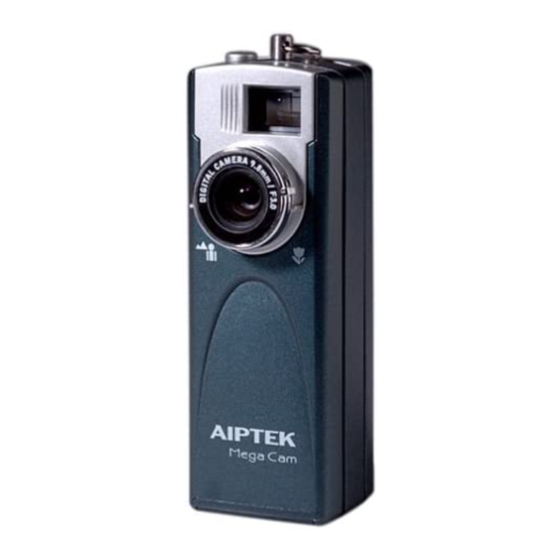
Summary of Contents for AIPTEK PenCam Mini 1.3
- Page 1 Mega Camera Manager E-Manual...
-
Page 2: Chapter 1: Installation
nglish Chapter 1: Installation Software Installation Mega Camera Manager Installation Place the CD into your CD-ROM and click on the Mega Camera Manager Icon to begin the installation. If the CD does not automatically display, simply go to "Start" then "Run" and select the path "D:\Setup.exe". You may need to replace "D"... -
Page 3: Hardware Installation
nglish Hardware Installation Plug the larger end of the USB cable to the USB port of your PC. Connect the smaller end of the USB cable to the USB port of your camera. -
Page 4: Chapter 2: How To Use Your Digital Camera
nglish Chapter 2: How to Use Your Digital Camera The built-in memory of your camera is 128Mbits Flash memory plus 128Mbits SDRAM memory. It supports resolution (1248x960) pictures and low supports AVI Movie mode( 624x480) and (304x240) for high resolution . -
Page 5: Your Camera
nglish Your camera Shutter Switch Mode Switch LCD Display Focus USB port View Finder Lens Battery Cover... -
Page 6: Turning On / Off Your Camera
nglish Turning on / off your camera Press the mode button to turn on the camera. Press the mode button, the LCD indicates still image, AVI movie, Self-timer, erase last, erase all, resolution and good battery icons in order. To use the function of the icons, press the shutter button. Your camera turns off automatically when idle over 60 Seconds. -
Page 7: Description Of Lcd Display
nglish Description of LCD Display Icon Functions Still Image mode AVI Movie mode Self Timer Erase Last Erase All Plug in USB Cable High Resolution Low Resolution Digit Counter Good battery Low battery Description - takes still pictures - takes AVI Movie - starts 10 second self-timer to take a picture - erases the last picture or AVI Movie - erases all of the pictures or AVI Movie... -
Page 8: Chapter 3: Taking Pictures
nglish Chapter 3: Taking Pictures Taking a picture Still Image Mode Press the mode button. The LCD shows the Still Image Mode icon. Press the shutter button to take a single picture. You've taken a picture when LCD shows the first flashing number. -
Page 9: Self Timer
nglish Self Timer Press the mode button. The LCD shows the Self Timer icon. Press the shutter button. Your camera starts a 10- second countdown and takes a picture. Erase Last Press the mode button. The LCD shows the Erase Last icon. Press the shutter button. -
Page 10: Erase All
nglish Erase All Press the mode button. The LCD shows the Erase All icon. Press the shutter button. The Erase All icon starts to blink. Press the shutter button again and all the stored picture and AVI Movie are cleared. Press the mode button to leave Erase All mode. -
Page 11: Battery Indicators
nglish Battery Indicators When running out of power, the LCD changes from a good battery icon to a low battery icon. It tells you to replace batteries. Function icons on the LCD are unable to be removed when low battery icon starts blinking. Your camera will be automatically turned off when idle over 60 seconds. -
Page 12: Resolution Settings
nglish Choosing the Resolution Press the mode button until a star icon with H or L is shown. To change "H" or "L" resolution, press the shutter. Select a function icon to take a picture, such as Still Image mode. Press the shutter and a picture is taken. - Page 13 nglish Tips for taking a good picture Always place the subject in the centre of the view finder, and have the light source behind you (the camera). Select the proper focal length in accordance with the distance between the camera and subject. Keep the lens clean from dust or water with a dry, soft cloth.
-
Page 14: Chapter 4: How To Transfer Photo And Video To Pc
nglish Chapter 4: How to Transfer Photo and Video to PC Click the " Mega Camera Manager " icon on the Desktop to execute the program where you can begin to use your camera. Mode Selecting Press the "Live View" button to change the camera to PC Camera mode. Press the "DSC Function"... -
Page 15: Pc Camera Mode
nglish PC Camera Mode It is easy to attach your camera to your system. is used as a standard PC camera. The current view is displayed in the "preview" window. Live View Mode Record Snapshot Video Format Stting Video Source Live preview Press "Video Source"... -
Page 16: Video Setting
nglish Video Setting Video Source Video Setting 1. Flicker Setting: The electronic frequency will be automatically detected. If there is no special need, we recommend not to change this setting. 2. Bandwidth: The default bandwidth setting of the USB interface is 6. We recommend you remain this default setting. - Page 17 nglish DSC Mode DSC Function (DSC Mode) Transfer images to the work area Transfer images to the album Create AVI file Send Mail Select All Delete Press the button to connect the camera and transfer photos. Press the button to transfer photos to the album. Press the button to create AVI file Open or close album Besides using the mouse to select image or video files you...
-
Page 18: Shortcut Menu
nglish Shortcut Menu Right-click the work area, a shortcut menu will pop up. You can use the shortcut menu to select the select all, transfer to album, save as, mail to or delete options. Uploading image from the camera Update Enhanced Function Select this item to enhance the resolution of the image files you want to upload from 1.3 Mega pixels to 2.1 Mega pixels. - Page 19 nglish Making AVI file Select JPG/ BMP images and click " Make AVI file" icon to make an AVI file. It fails to make an AVI file while you select AVI images. Playing picture You can play any picture file you want by double clicking the picture icon to execute Slide window.
- Page 20 nglish Slide Show Timer Playing Video You can play any video clip file (AVI format) you want by double clicking the AVI file icon to execute your default media application. Editing Photos Pictures can be edited in image editing software, such as PhotoShop, Imaging, CorelDraw, etc.
- Page 21 nglish Album Delete Click the button. All the files you select in the album window are cleared forever. Therefore, you should be very careful with the delete button. Select All Click the button. You select all the files in the album window.
-
Page 22: Twain Manager
nglish TWAIN Manager To start using the TWAIN Manager, simply click on the "Start" menu and go up to "Programs" Then go to the folder named "Imaging" ( or any other TWAIN- supported imaging application software ), and select it. How to enter TWAIN Go to "File"... - Page 23 nglish Mode Selecting DSC Mode Live View PC Camera Mode Press "Snapshot" button to capture an image Press "Video Source" button to adjust advanced settings. Transfer Snapshot Transfer All Setting Save AVI...
- Page 24 nglish DSC Mode Select an image and transfer it to the work area Select images and transfer it to the work area Select an AVI file and click "Save AVI" Press "Snapshot" button to capture an image...
-
Page 25: Troubleshooting
nglish Troubleshooting 1. When installation step missed: Please remove the camera driver and other related software and follow each installation step to reinstall the camera. 2. When conflict with another camera driver capture device: If you have any other camera installed on your computer, completely remove the camera and it's driver from your system to avoid a driver conflict with another camera or capture device. -
Page 26: Addendum For Ms Windows 98 Se User
nglish Addendum for MS windows 98 SE User: Since the default setting of Win 98 hard disk controller has closed the DMA channel, there is a chance that the system might be hung when you are executing the “Recording” function under the “Live” mode of our Mega Camera Manager.
Need help?
Do you have a question about the PenCam Mini 1.3 and is the answer not in the manual?
Questions and answers