Table of Contents
Advertisement
Quick Links
WARNING
•
Do not slide, climb, or
play on pole.
•
Keep organic material
away from pole base.
Grass, litter, etc. could
cause corrosion and/or
deterioration.
•
Check pole system twice
a year for signs of corro-
sion (rust, pitting, and
chipping). Remove rust
and/or loose paint com-
pletely and repaint with
exterior enamel paint. If
rust
has
penetrated
through the steel any-
where,
replace
immediately.
•
Check unit before each
use for loose hardware,
excessive
wear,
signs of corrosion and
repair before using.
•
During play, use extreme
caution to keep players
face away from the back-
board, rim, and net.
•
Wear a mouth guard
when playing to avoid
dental injuries.
•
When adjusting height,
keep hands and fingers
away from moving parts.
•
During play, do not wear
jewelry (rings, watches,
necklaces, etc). Objects
may entangle in net.
REV. 10/10/17
OWNER'S MANUAL
Thank you for purchasing a Bison basketball system. We try hard
pole
to ensure that our products are of high quality and free of
manufacturing defects and missing parts. Report any missing
parts or components immediately.
and
For warranty issues or replacement parts contact:
800-247-7668 (ask for parts department)
Please provide model number, and/or part number of the product
and/or part when you call or email. These numbers can be found
on the product packaging, or on the invoice, owners manual or
shipping documents.
Read this manual thoroughly before starting to install your
system. Proceed with each step completely in the order as
directed.
BISON, INC.
parts@bisoninc.com
Advertisement
Table of Contents

Related Manuals for Bison HangTime

Summary of Contents for Bison HangTime
- Page 1 If rust penetrated through the steel any- Thank you for purchasing a Bison basketball system. We try hard where, replace pole immediately. to ensure that our products are of high quality and free of manufacturing defects and missing parts.
-
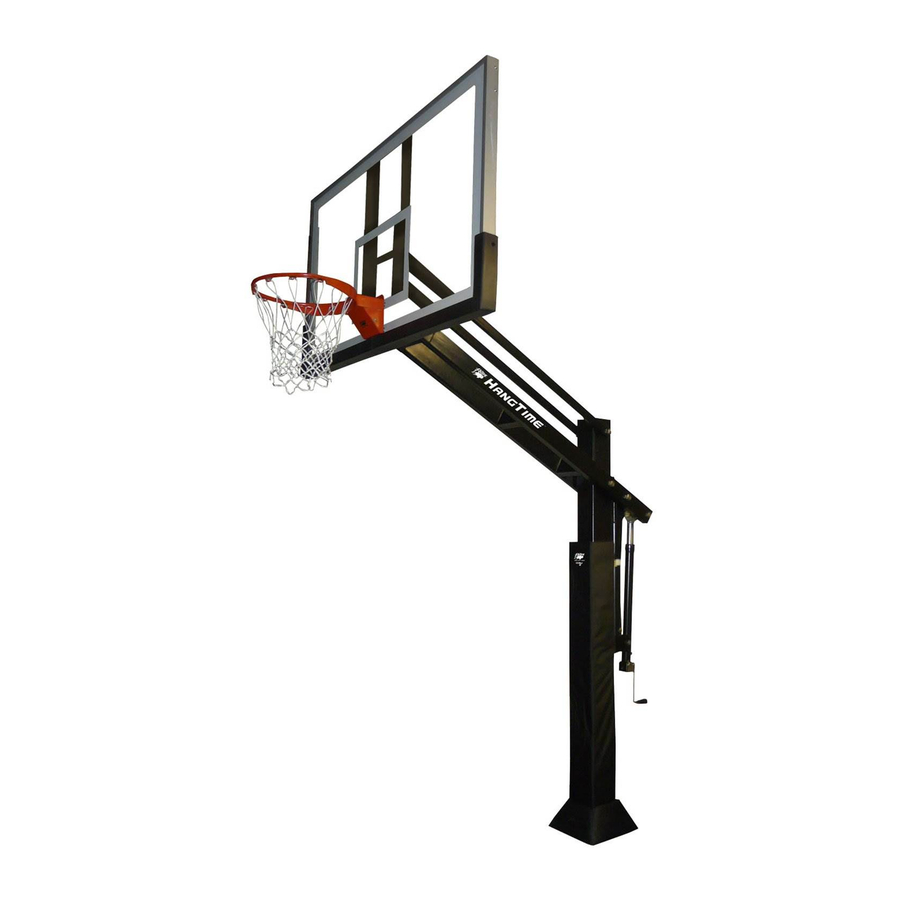
Page 2: Bill Of Materials
Bill Of Materials 6” SQUARE POLE SYSTEM Ref. Qty. Description Vertical Post Main Extension Arm Parallel Linkages Backboard Assembly Spring-Assist Cartridges Crank Adjustment Cylinder Orange Rim Height Indicator 5/8” X 6“ Hex Bolt 5/8” X 8” Hex Bolt 5/8” Lock Nuts 5/8”... - Page 3 Figure A Backboard Assembly (D) Parallel Linkages (C) Breakaway Rim ( 3/4” x 11 1/4” Hex Bolt (O) with 3/4” Lock Nut (Q) Main Extension Arm (B) Crank Adjustment Cylinder (F) 3/4” x 12 1/2” Hex Bolt (P) with 3/4” Lock Nut (Q) Spring-Assist Cartridges (E) 5/8”...
-
Page 4: Safety Instructions
811 to ensure that all underground utilities area safe distance away from the anchor system. Bison retains the right to modify this Make sure there are no overhead power document at anytime without notice or lines within a 25 foot radius of the basketball obligation. -
Page 5: Installation Overview
INSTALLATION OVERVIEW In order to have the safest, most enjoyable and longest use of your basketball system, please note and heed the following: Prior to goal assembly, call utility services for location of underground utility lines before you dig. Immediately unpack and inspect all components. Cross check against bill of materials. -
Page 6: Required Tools
6” 12” 24” 3’10” 15” REQUIRED TOOLS • Post Hole Digger • Shovel • Wheelbarrow or Cement Mixer • (20-25) 80 lbs. bags of concrete OR (27-32) 60 lbs. bags of concrete • Garden Hose • Trowel • Level • Tape Measure •... - Page 7 STEP 1 ANCHOR SYSTEM INSTALLATION INSTRUCTIONS 1) Installation Location WARNING Before digging the hole for this pole, check Choose the proper location to dig for the buried power, gas, water, concrete footing. Use the drawing on the telecommunication lines! Failure to do so previous page to help you locate.
- Page 8 3) Anchor Assembly 5/8” J-Bolt Hex Nuts (L) Thread one 5/8” Hex Nut (L) to the bottom on each 5/8” Anchor J-bolt (K). Place these J-bolts through the holes on the Anchor Template (N) and install 5/8” J-Bolt Hex Nuts (L) on top and tighten.The bottom of the J-bolts should be positioned as shown.
- Page 9 Pour the remaining concrete into the hole until completely full and coming out of the top. Using a trowel, smooth the concrete to allow draining away from the pole. Place the assembled anchor system in the hole to the point where the bottom of the Anchor Template (N) rests on the top of the finished concrete.
-
Page 10: Assembly Instructions
STEP 2 ASSEMBLY INSTRUCTIONS CAUTION FOUR PEOPLE ARE RECOMMENDED FOR SAFE INSTALLATION OF THE SYSTEM 5) Main Pole Assembly Remove the top four 5/8” J-Bolt Hex Nuts (L) from the 5/8” Anchor J-Bolts (K). Remove Anchor Template (N). Install (4) additional 5/8” J-Bolt Hex Nuts (L) on the 5/8” Anchor J-Bolts (K) and level. - Page 11 6) Main Extension Arm Assembly Slide the Main Extension Arm (B) over the top of the Vertical Post (A) and attach to the lower pivot tube with a 3/4” X 12 1/2” Hex Bolt (P) and a 3/4” Lock Nut (Q). NOTE: Tighten the lock nut down and then back off a 1/4 turn to allow the joint to pivot when adjusting the...
- Page 12 8) Spring Assist Assembly Attach Spring-Assist Cartridges (E) to the Main Extension Arm (B) using a 3/4” X 12 1/2” Hex Bolt (P) and 3/4” Lock Nut (Q). The Orange Rim Height Indicator (G) must slide onto the 3/4“ x 12 1/2” Hex Bolt (P) on whichever side you wish to install the height indicator label shown in instruction #14.
- Page 13 10) Backboard Assembly CAUTION: ATTACHING THE BACKBOARD REQUIRES AT LEAST FOUR CAPABLE ADULTS. Mount the lower Backboard Assembly (D) mounting tube first to the Main Extension Arm (B) using one 3/4” X 12 1/2” Hex Bolt (P) and one 3/4” Lock Nut (Q).
- Page 14 12) Rim Spacers Assembly Prior to installing the rim on to the backboard assembly, insert (4) Plastic and Steel Rim Spacers (W) into four holes in the backboard. This is very important to prevent backboard breakage. CAUTION: Do not proceed with rim installation without these spacers 13) Rim Assembly Mount the Breakaway Rim ( II ) to the Backboard Assembly (D) using the hardware...
- Page 15 NOTE: Use a level to make sure rim is level side to side before tightening nuts. Attach the Net (HH) to the Breakaway Rim (II). Using (2) Screws (FF) attach the Rim Cover Plate (GG) to the Breakaway Rim (II). The Rim Cover Plate (GG) covers the springs in the Breakaway Rim (II) as shown below.
- Page 16 14) Rim Height Indicator and Sticker Assembly To apply the Rim Height Sticker (V), first use a tape measure to raise the top of the rim up to exactly 10’ from the playing surface. Use a pencil to make a mark on the Spring-Assist Cartridges (E) where the bottom of the Orange Rim Height Indicator (G) stops.
- Page 17 15) Safety Pin Installation It is advisable to restrict height adjustment from 10’ to 7’6” to ensure safe play. Insert the Safety Rod (AA) into the tube on the back of the Vertical Post (A). If a lower rim height is needed for abnormally low play, remove the Safety Rod (AA) before adjusting any lower than 7’6”.
- Page 18 17) Maintenance Like any piece of equipment proper maintenance is required. Several factors such as the environment, organic materials, herbicides, pesticides, excessive use or misuse can eventually cause the basketball system to require maintenance. Failure to do so could result in system failure, property damage, or even personal injury or death. 1) All organic materials should be kept away from the system at all times.
Need help?
Do you have a question about the HangTime and is the answer not in the manual?
Questions and answers